How do I register rooms for my quote basis in CleanCalculator?
In Step 1, you were shown how to start a quote basis.
In Step 2, you will learn how to add rooms to your quote.
If you have not created a quote basis yet, go back to:

Create quote basis
In this article, you will learn how to use room registration:
-
How to add rooms in CleanCalculator
-
What do the different columns mean for the rooms?
-
How to edit rooms in CleanCalculator
-
How to bulk-edit the degree of workload on rooms
-
How to complete room registration in CleanCalculator

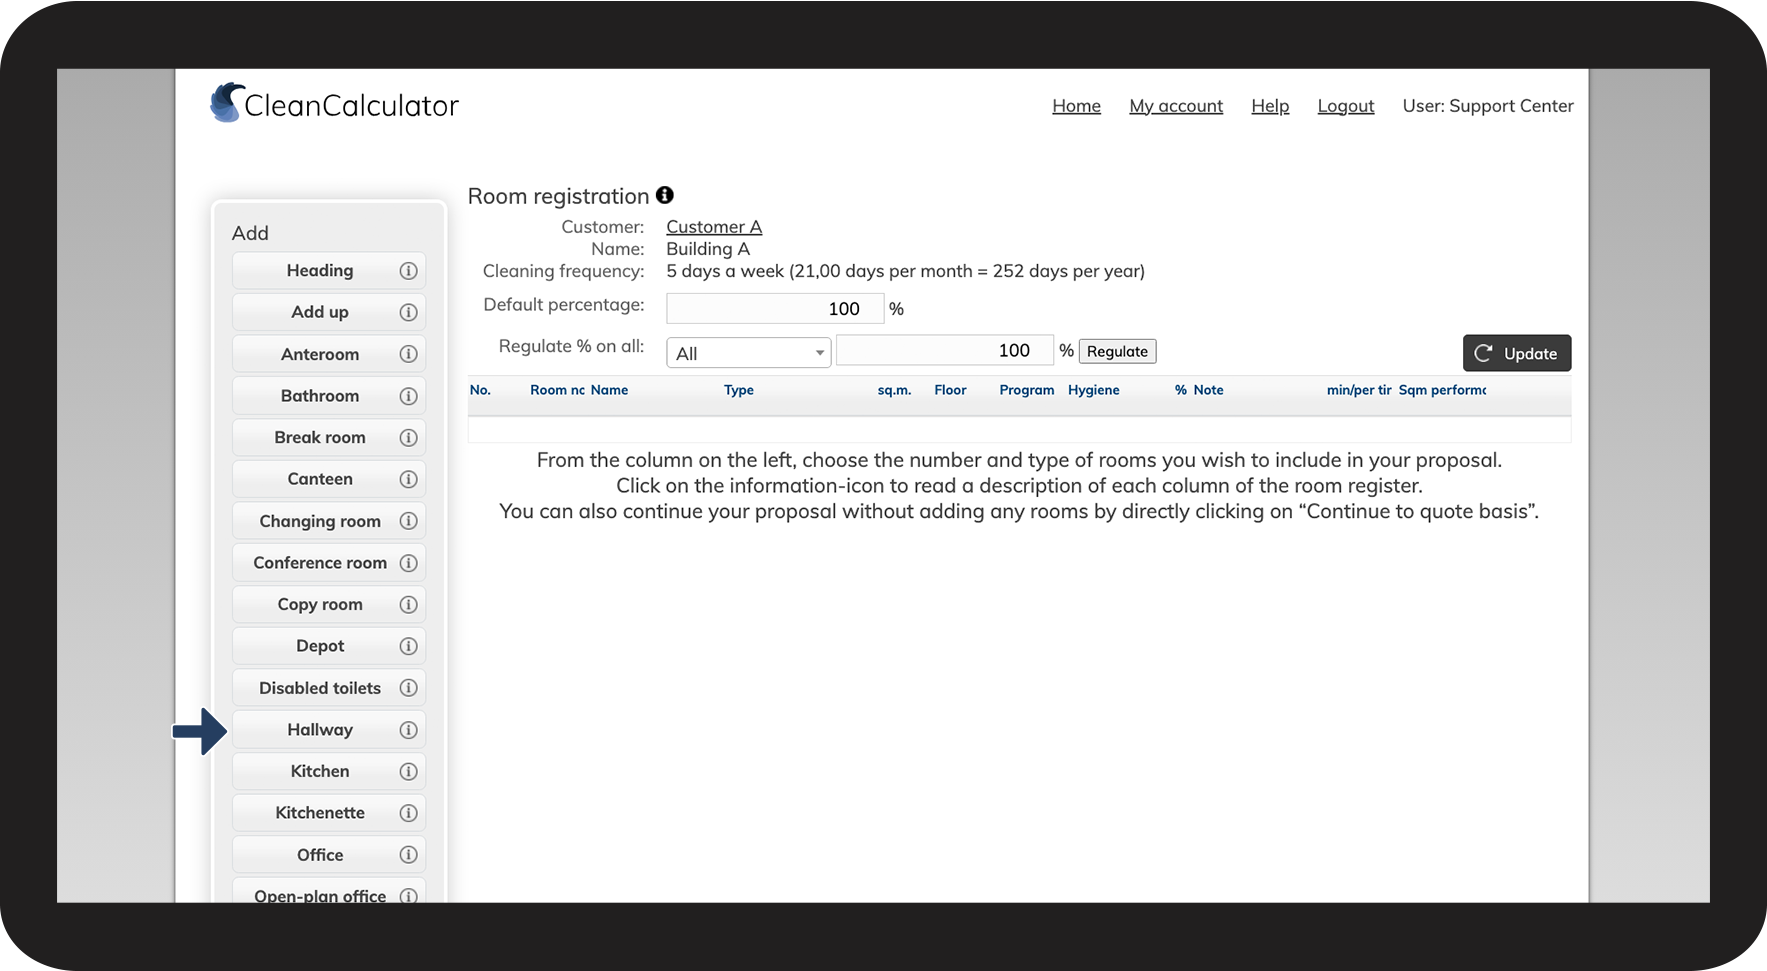
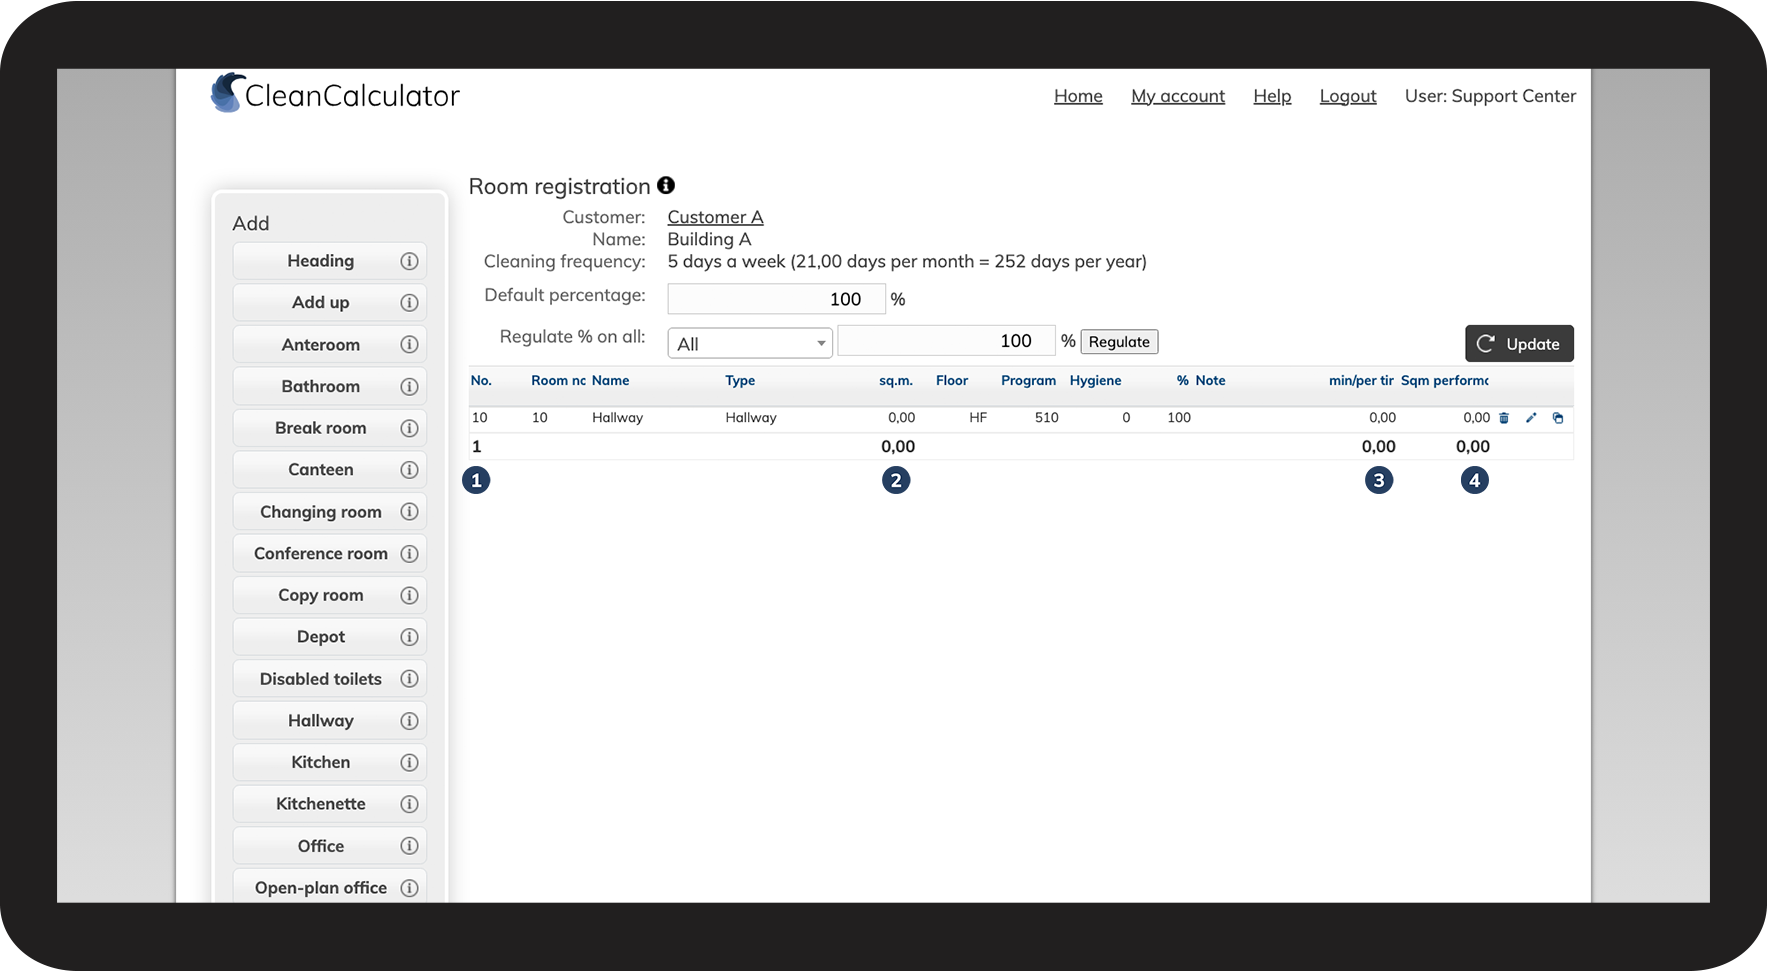
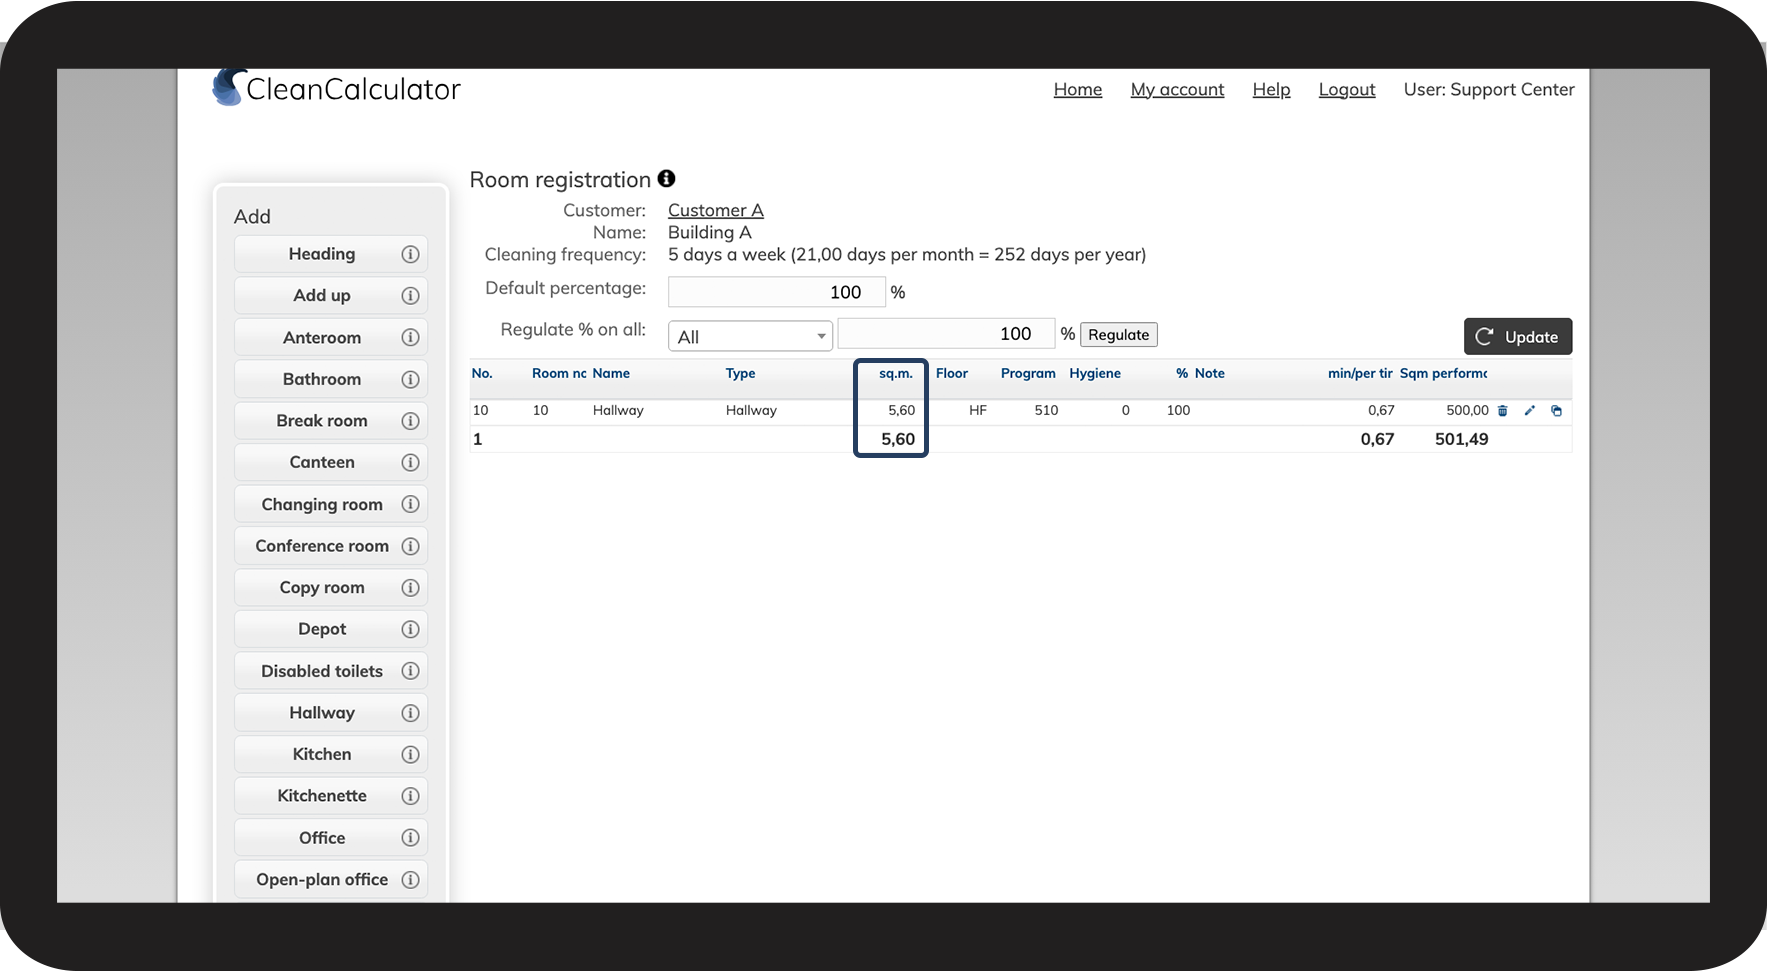
Room registration
On the left-hand side, you add the rooms you need by clicking on them.
On the right-hand side, the added rooms will be displayed and included in your calculations.
It is also here that you can change the settings of the room, e.g. the size, and cleaning frequency.
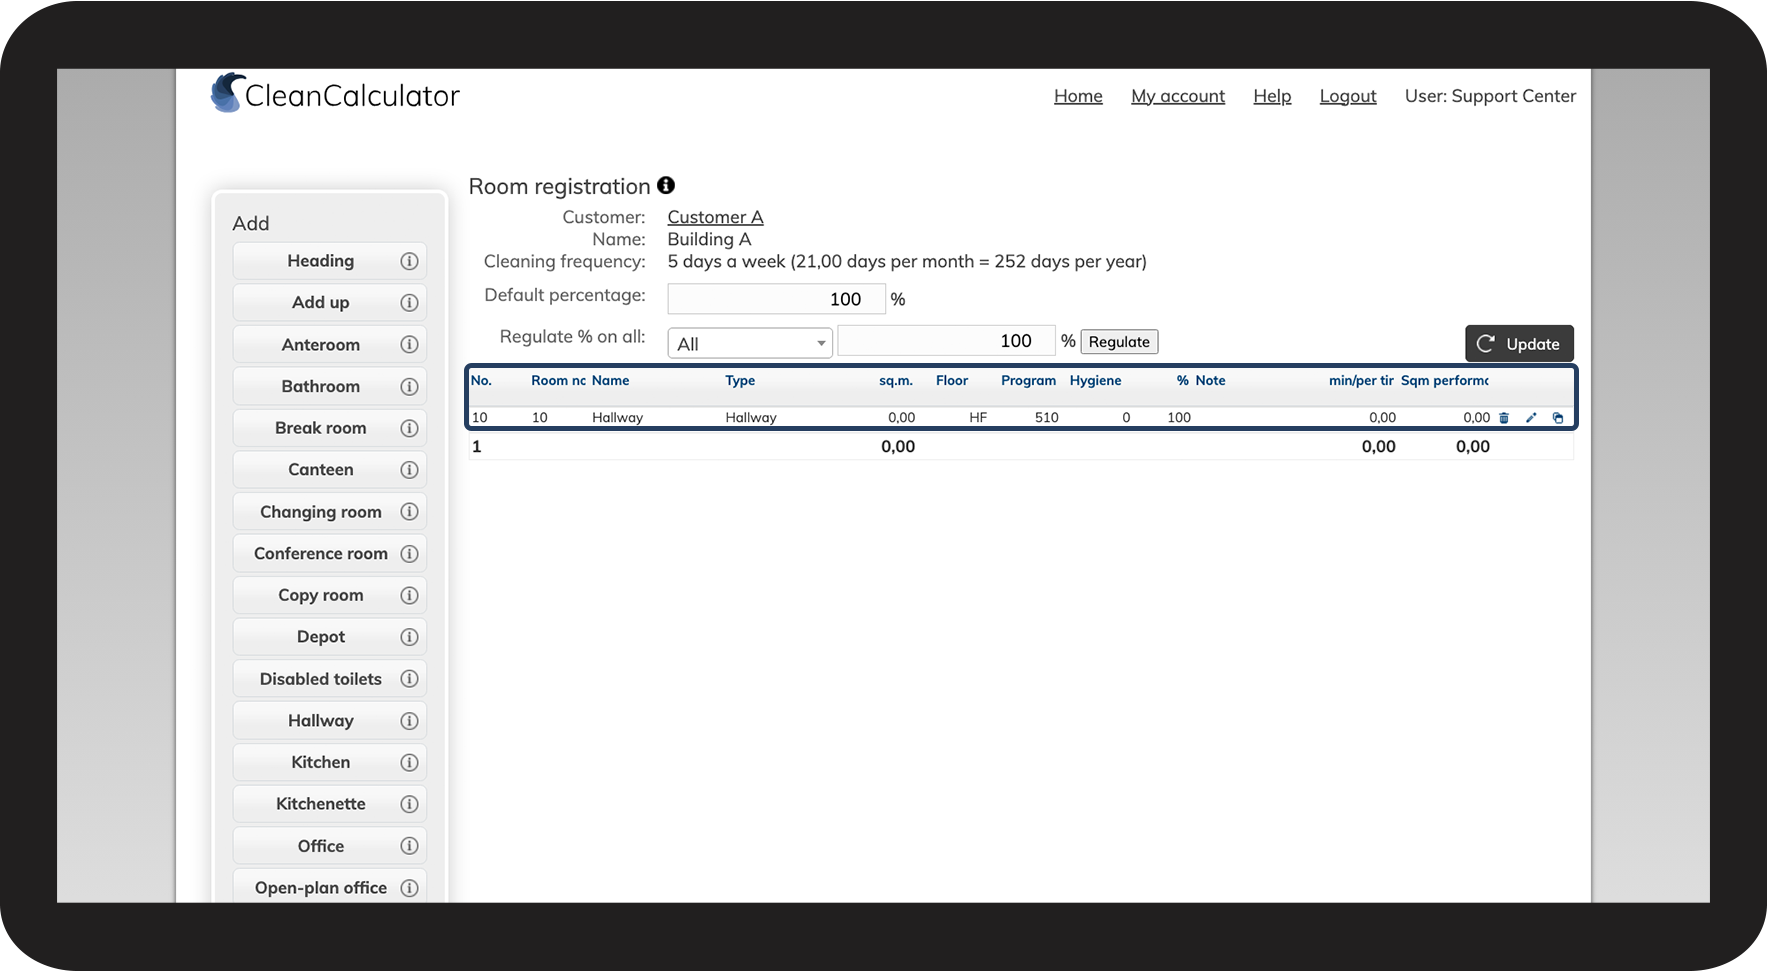
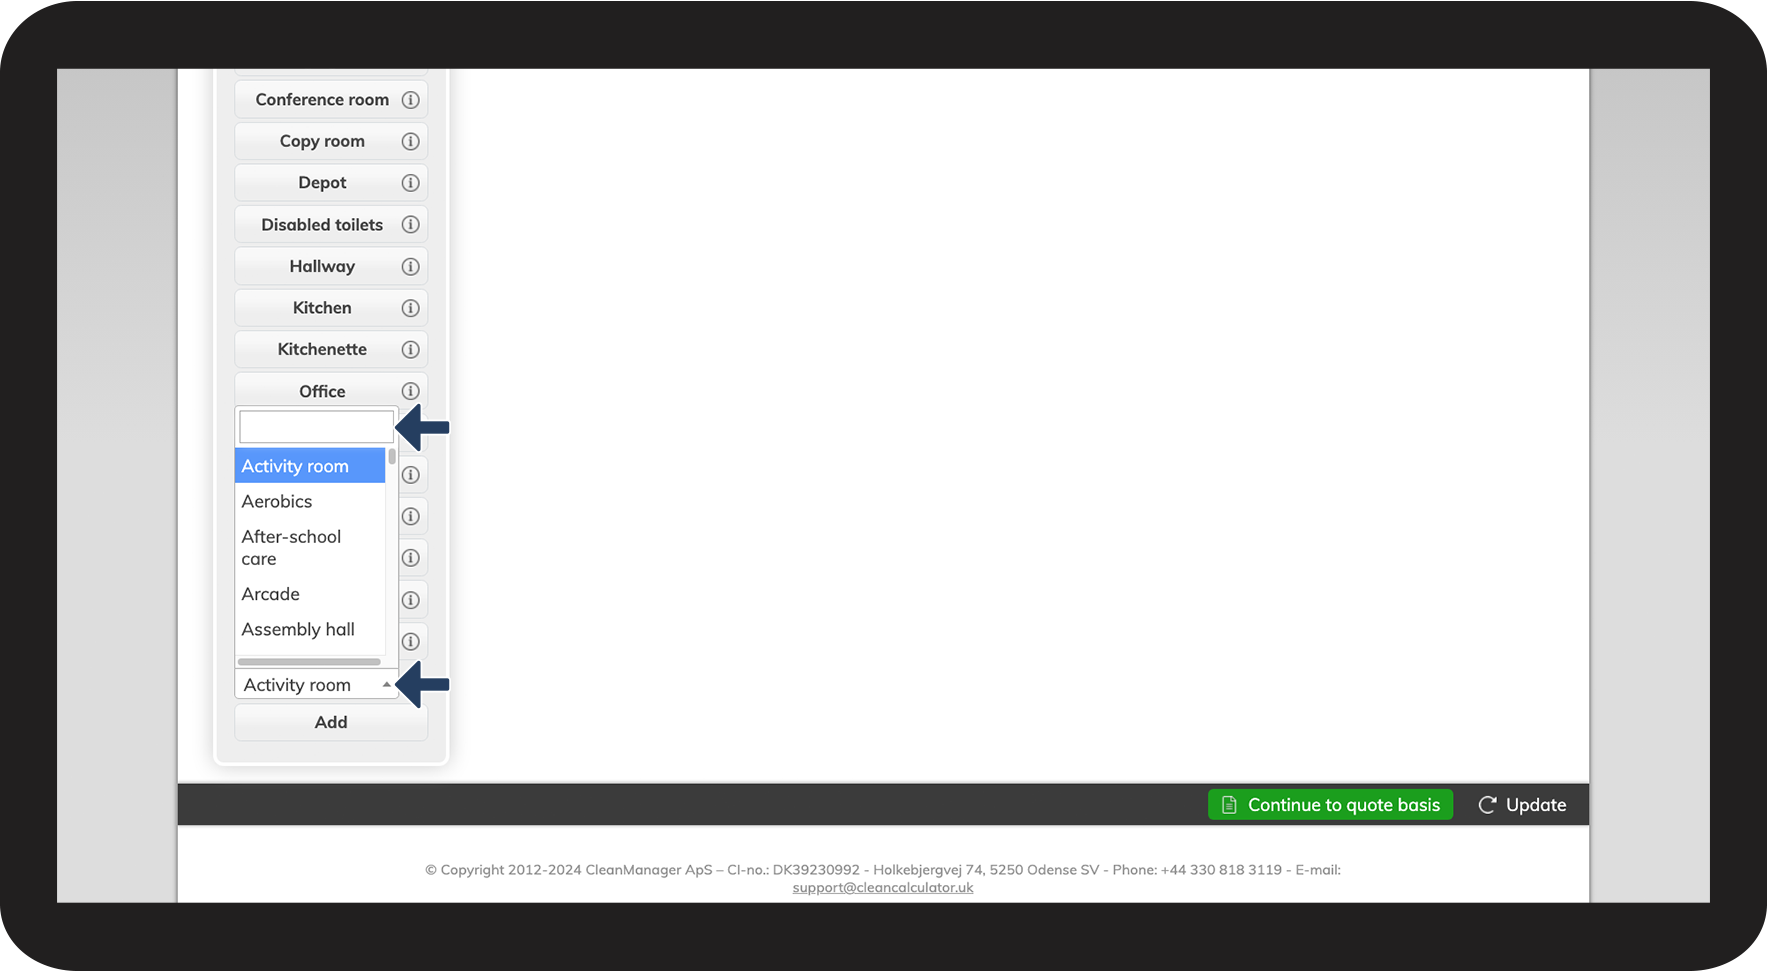
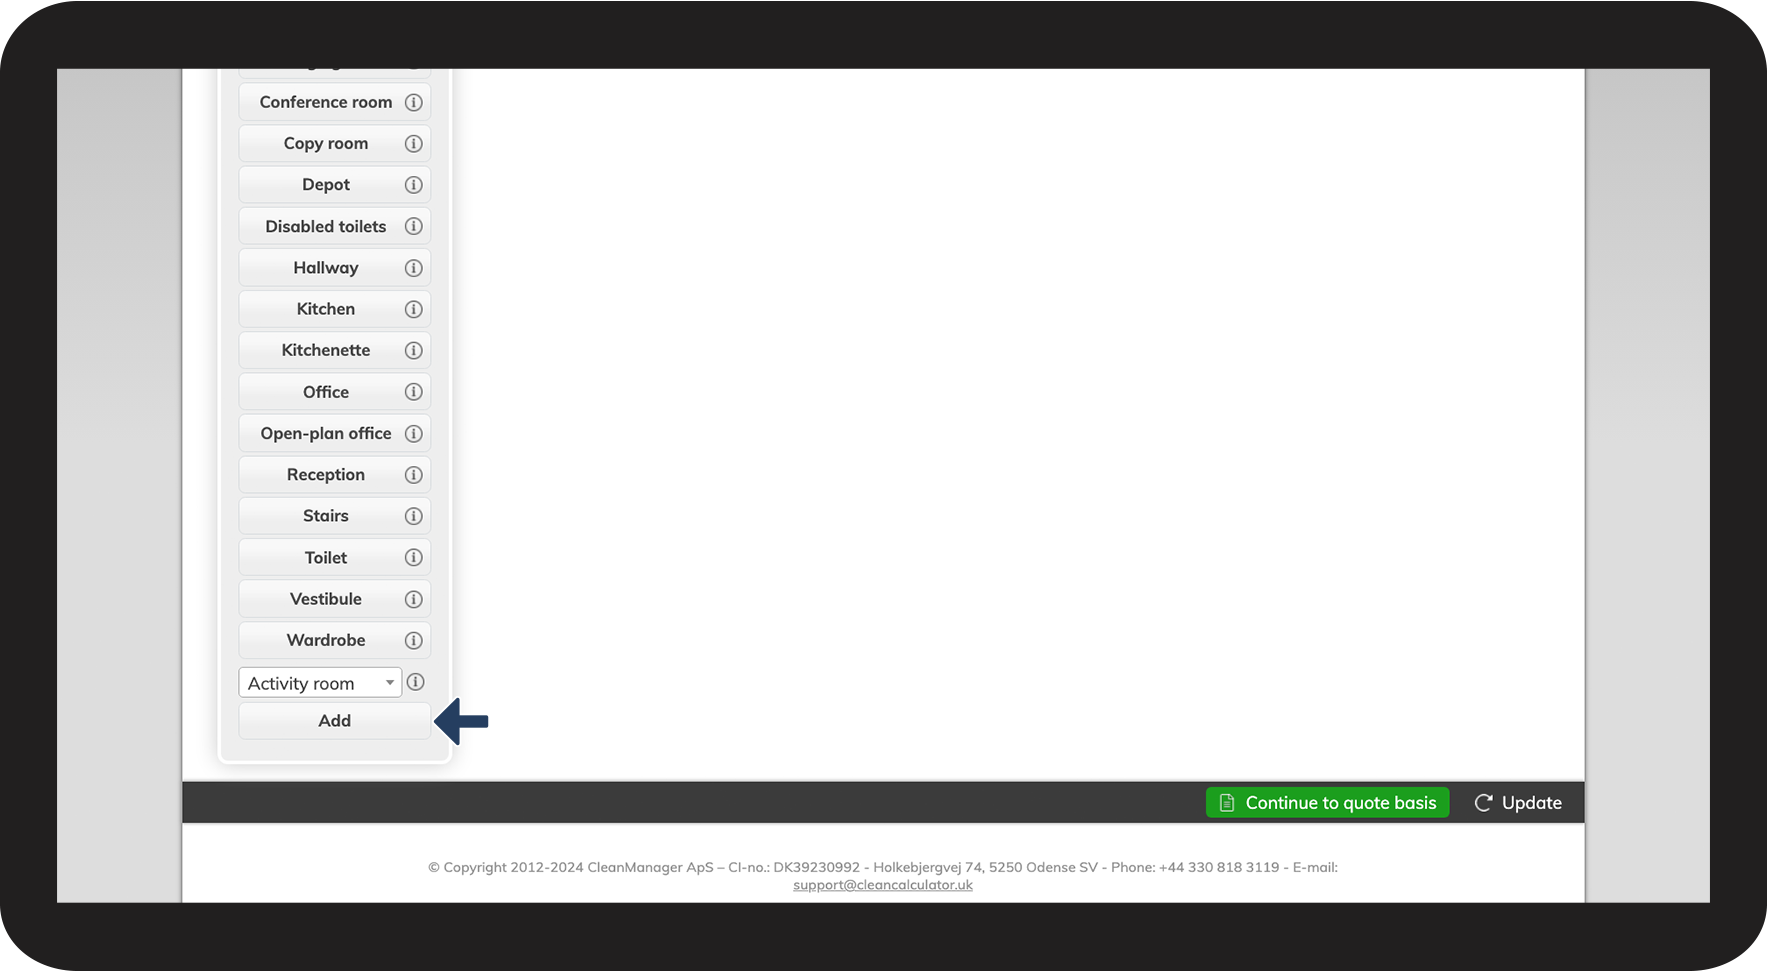
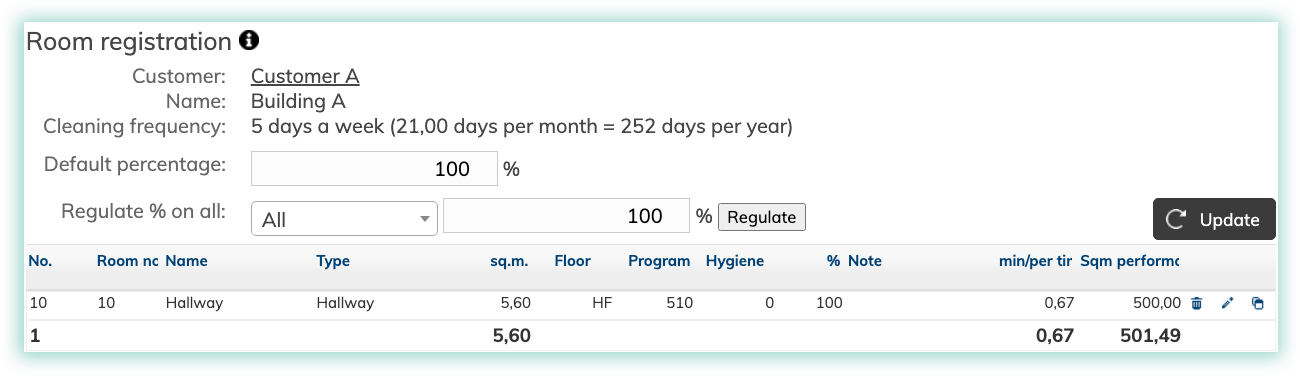
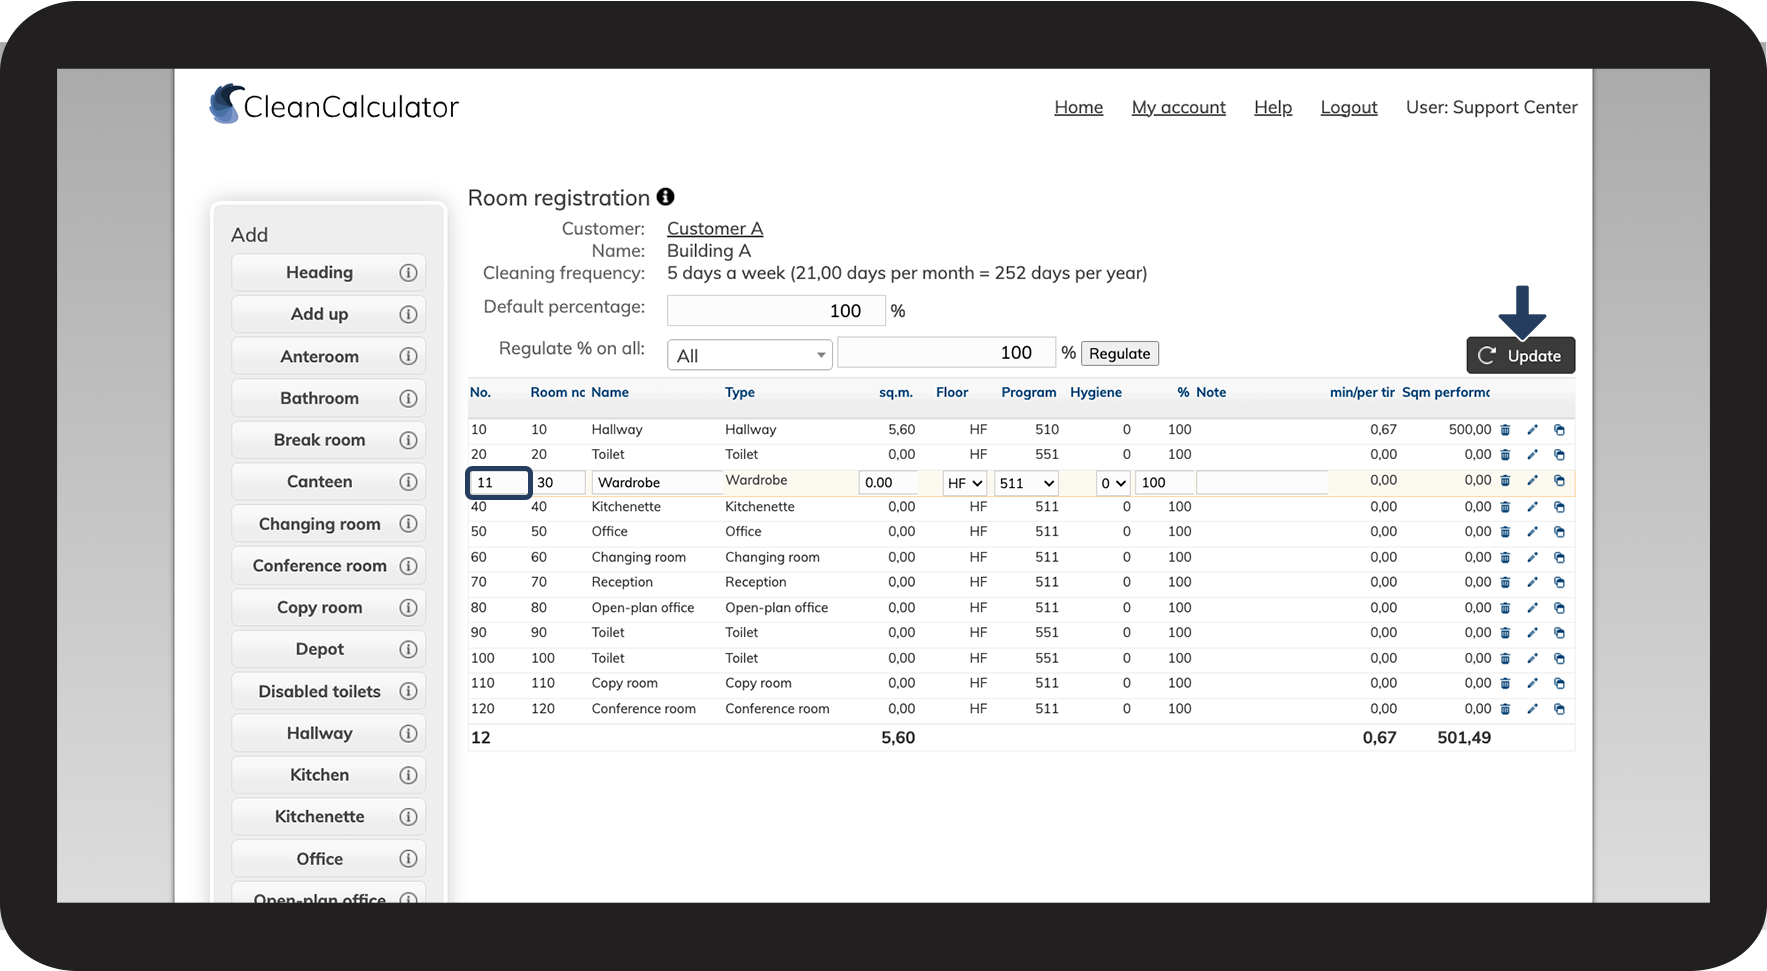
How to add rooms in CleanCalculator
What do the different columns mean for the rooms?
NOTE:
It is very important to understand the meaning of each column to be able to ensure a correct room registration. The room registration creates the foundation of a valid quote.
If you have any questions, you are welcome to reach out to our free support at: support@cleanmanager.org
INFO:
The room type "Heading":
In the list of room types, you can select a room called Heading.
This room type does not contain any square meters. You can give it its own description, and you can use it as often as you like to organise your rooms.
It is mainly used to organise specific floors or buildings.
The room type "Add up":
In the list of room types, you will also find Add up.
This room type does not contain any square meters, but it summarises the square meters from the rooms listed above the Add up in the table.
You can change the name of Add up, and use as many of them as needed.
It is useful to implement it in correlation with Headings. If you add a heading for a building/floor, you can insert an Add up at the bottom of this building/floor section. The Add up will calculate the square meters for all the rooms added to the building/floor.
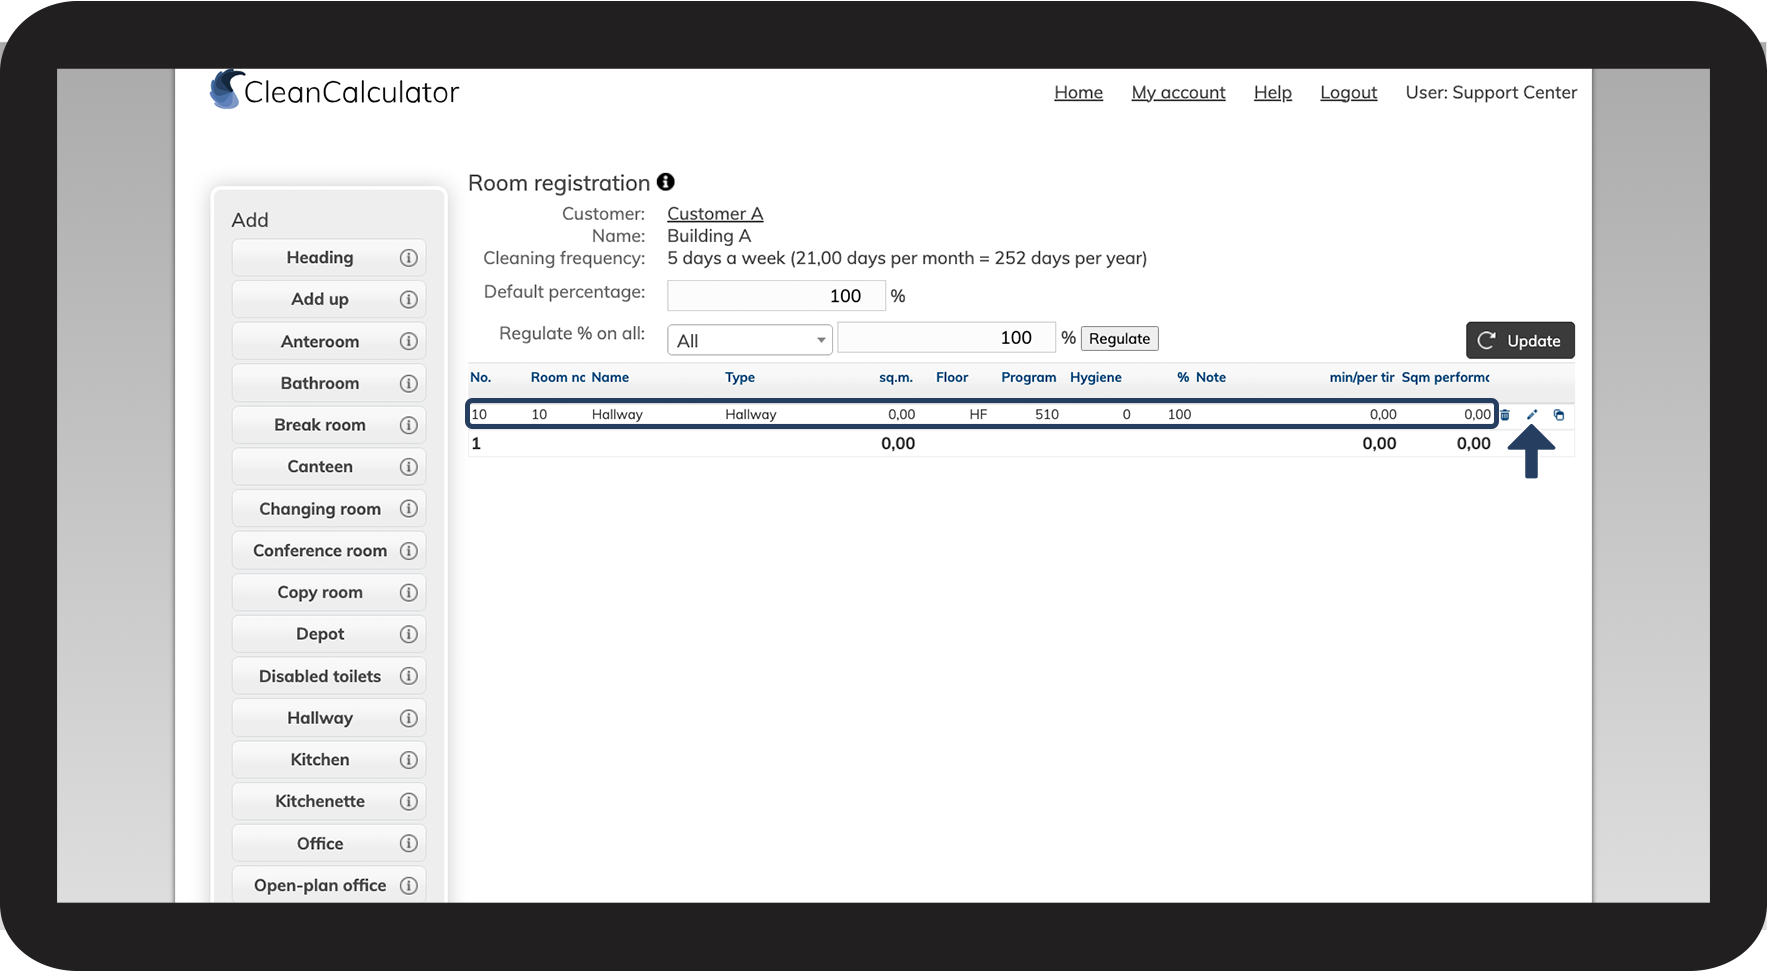
How to edit rooms in CleanCalculator
 on the right-hand side to adjust the information
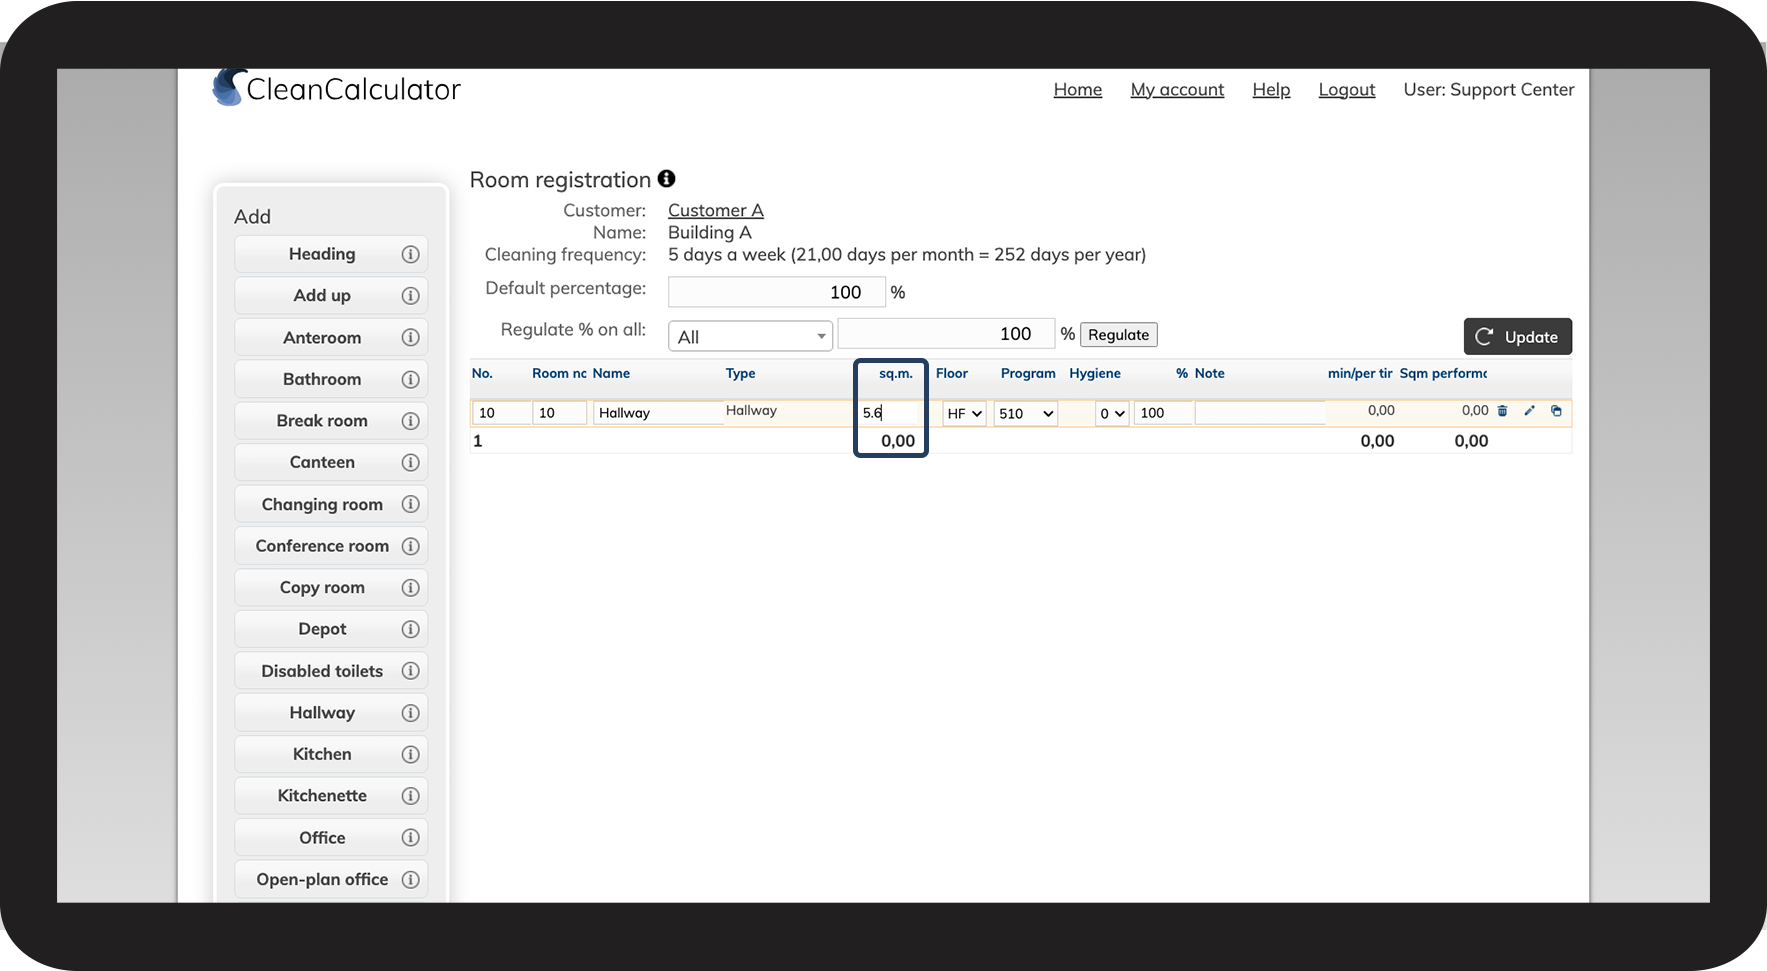
NOTE:
To better understand what the different columns mean in the room registration, click on the information icon  .
.
See also the following section:
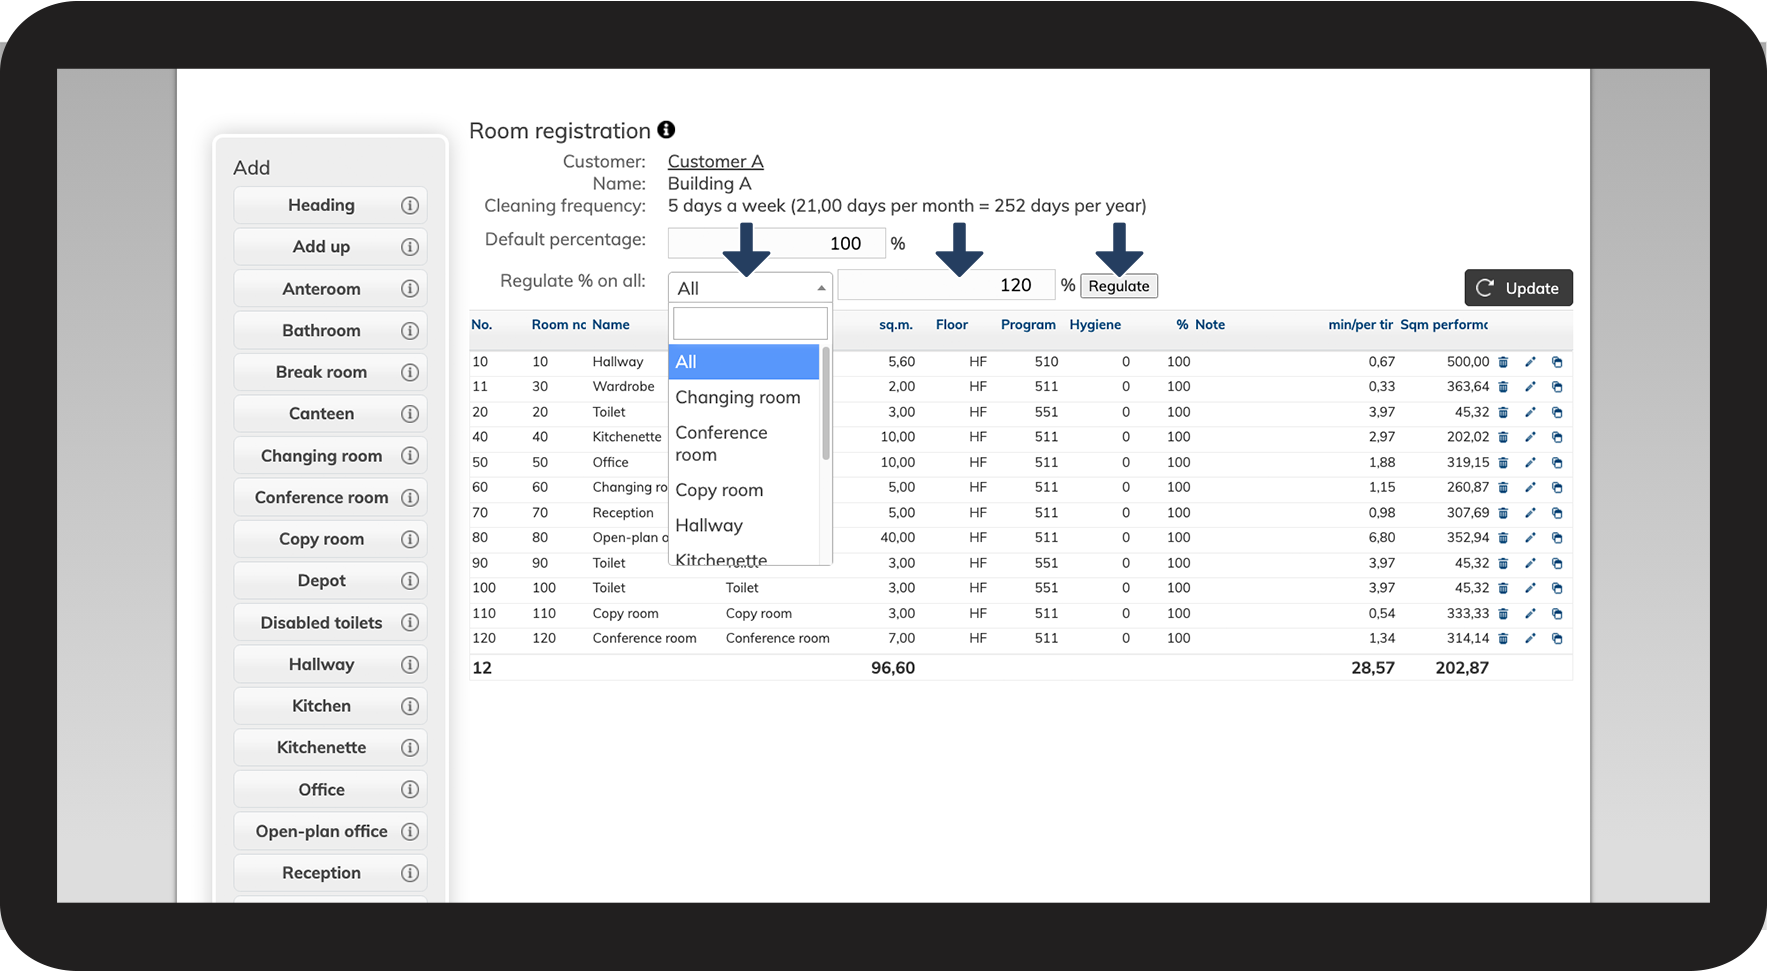
How to bulk-edit the degree of workload on rooms
You can use Regulate % on all to adjust the degree of the workload on multiple rooms at the same time
How to complete room registration in CleanCalculator
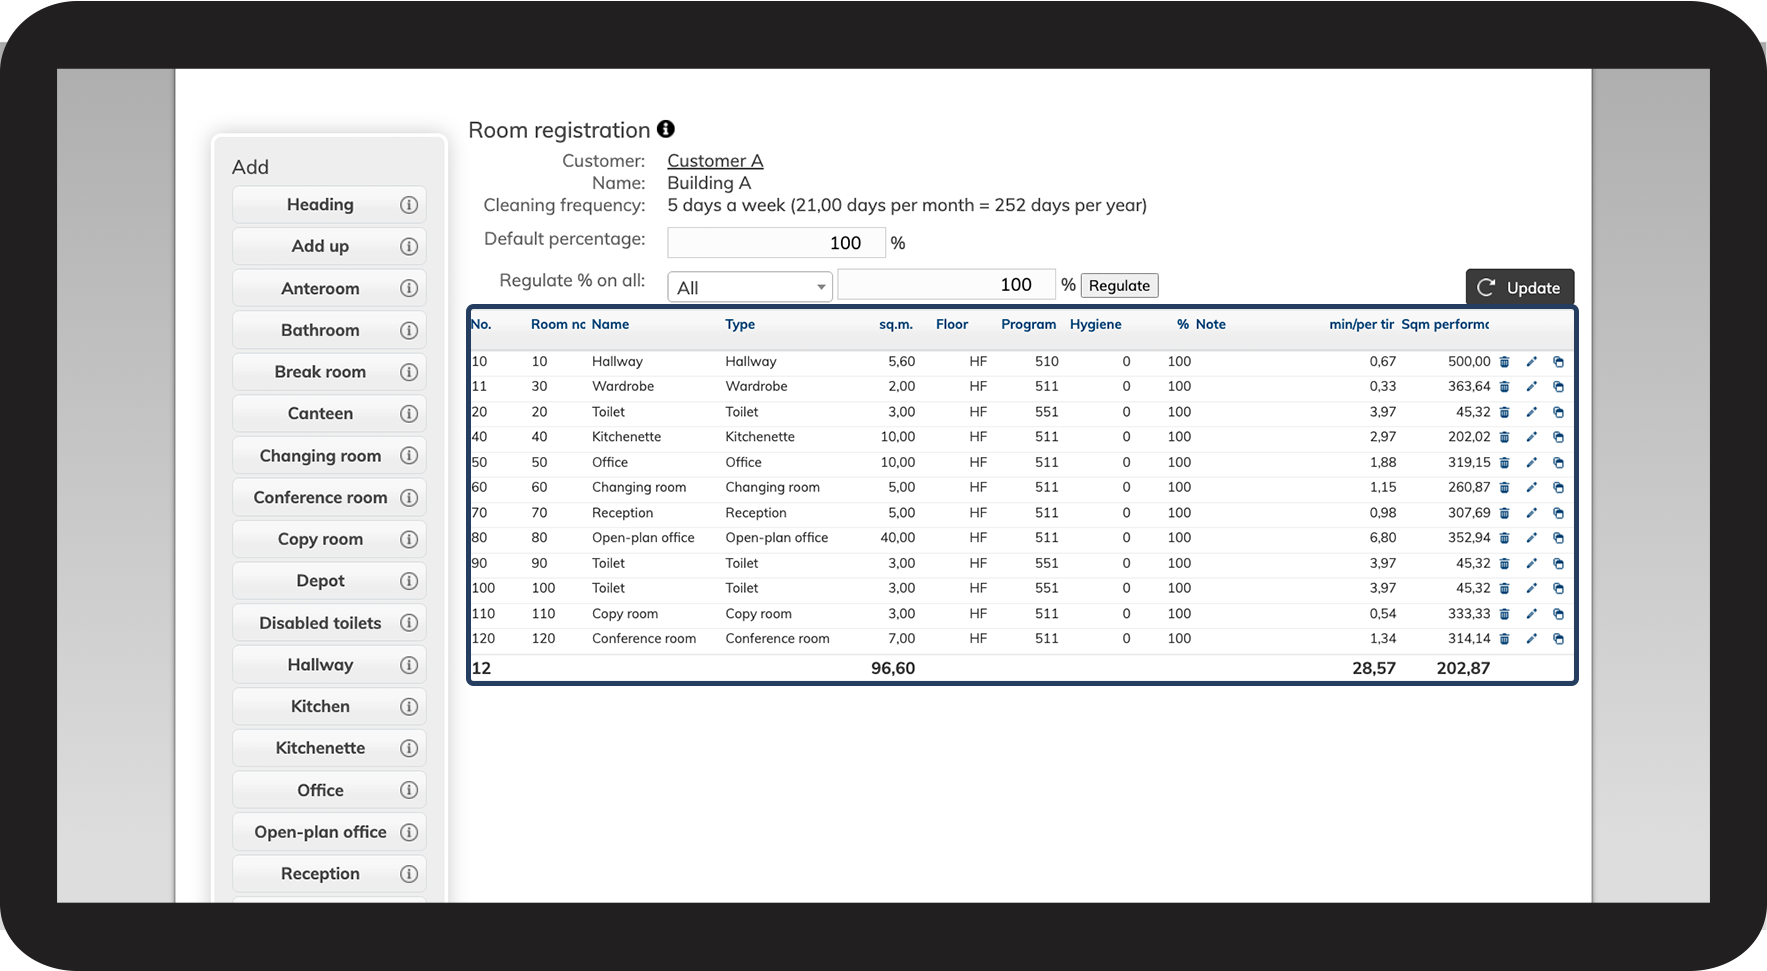
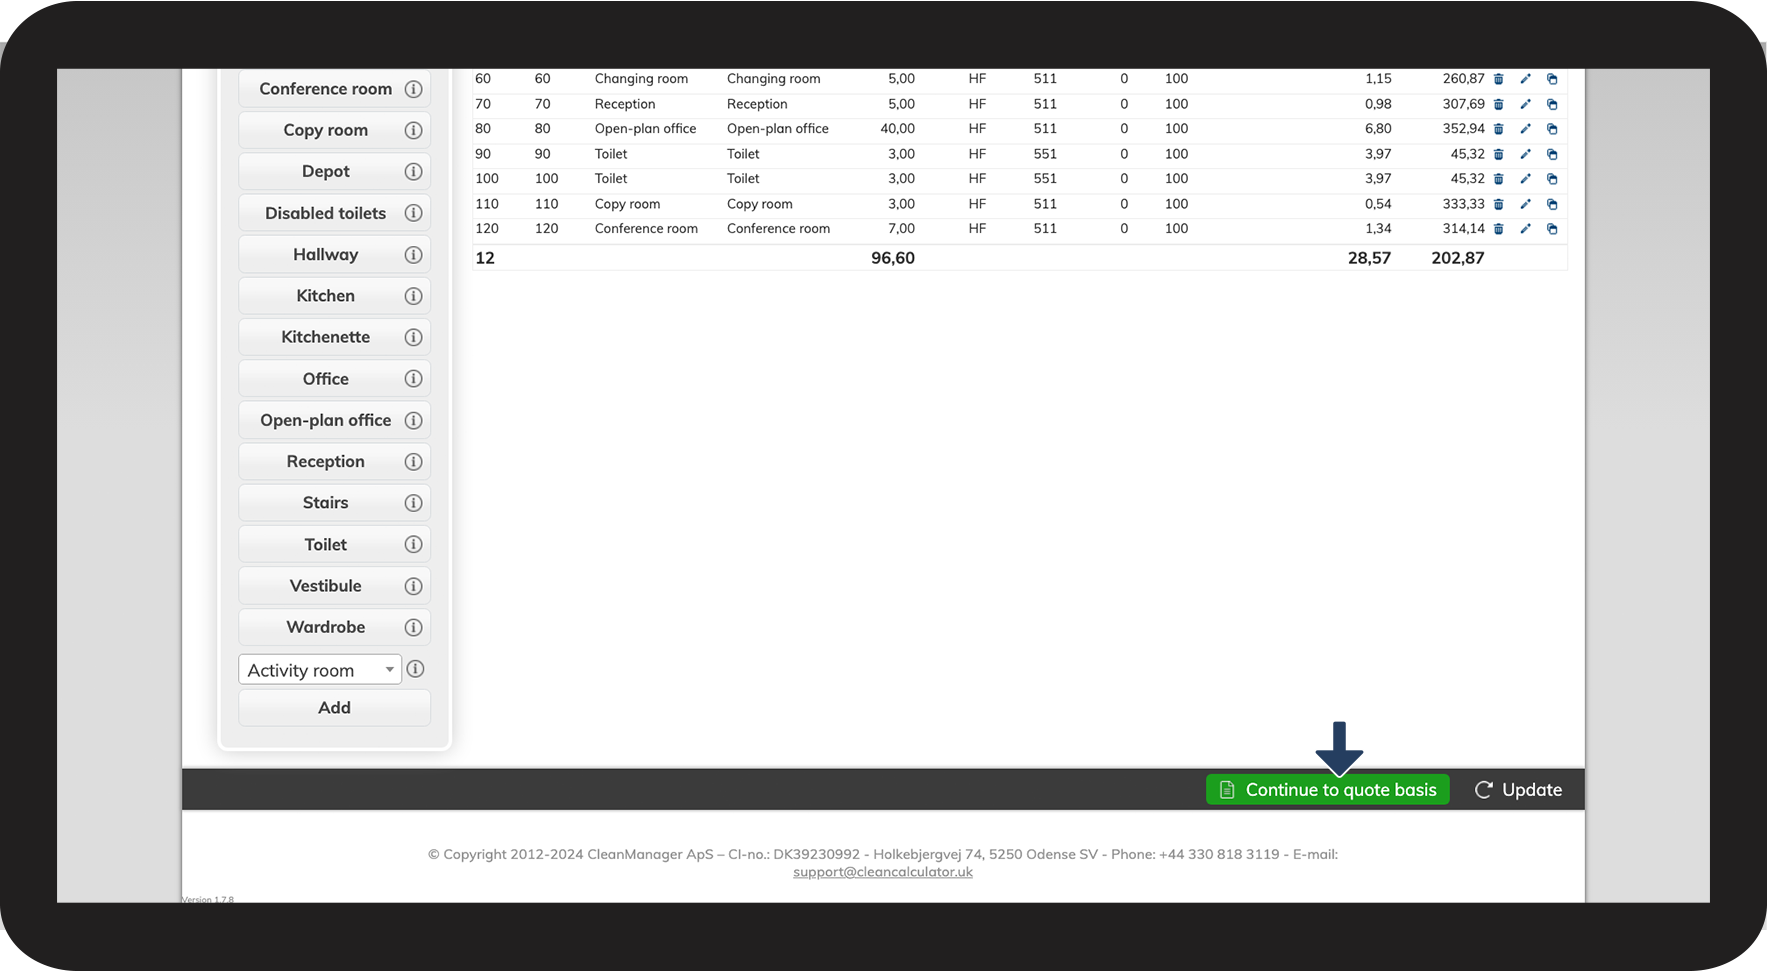

Continue to the article Completion of quote basis
When you click on Continue to quote basis, the room registration is finalised, and you will be forwarded to the overview of your quote. (You can always return to the room registration to make additional changes).