How can I manage my customer's notifications?
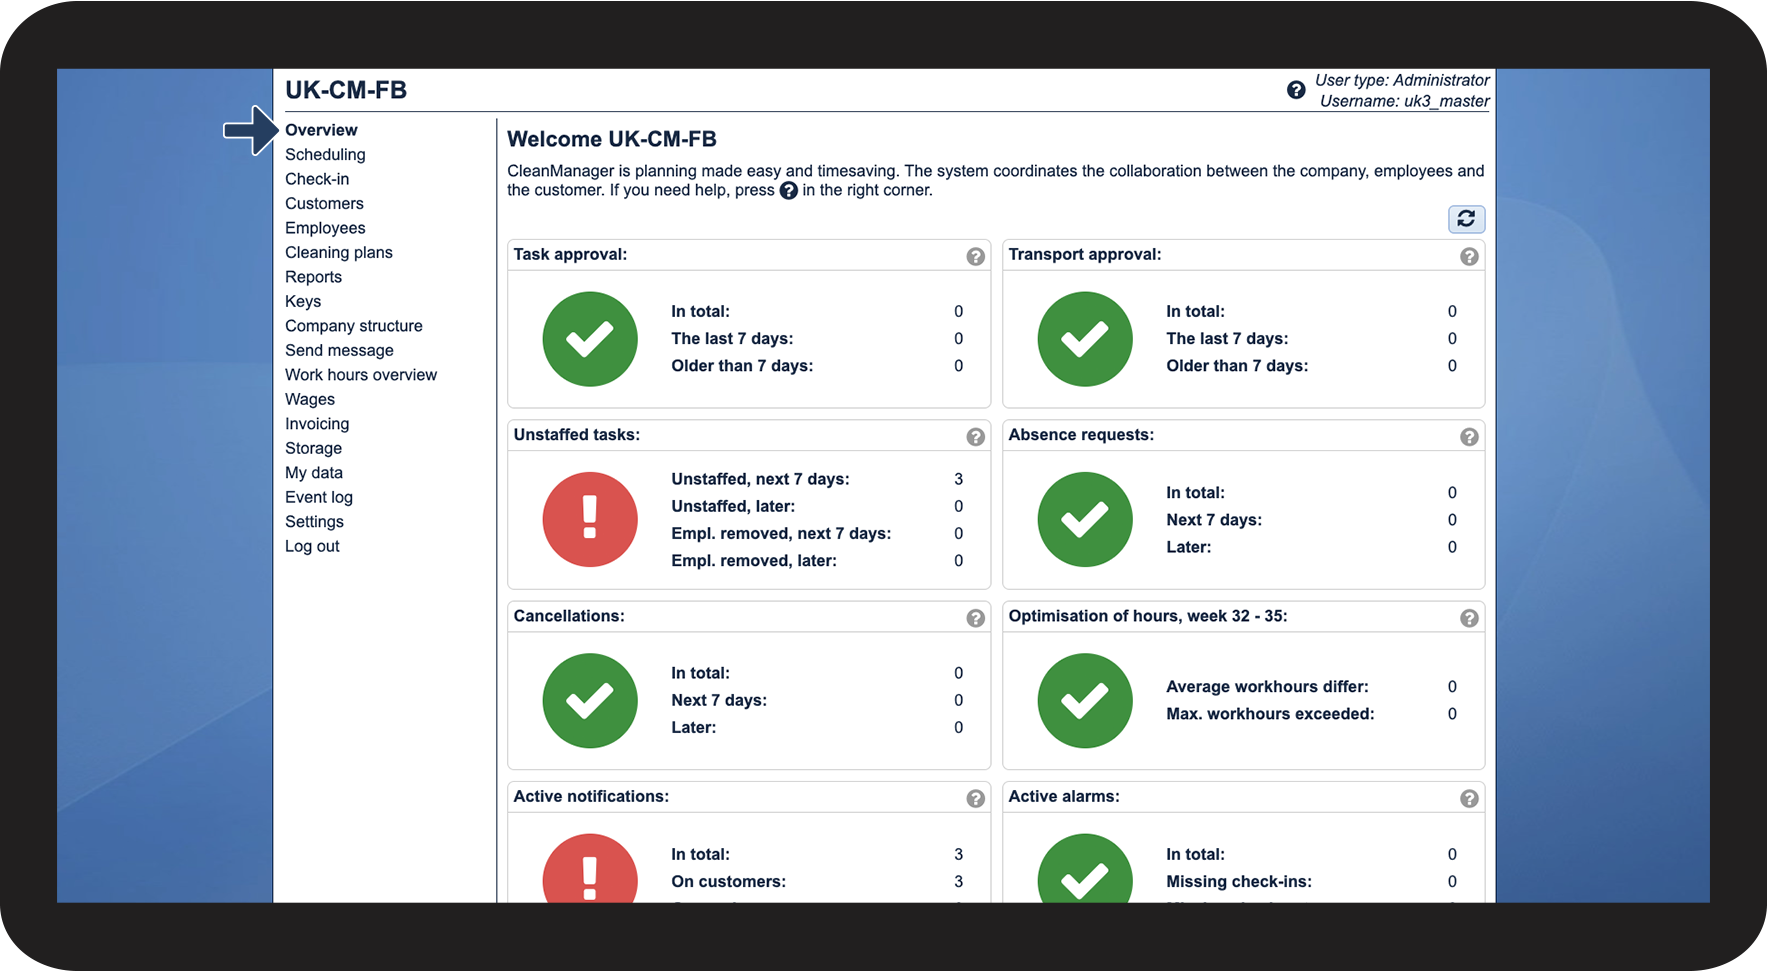
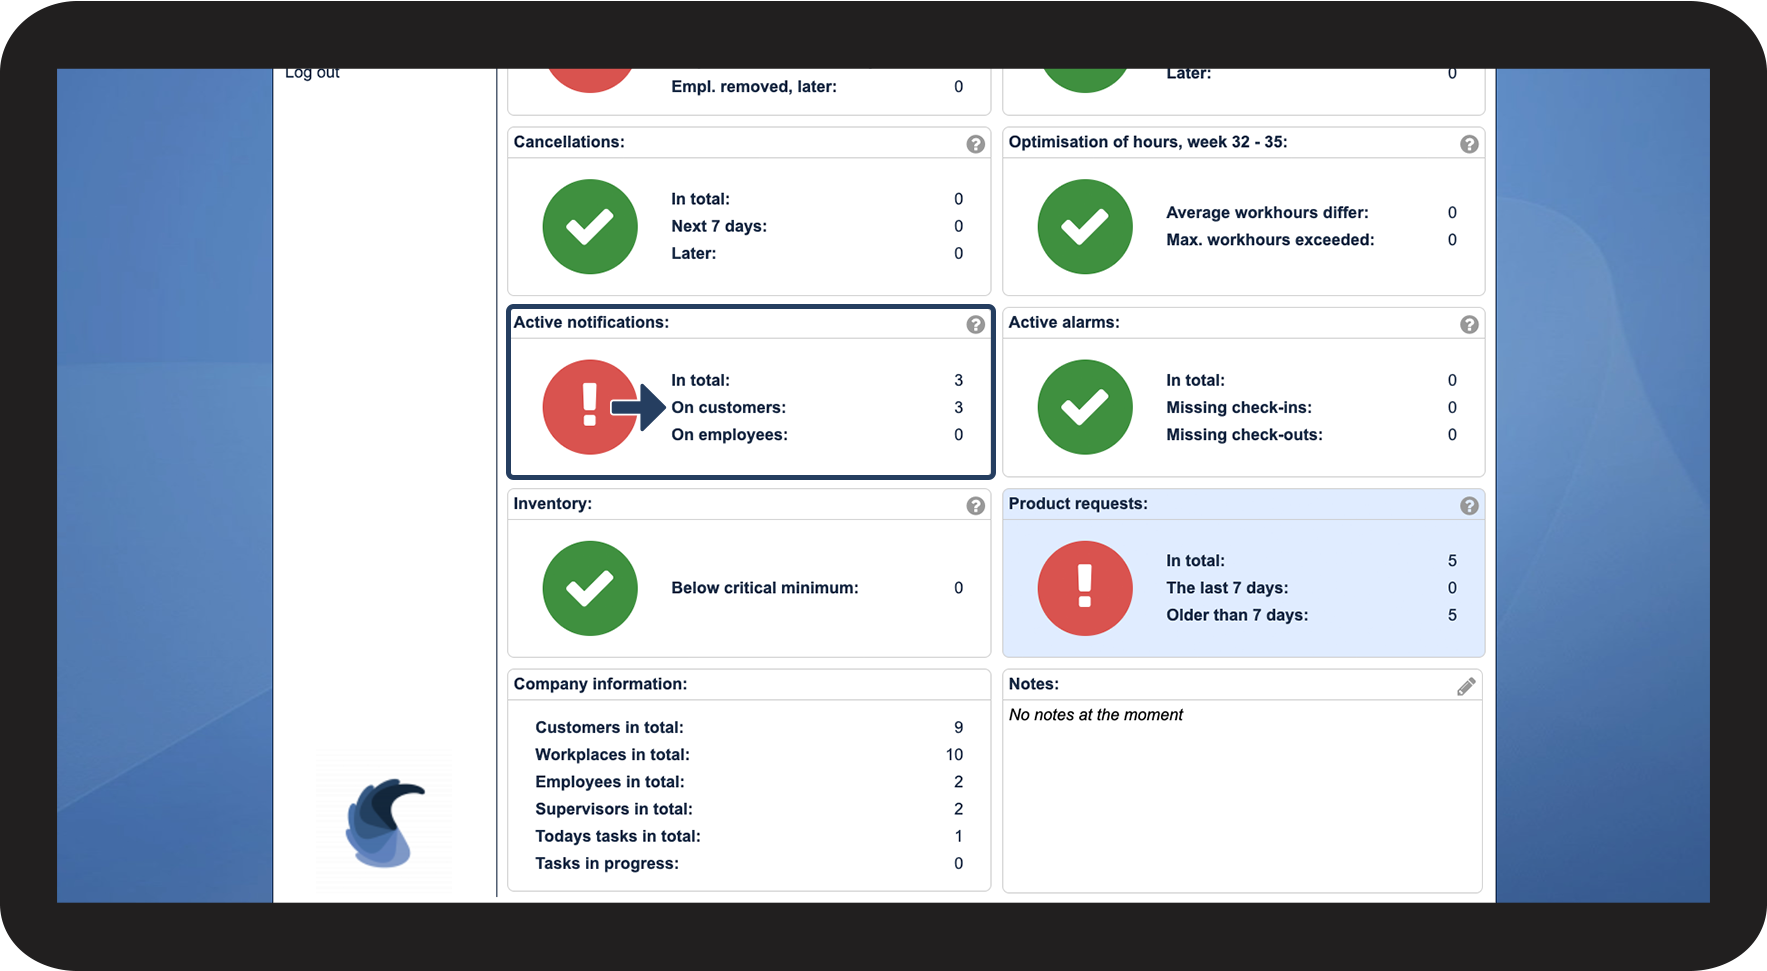
You can go to manage customer notifications from two different parts of the system; Either from the Overview or from the menu item Customers. Continue reading as we will explain the two different ways of accessing the notifications, as well as the meaning of each column.
In this article, you will learn how to manage your customer notifications:
- How do I manage notifications from the Overview?
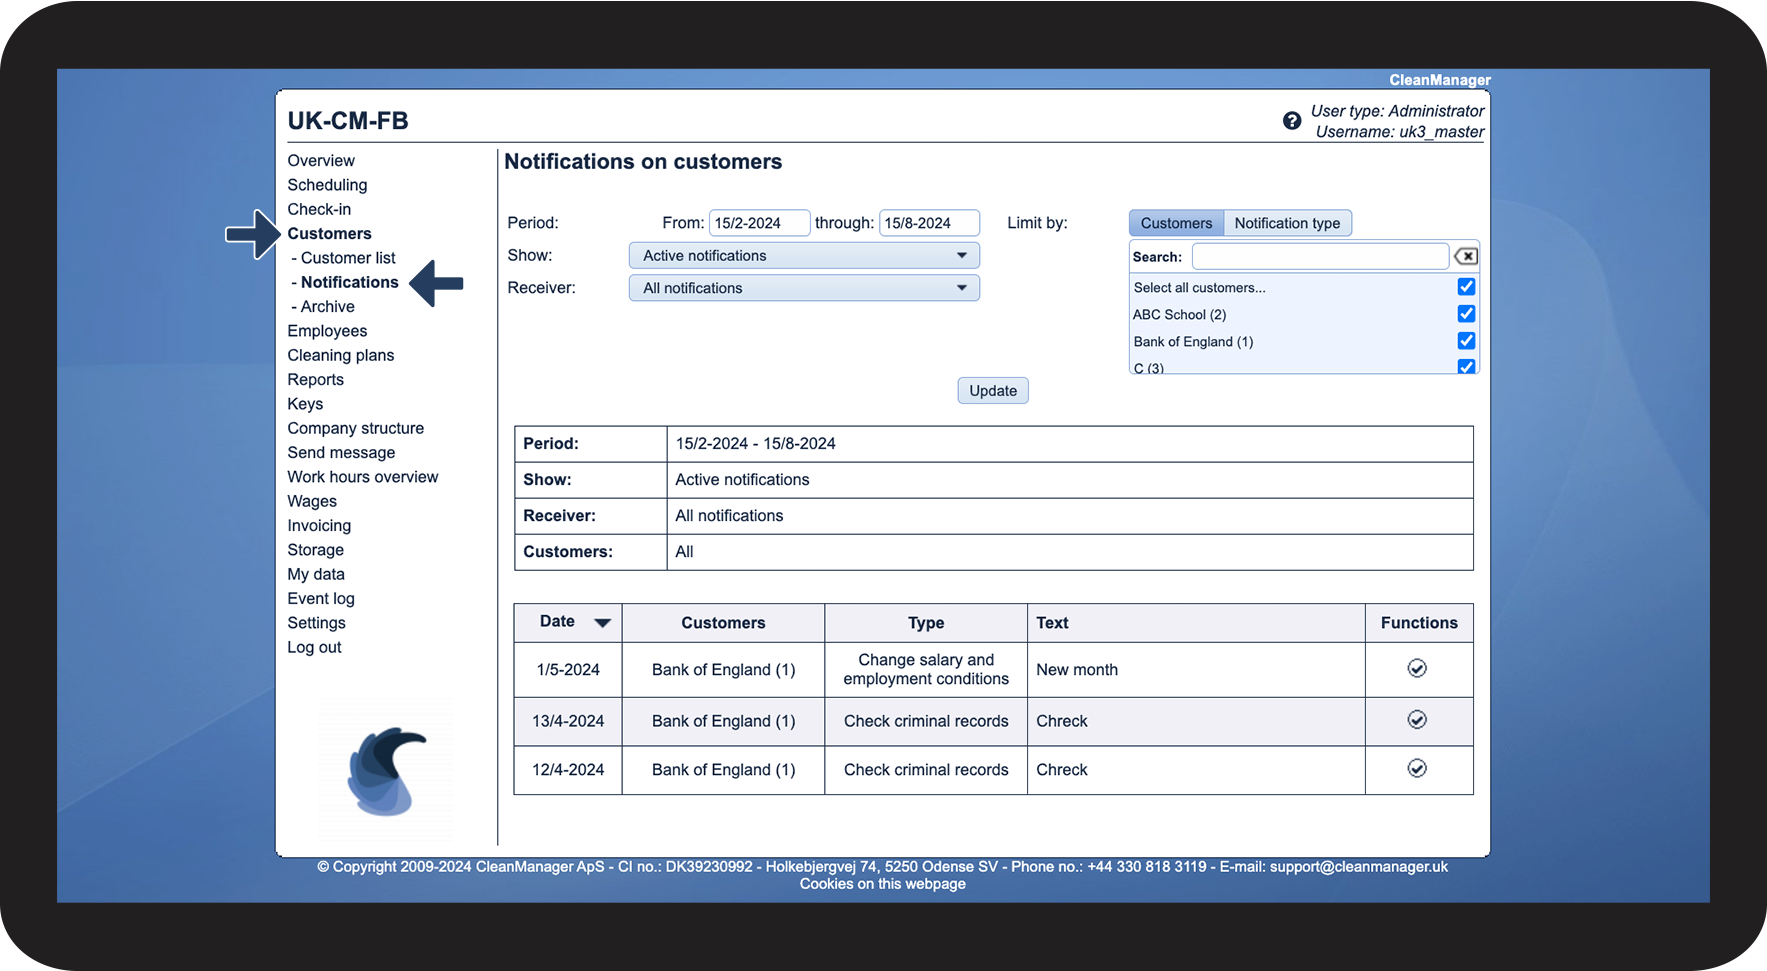
- How do I manage notifications from Customers?
- What does each column mean?
This is how you manage notifications from the Overview


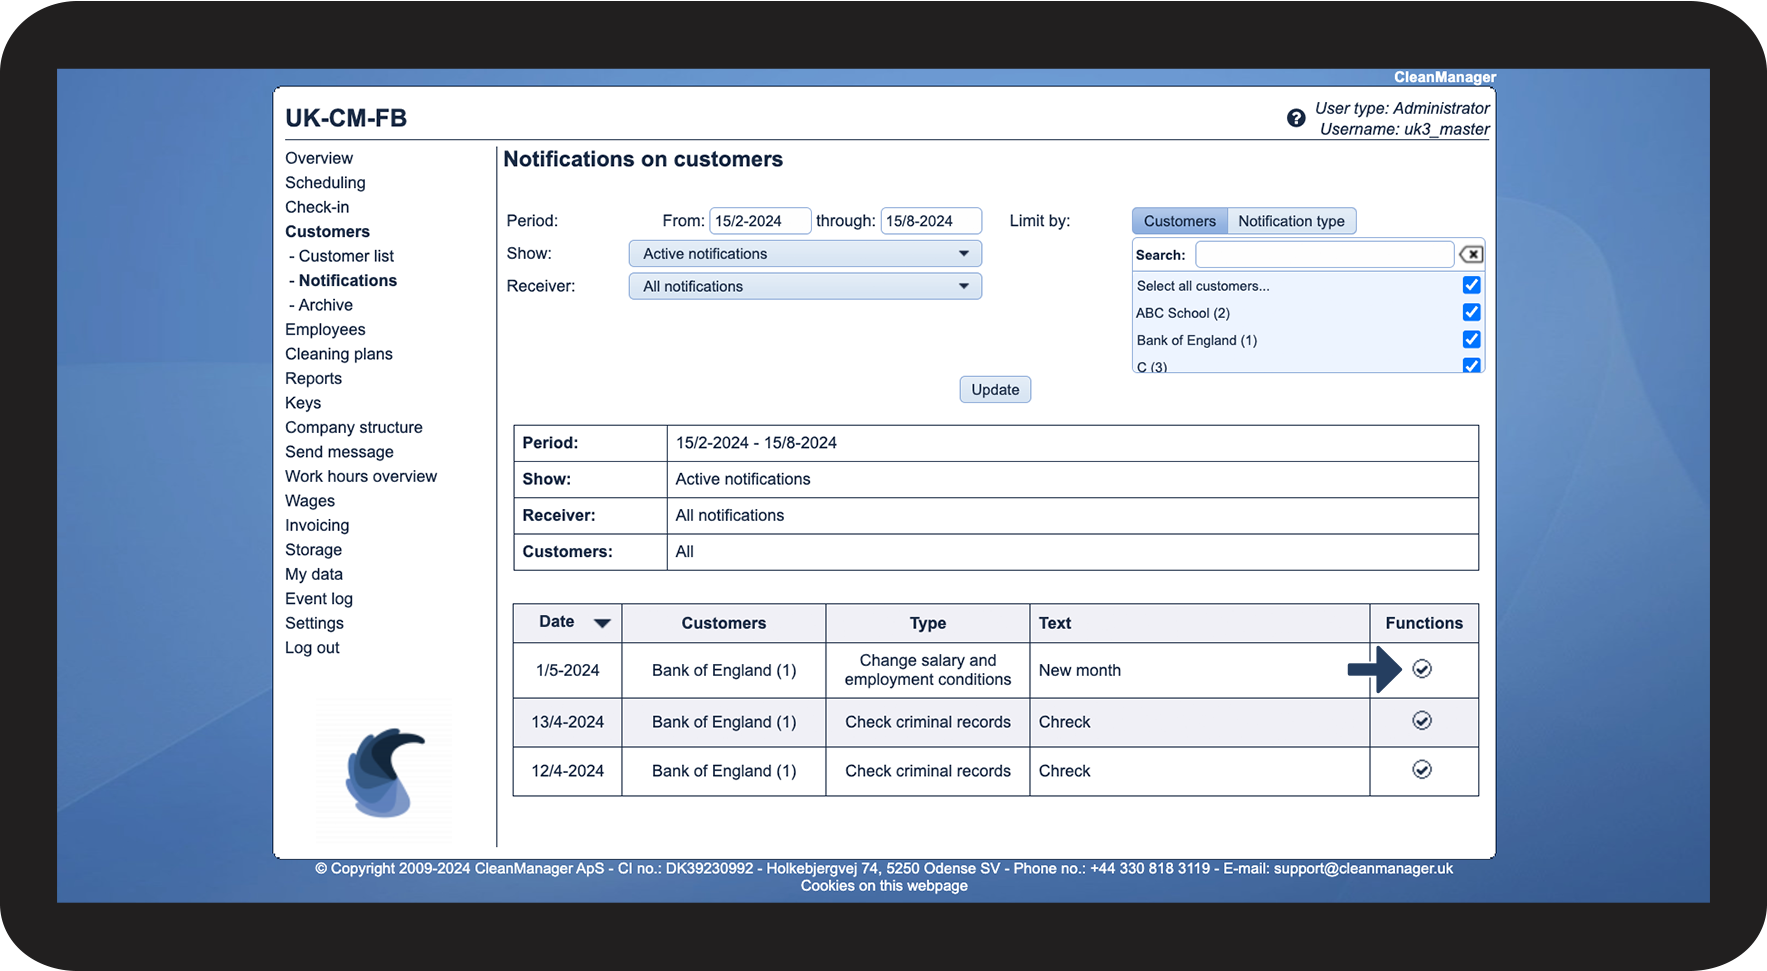

This is how you manage notifications from Customers
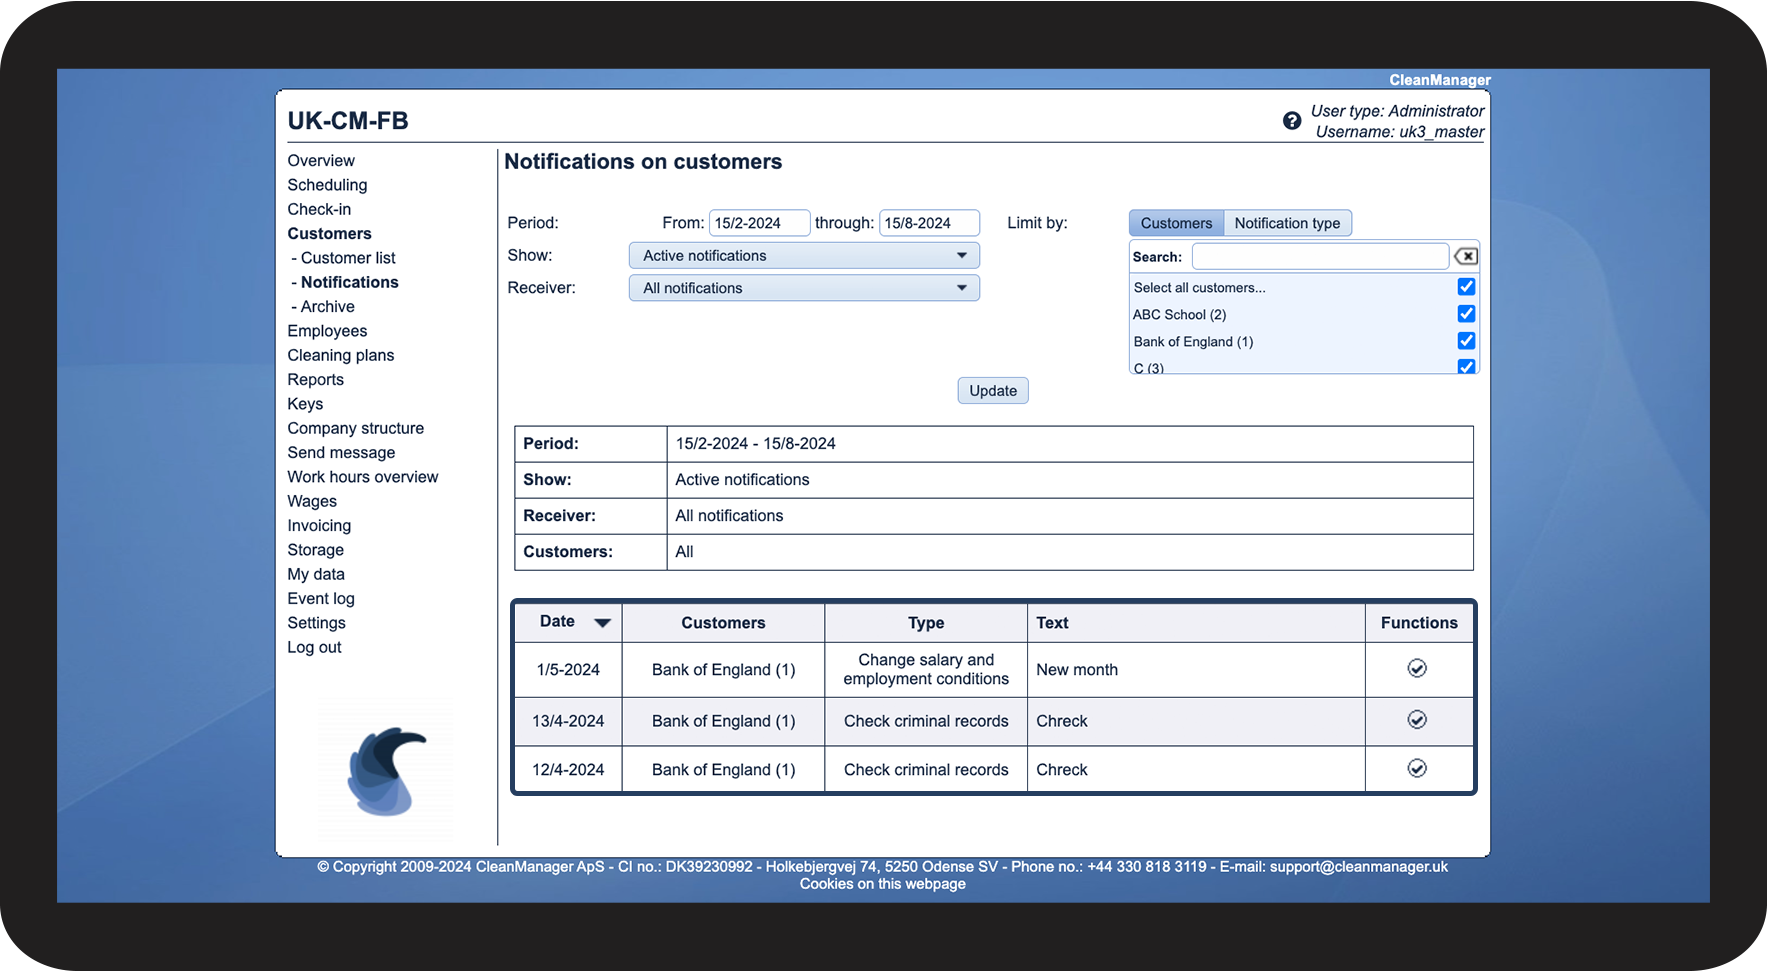

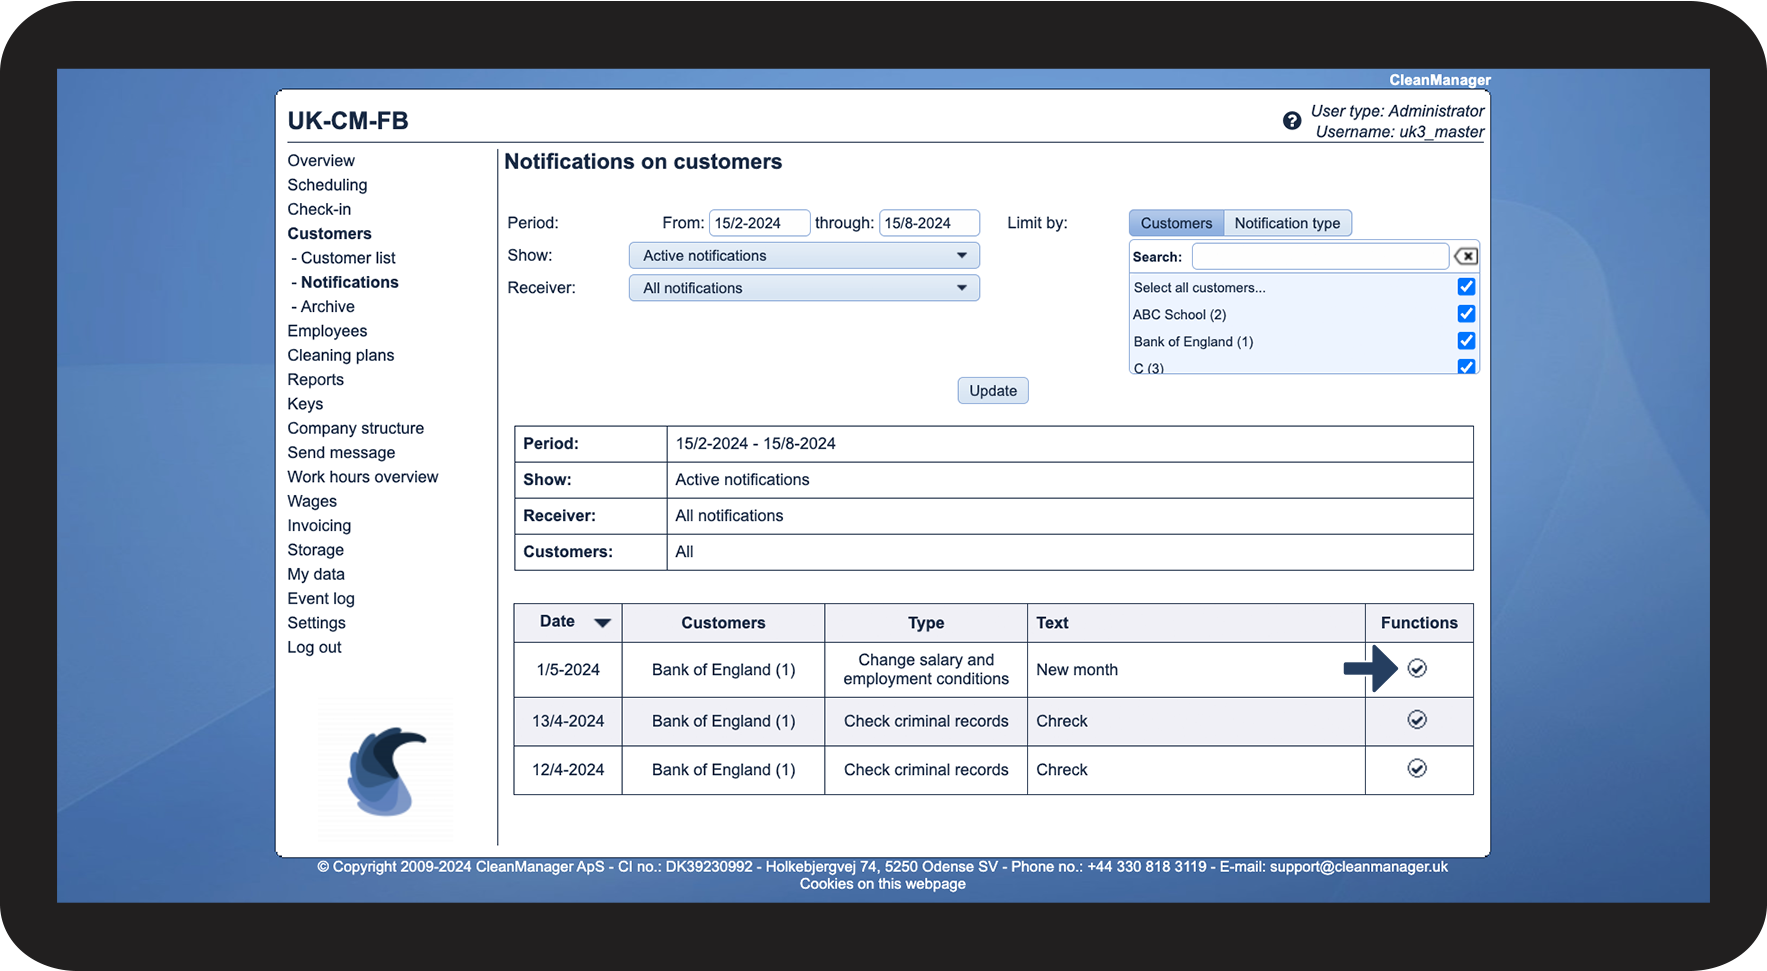

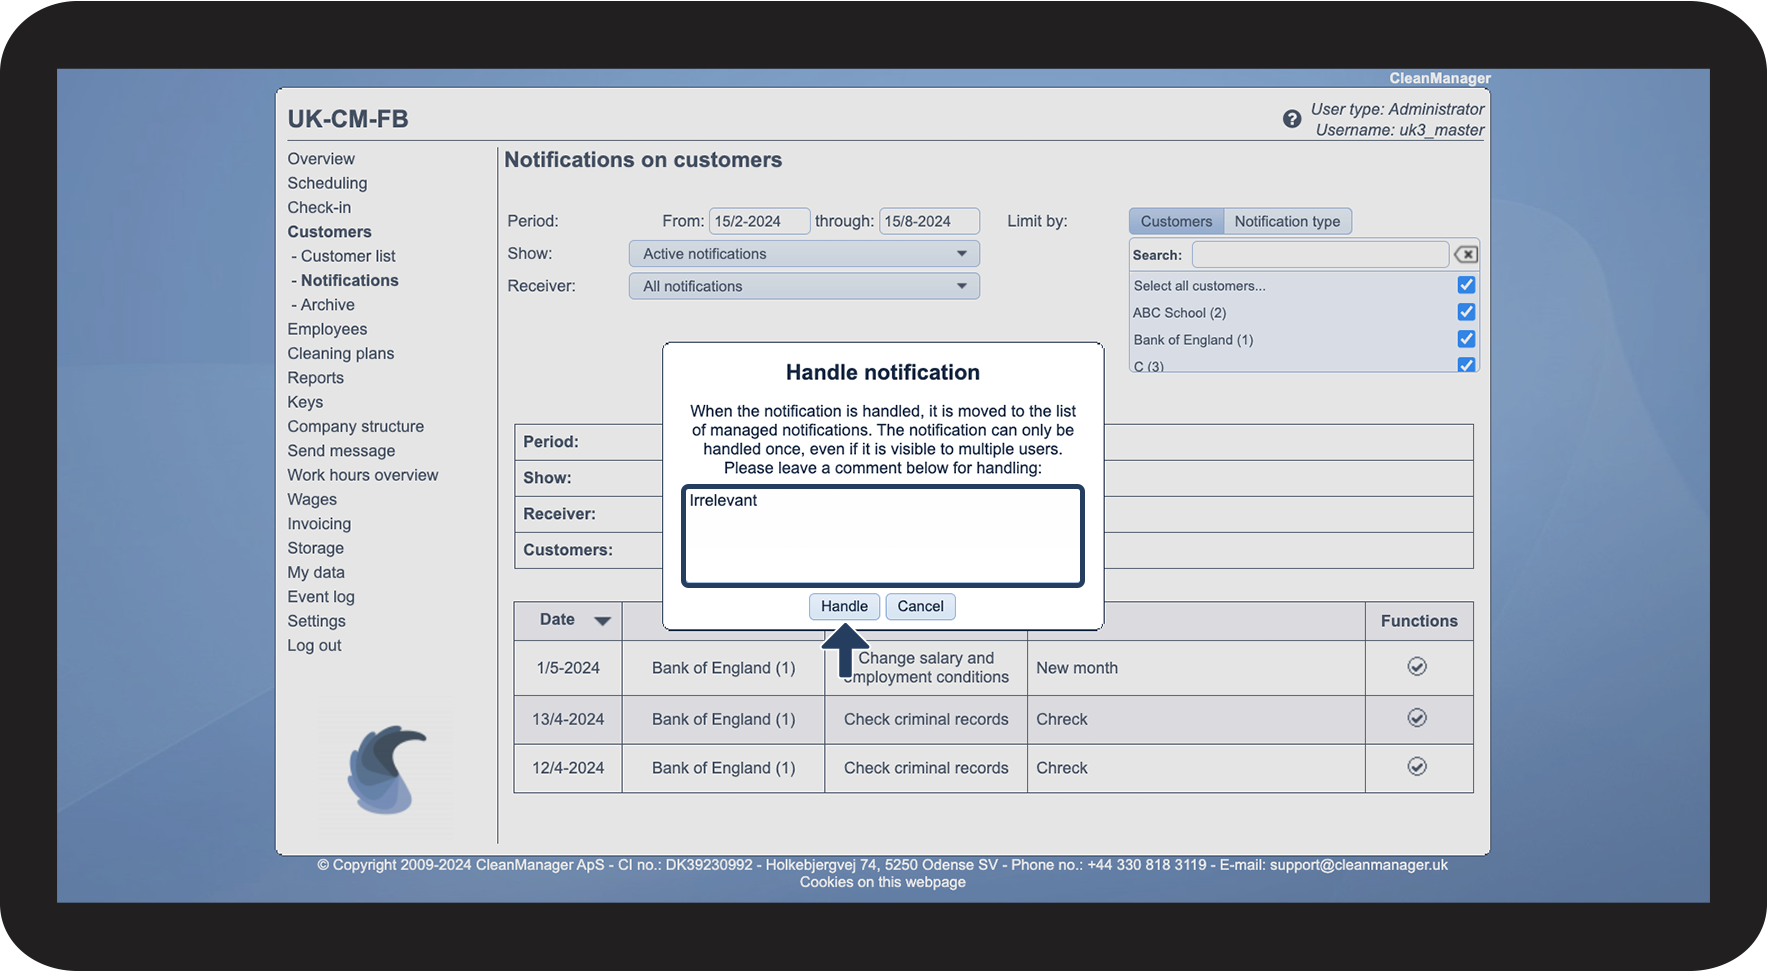
This is what each column means
Continue to the article Filtering customer notifications
Here, you can learn more about how to sort the view of your notifications.