Skip to content
English
  • There are no suggestions because the search field is empty.

Creating closing days

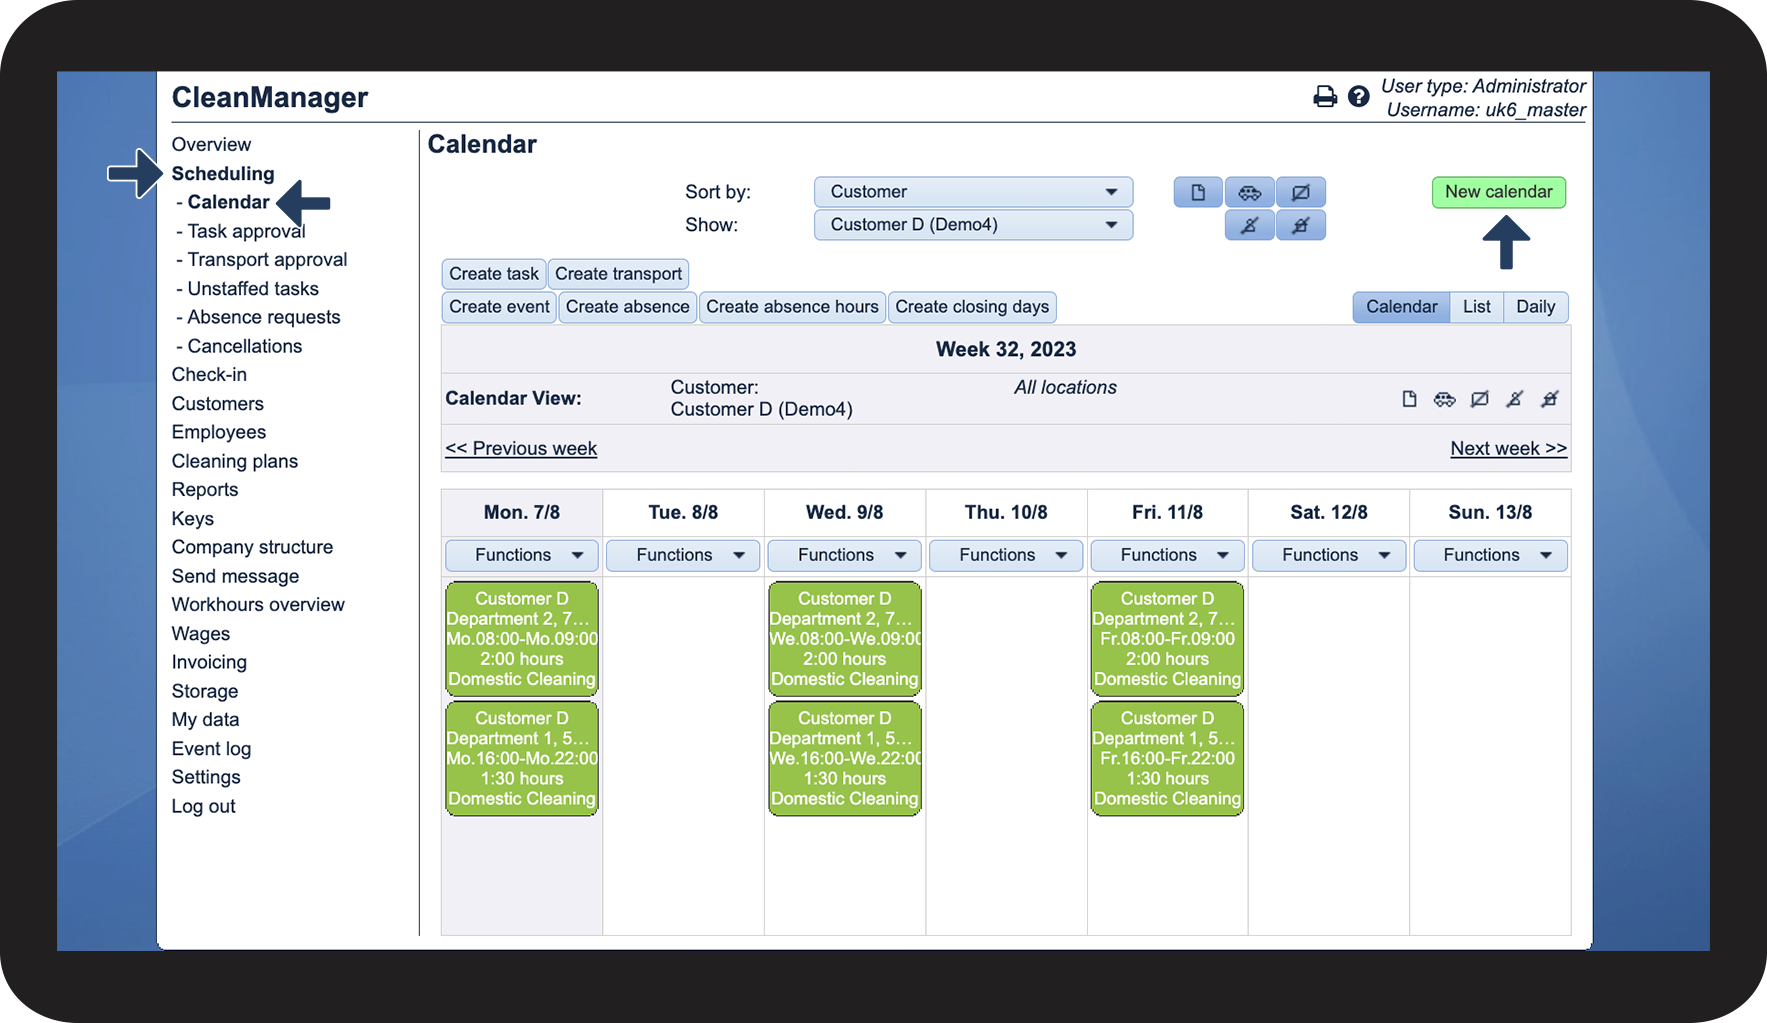
How do I create closing days?

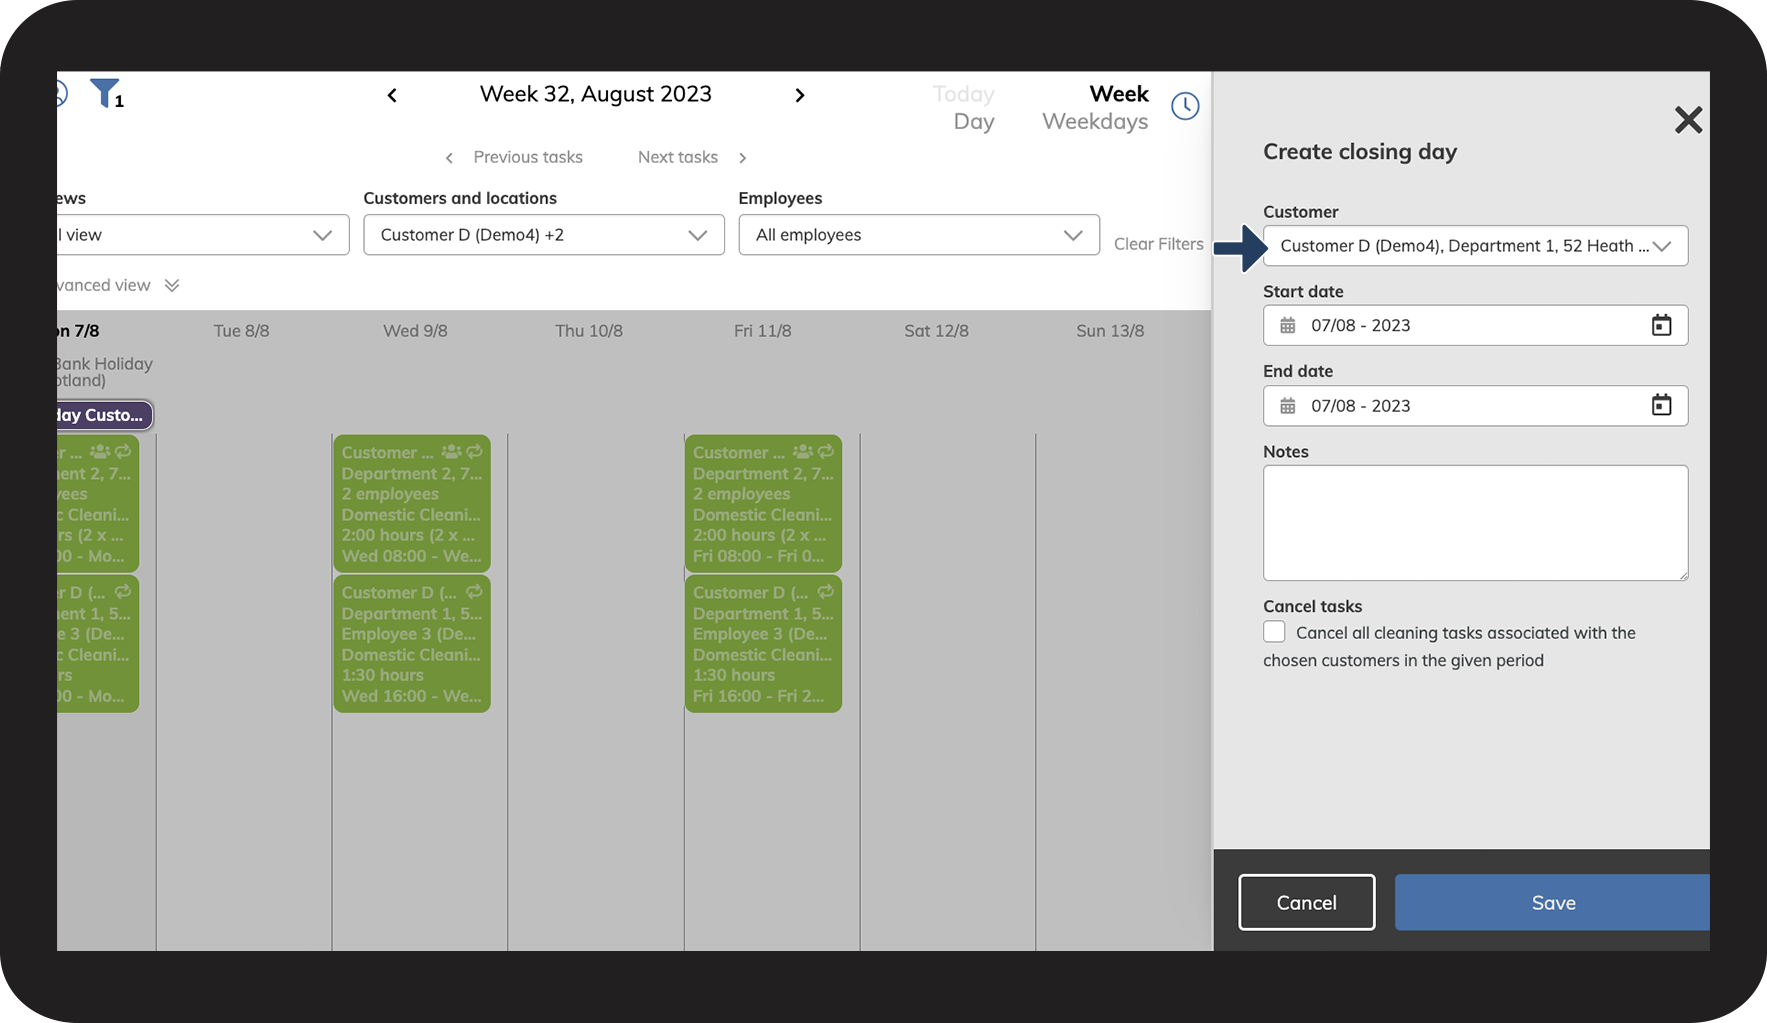
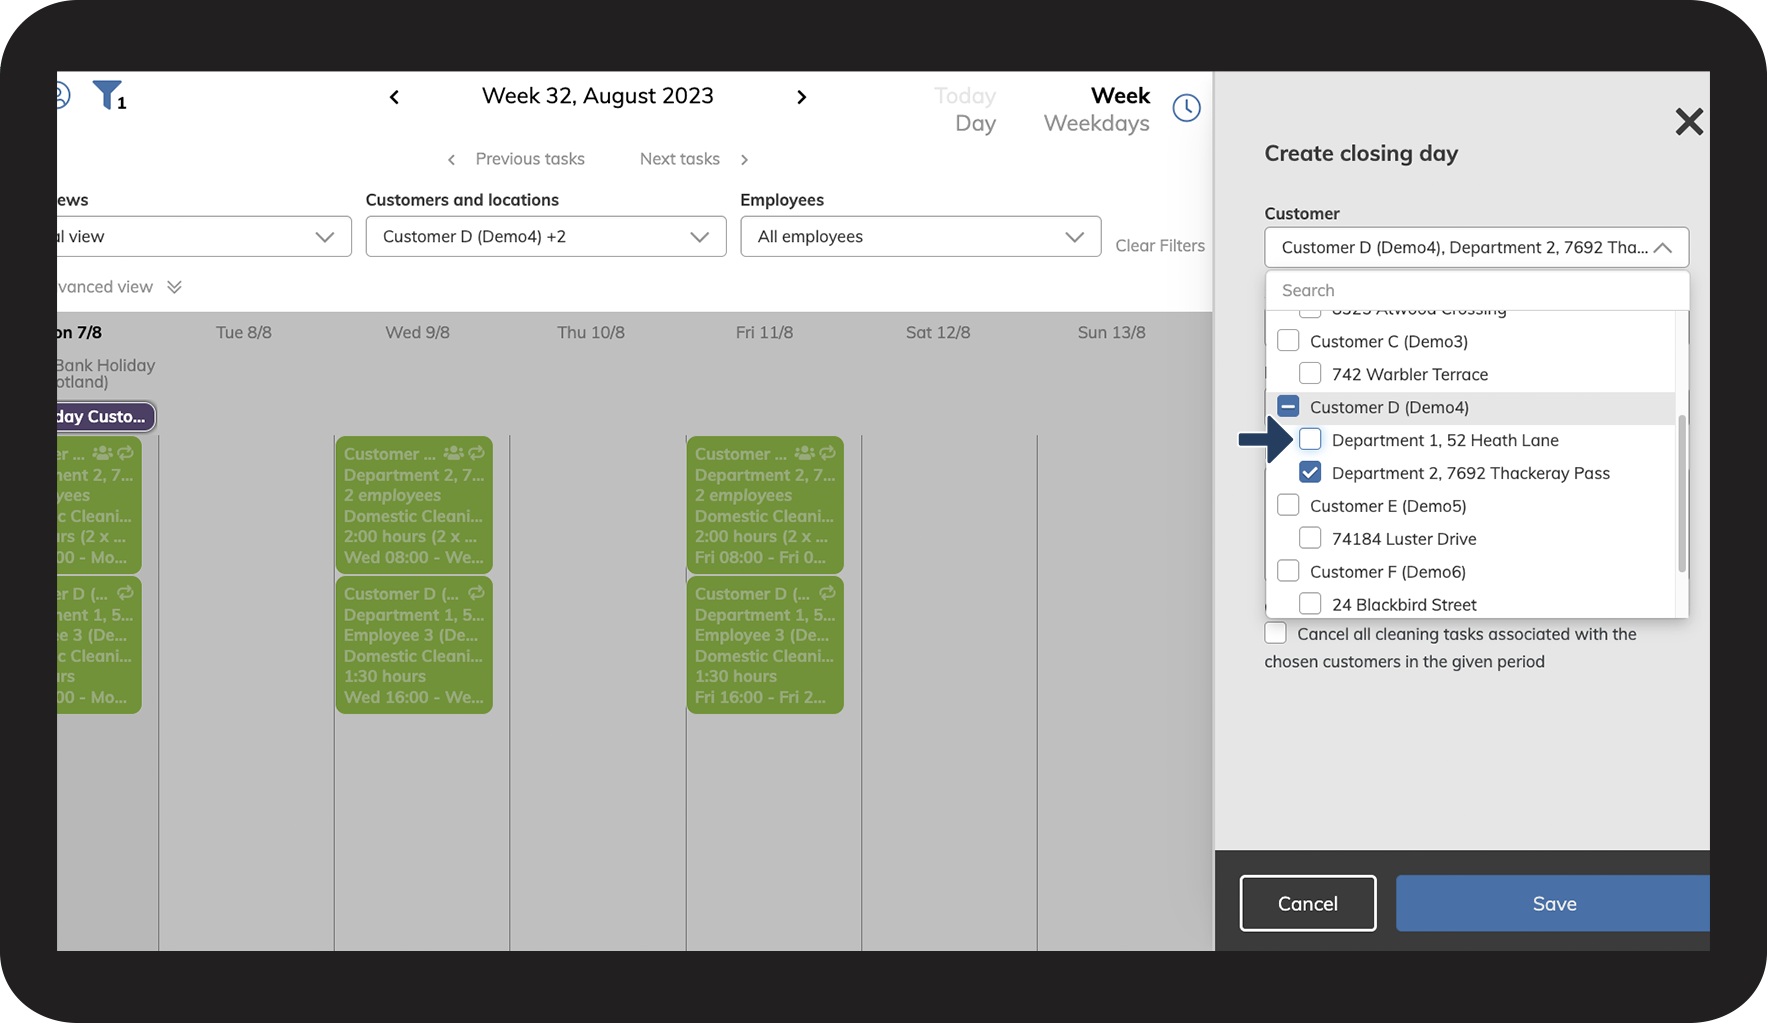
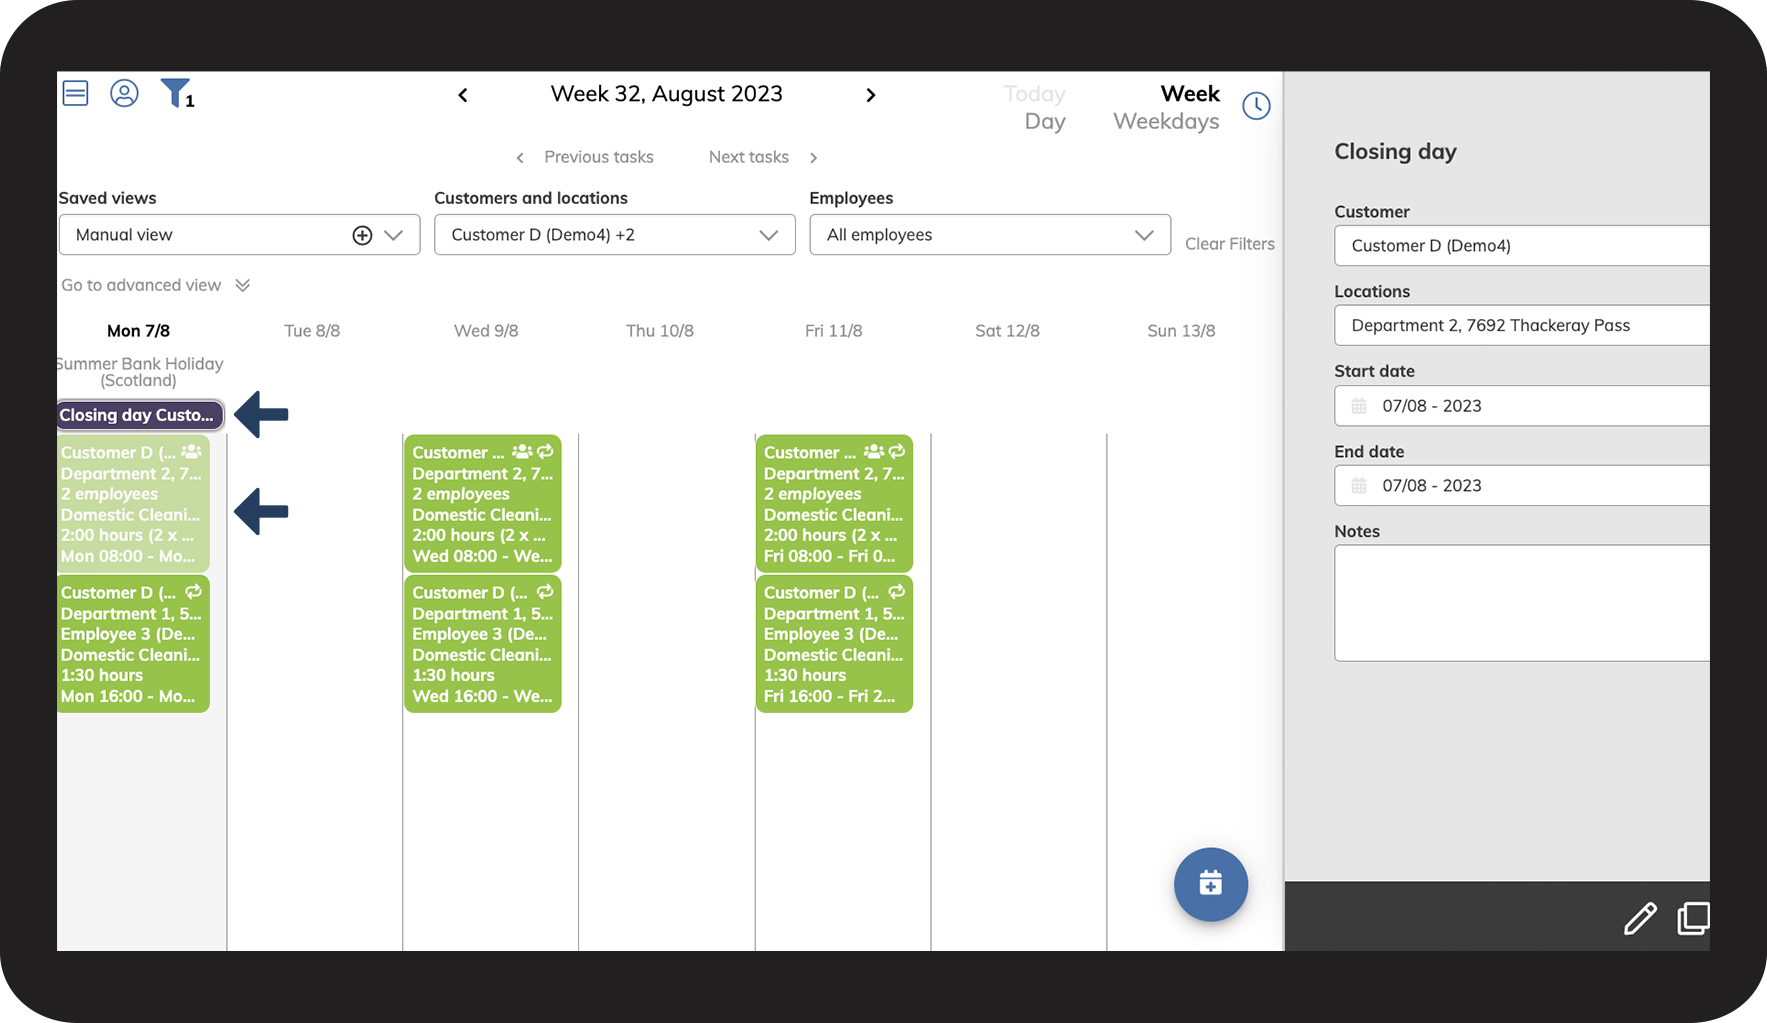
In the new calendar, you can create closing days for customers, including assigning closing days only to a specific location for the customer.

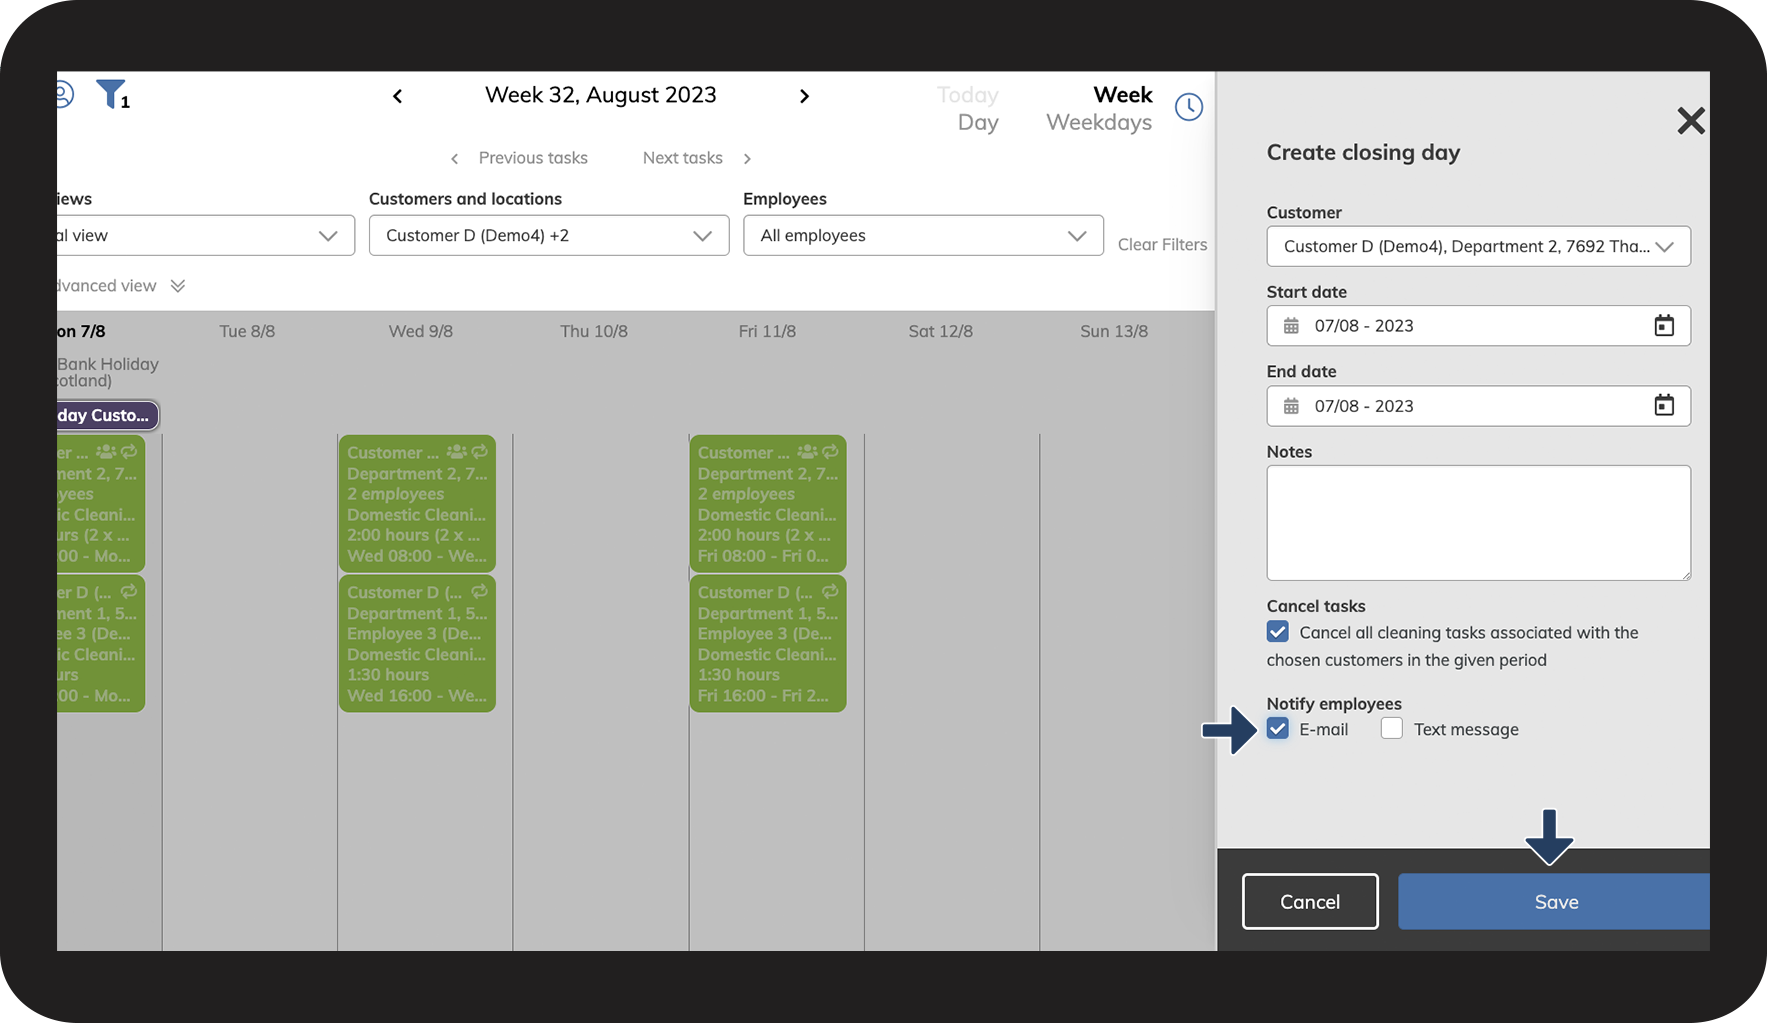
When creating a closing day, you can also cancel all tasks for the given customer and inform your employees of the cancellation.


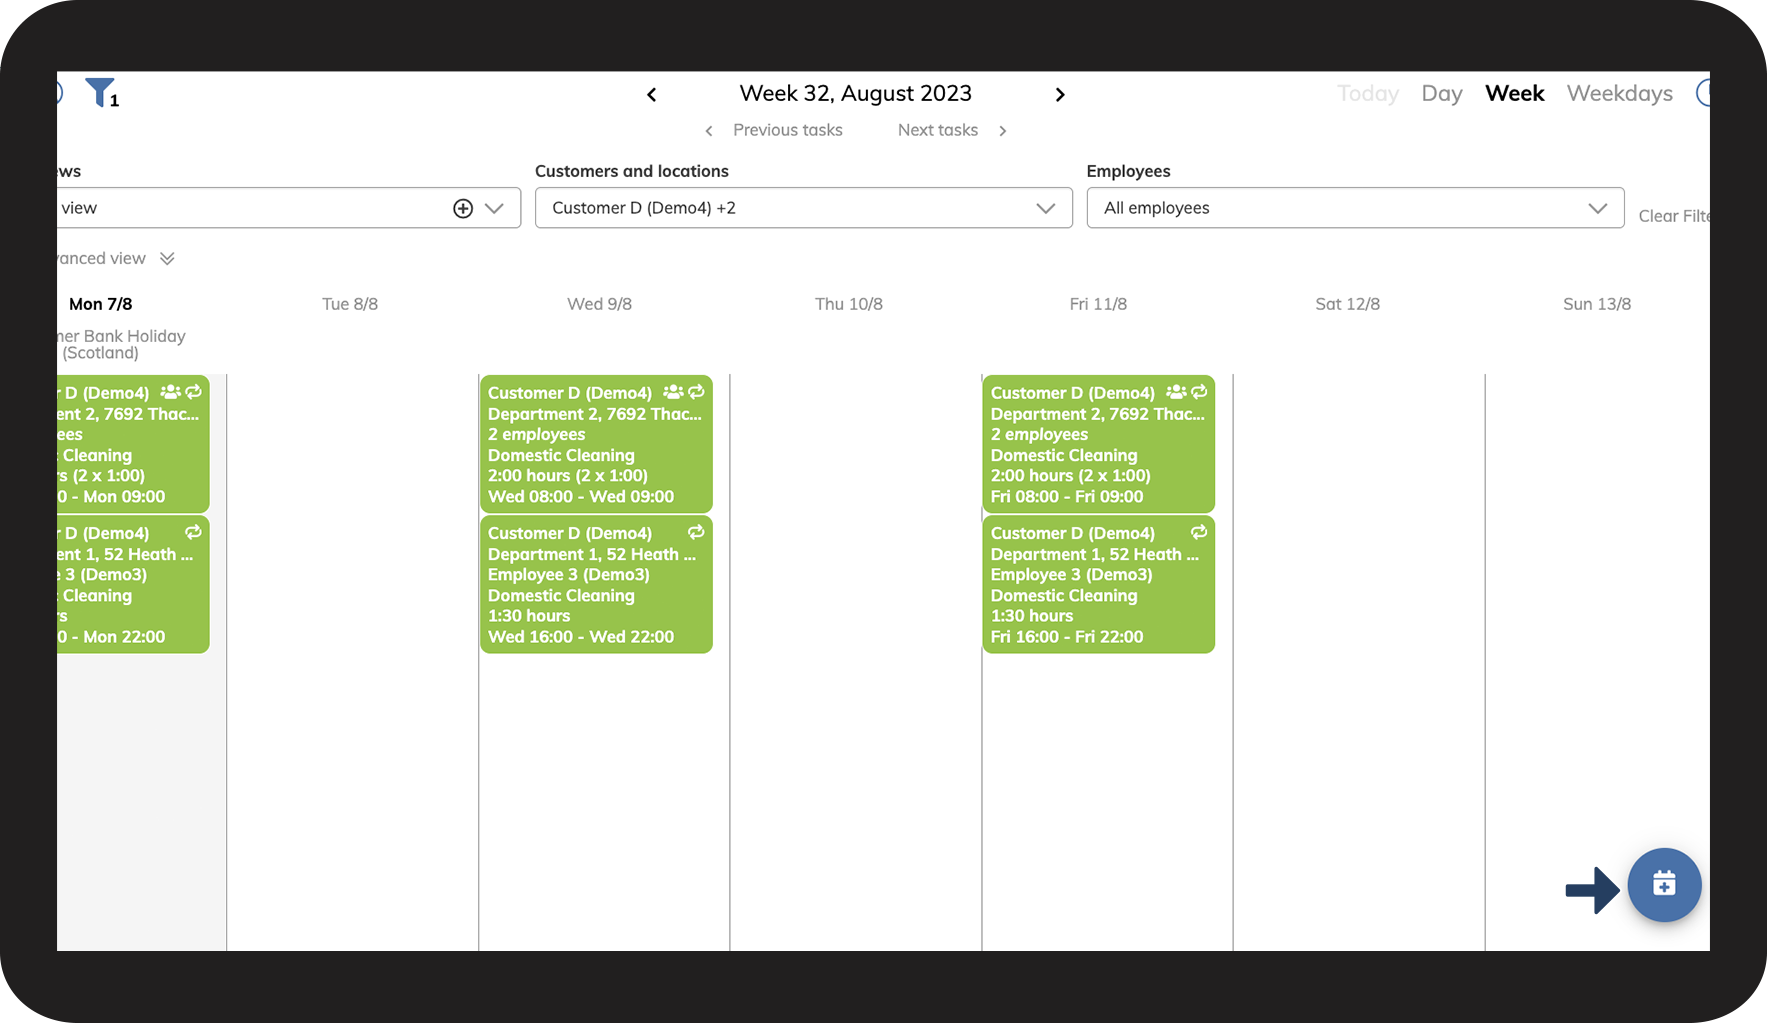
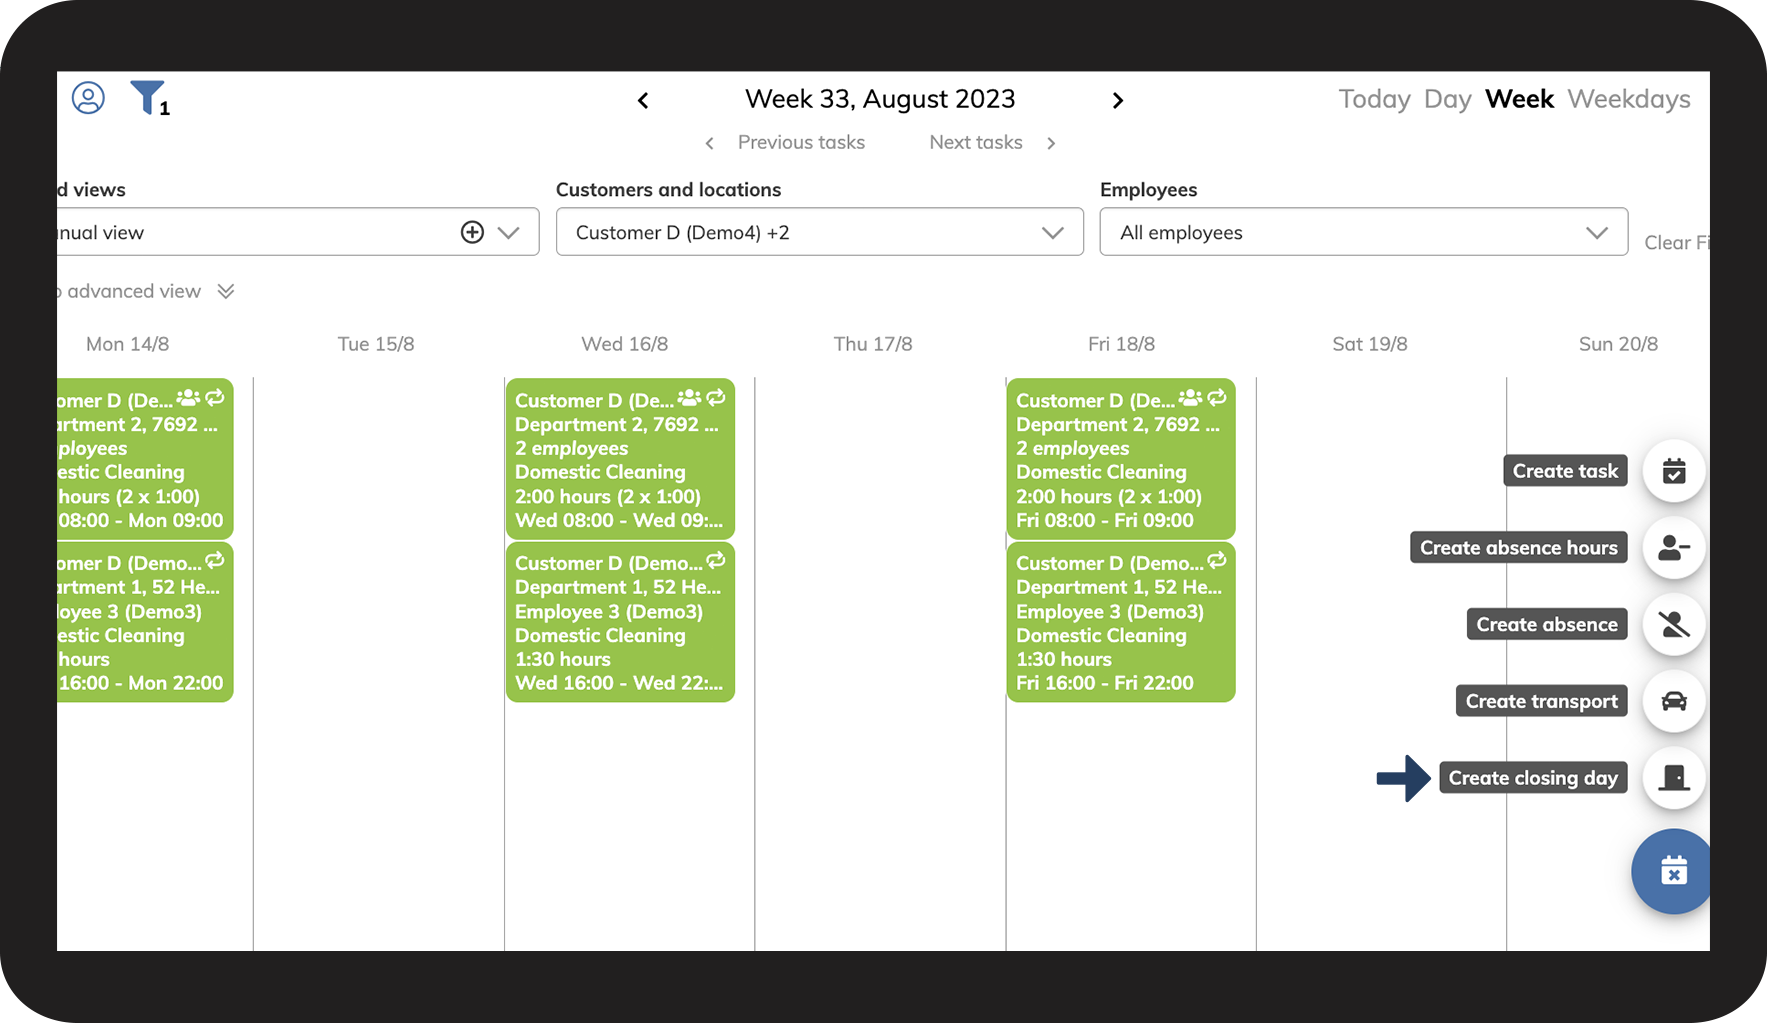
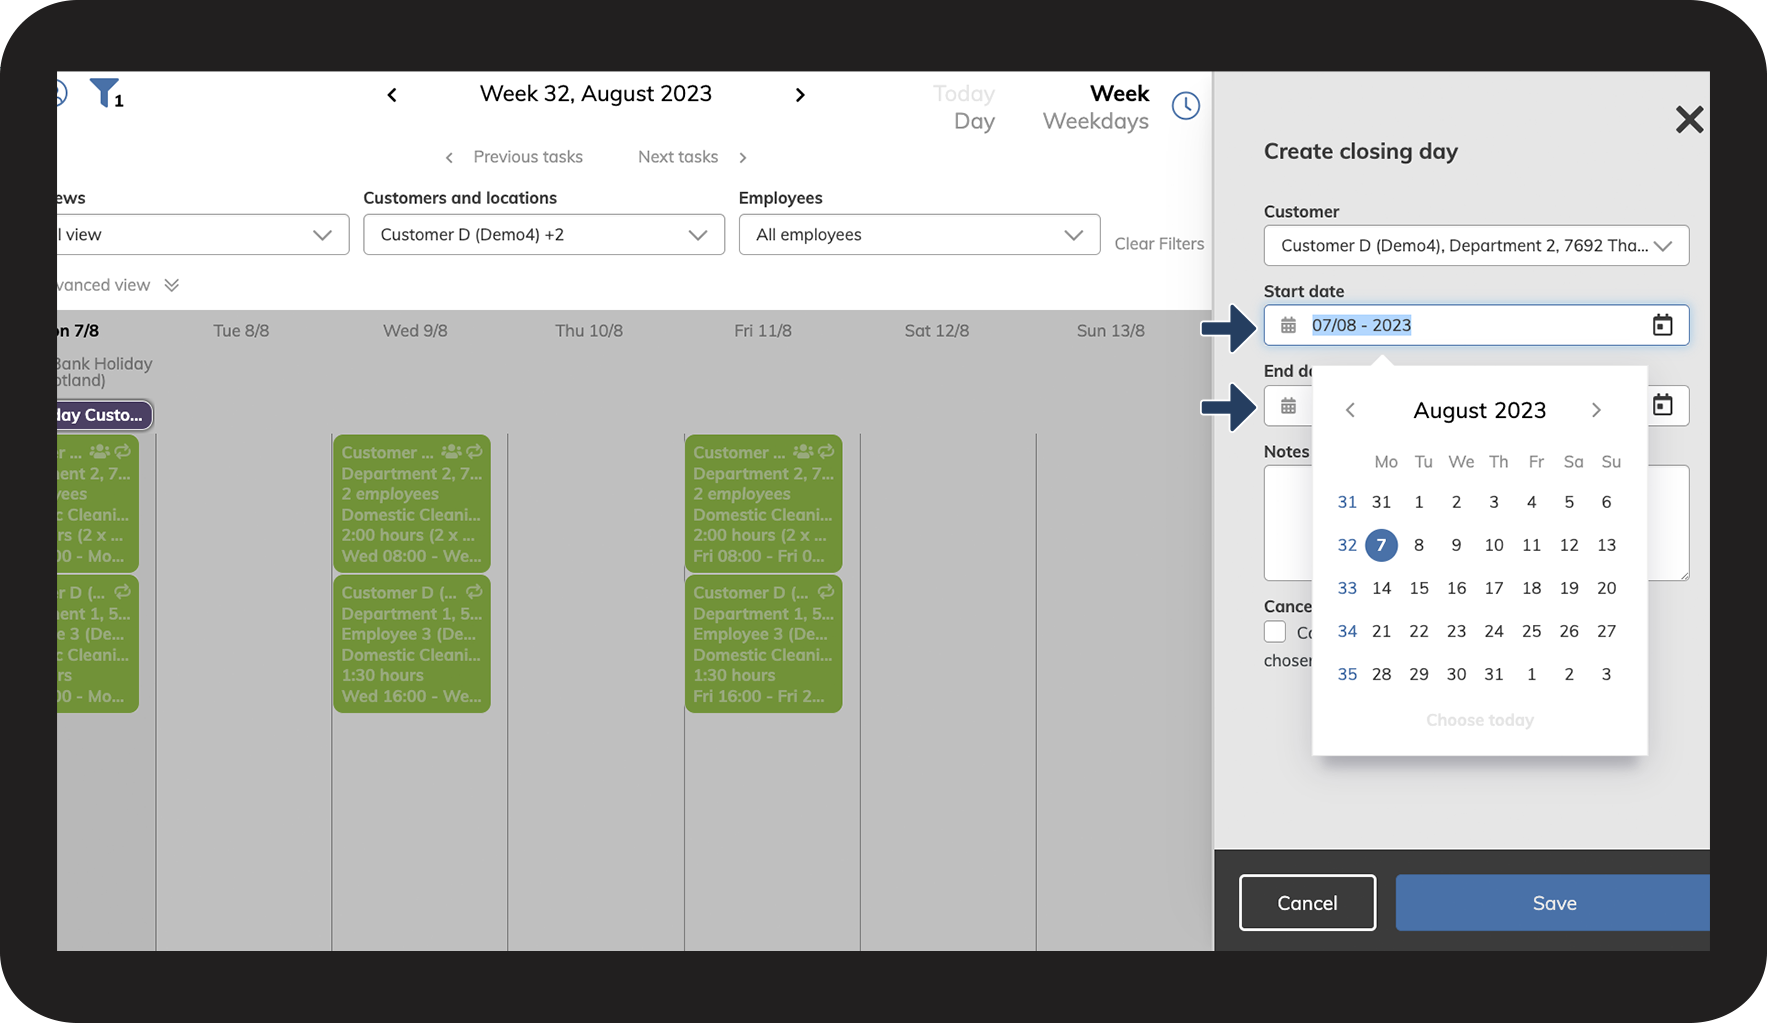
How to create a closing day

number_1.png
In the menu, go to Scheduling > Calendar
 
Click on New calendar

1.png


number_2.png

Click on Functions Funktioner.png

2.png


number_3.png
Select Create closing day Lukkedag.png

3.png


number_4.png
Open the dropdown menu for Customer

4.png


number_5.png
Select the customer that you want to create a closing day for (you can also select multiple customers)

5.png


number_6.png
Deselect any locations that you do not want to create a closing day for

6.png


number_7.png

Enter a start and end date for the closing period

7.png


number_8.png
Check off Cancel tasks to cancel all tasks within the closing period

8.png


number_9.png
Check off Notify employees to notify your employees of the cancellation
 
Click on Save to finish

9.png


number_10.png
The closing day is now created, the task is canceled, and your employees have been notified

10.png