How do I set up an integration between CleanManager and Dynamics 365 Business Central?
Note
CleanManager only supports Single tenant Business Central with authentication through Microsoft Azure.
To be able to integrate CleanManager with Dynamics 365 Business Central, the following three accesses are required:
- Admin access to Azure
- Admin access to Dynamics 365 Business Central
- Admin access to CleanManager
Should you not have admin access to one of these three software, it is vital that you contact those who have, since without, it will not be possible to achieve a successful integration.
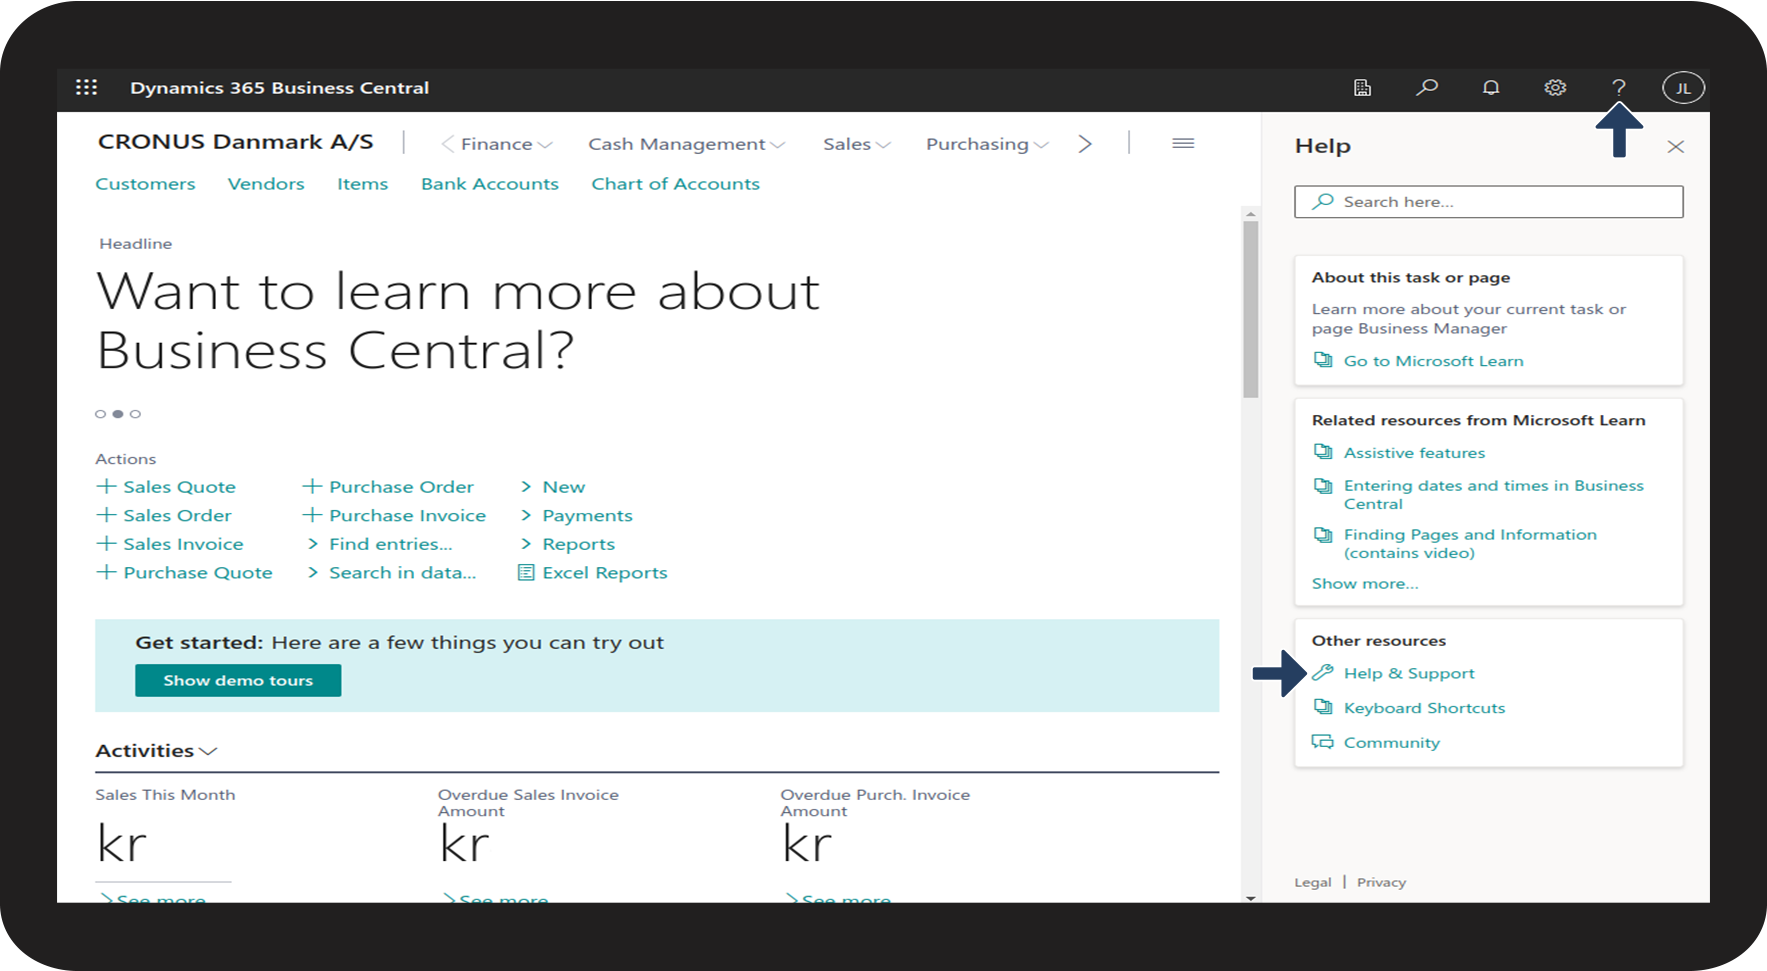
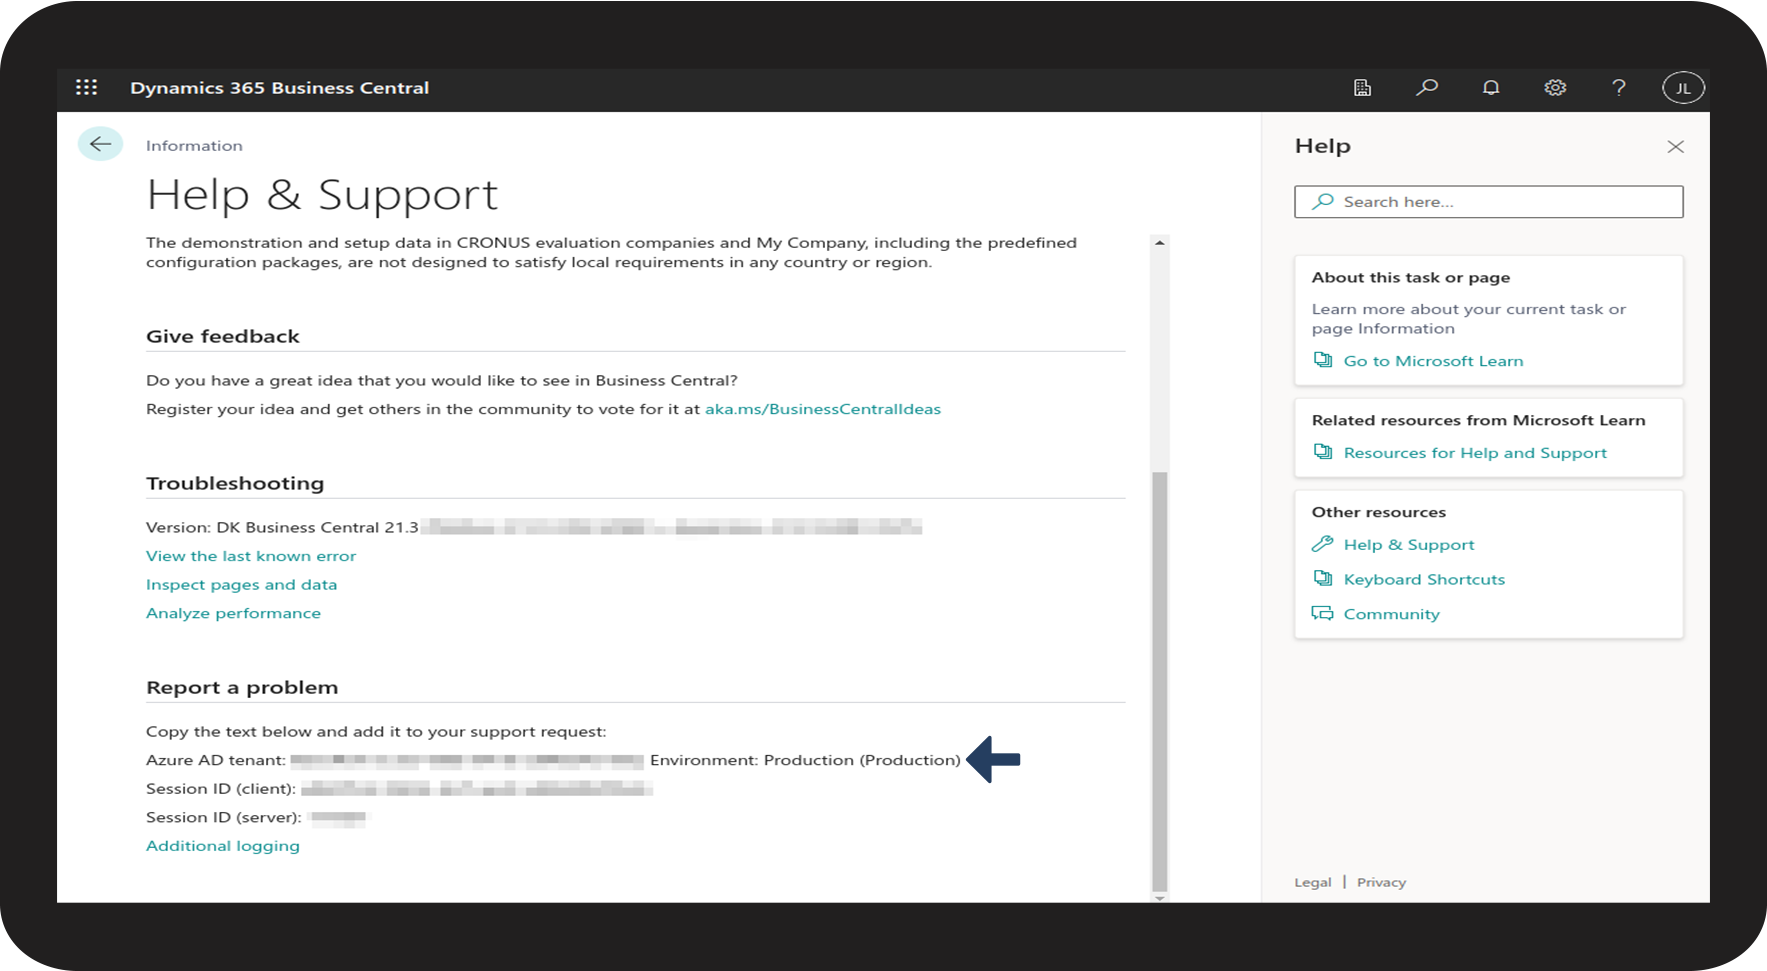
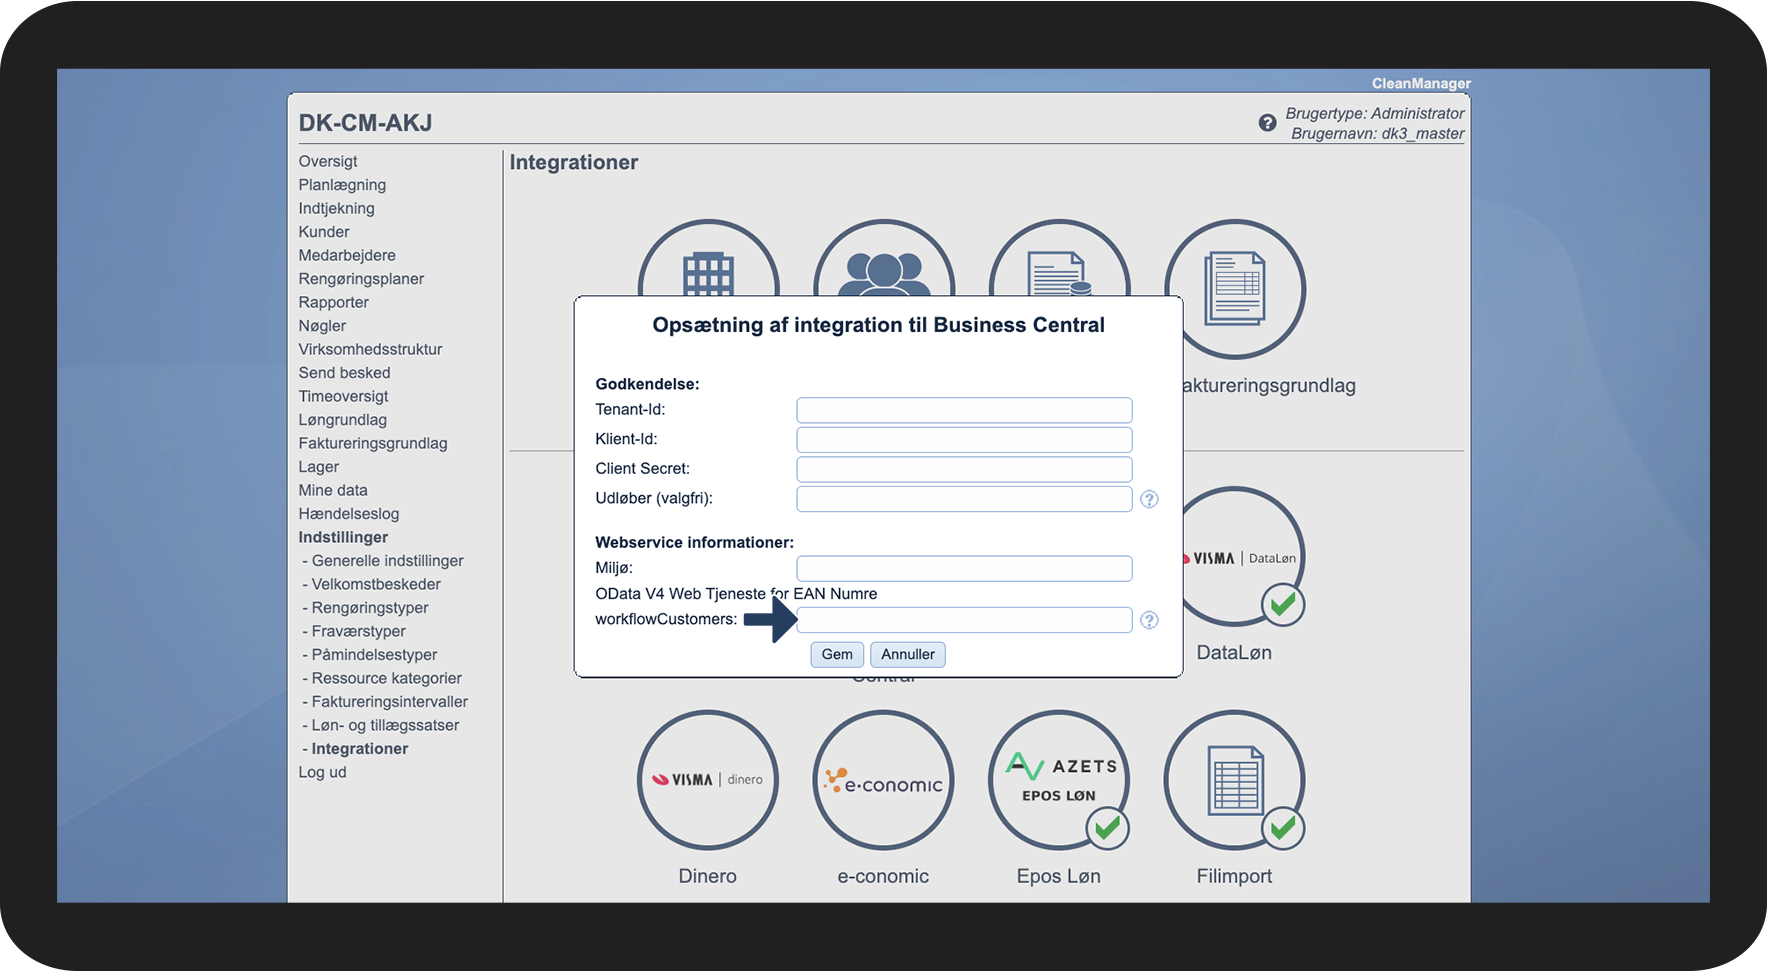
The required information from Dynamics 365 Business Central, for the integration to Cleanmanager is:
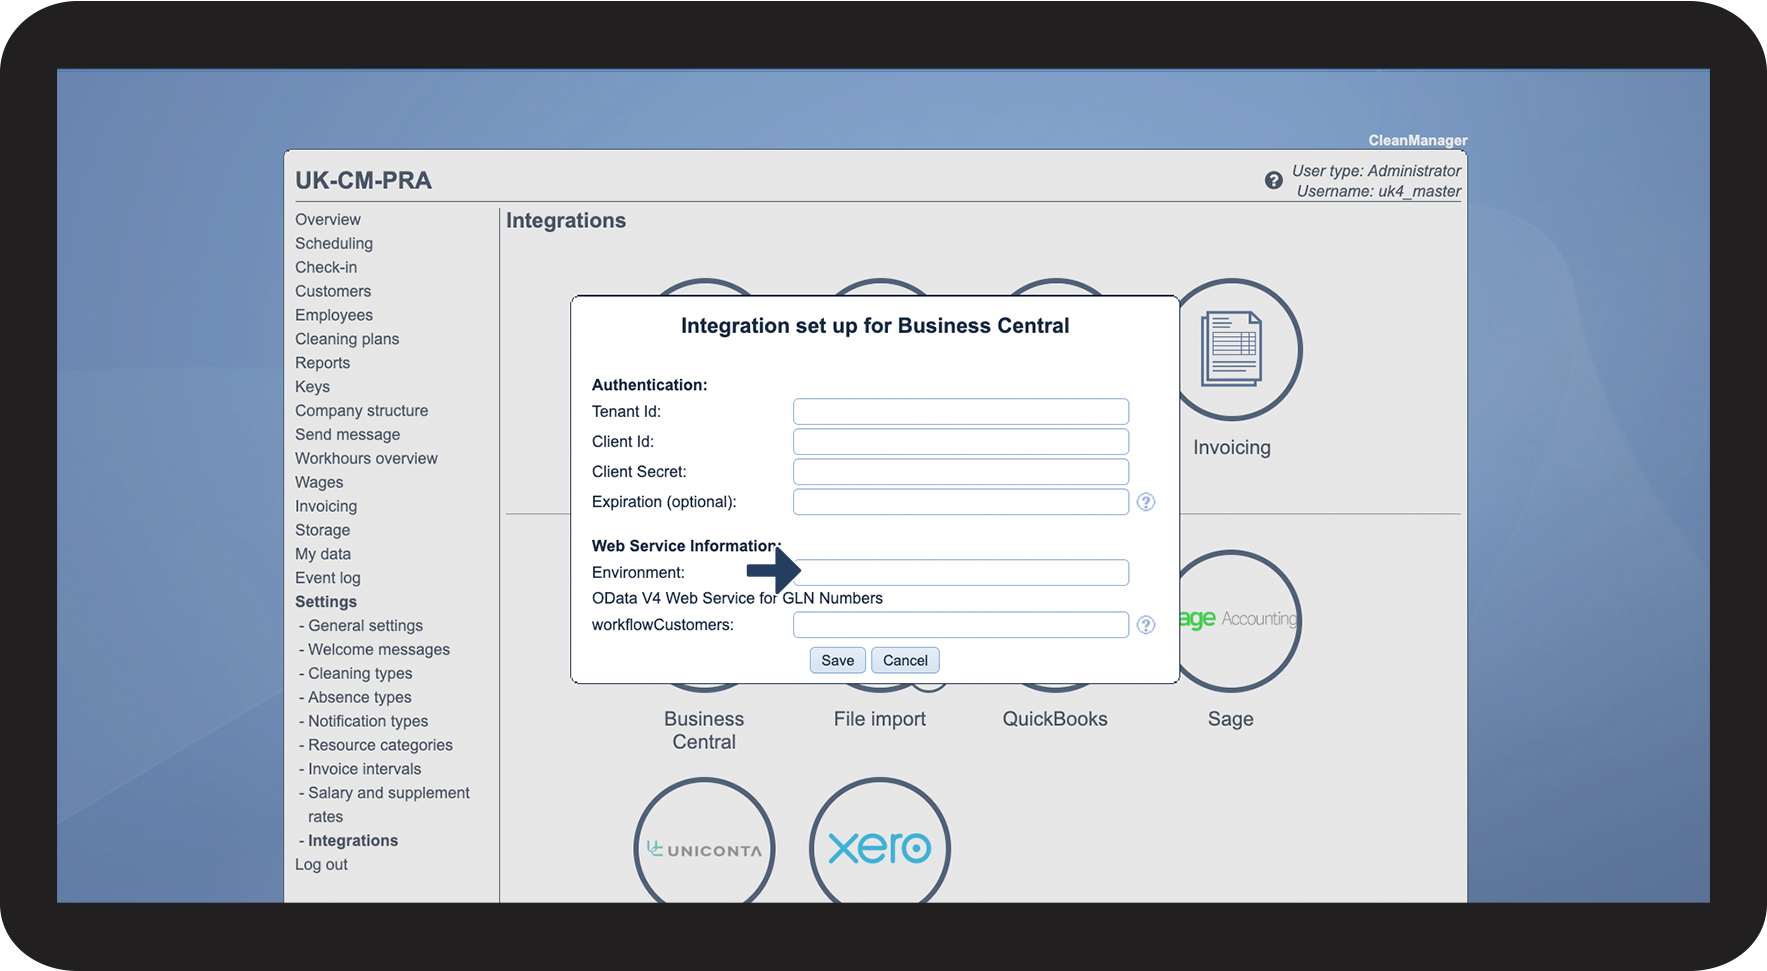
- Environment
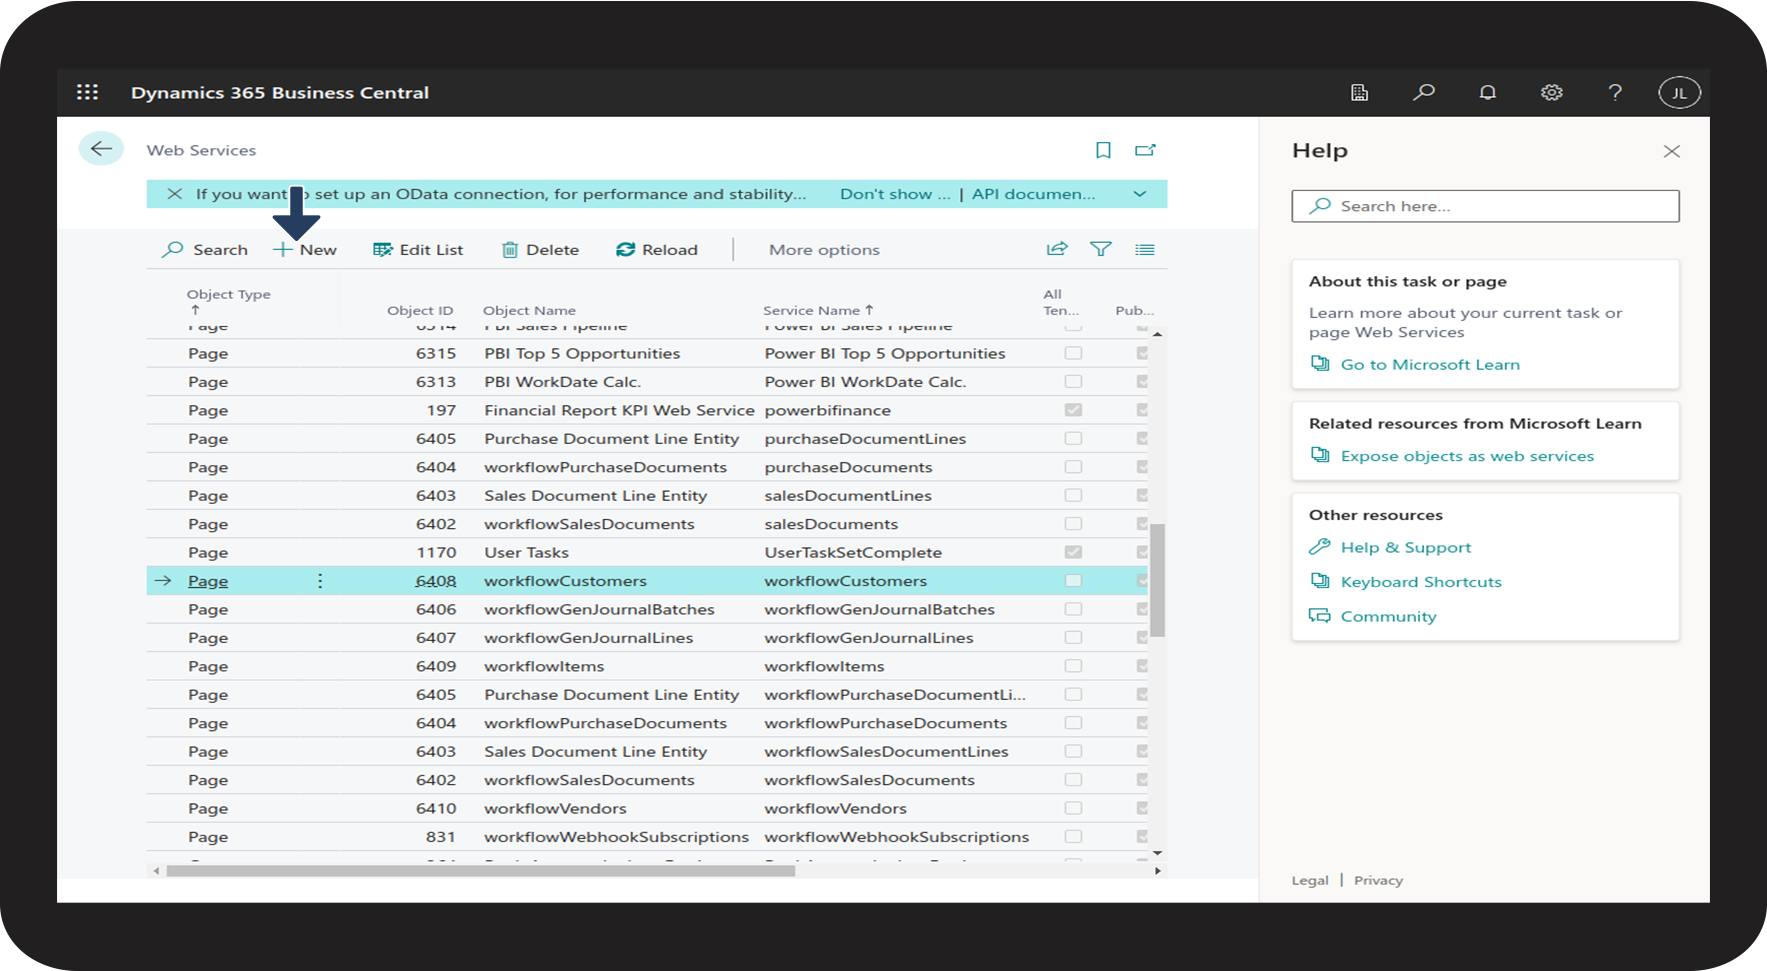
- workflowCustomers URL
- Permissions for CleanManager
Read more about the successful integration of Dynamics 365 Business Central with CleanManager:
- 2. Part: How do I set up Dynamics 365 Business Central for an integration with CleanManager?
- 3. Part: How do I complete the integration between CleanManager and Dynamics 365 Business Central?
2. Part: This is how you set up Dynamics 365 Business Central for an integration with CleanManager
This part of the guide will focus on how to acquire the name of your Environment, as well as how to grant permission to CleanManager, to integrate with Dynamics 365 Business Central.


INFO:
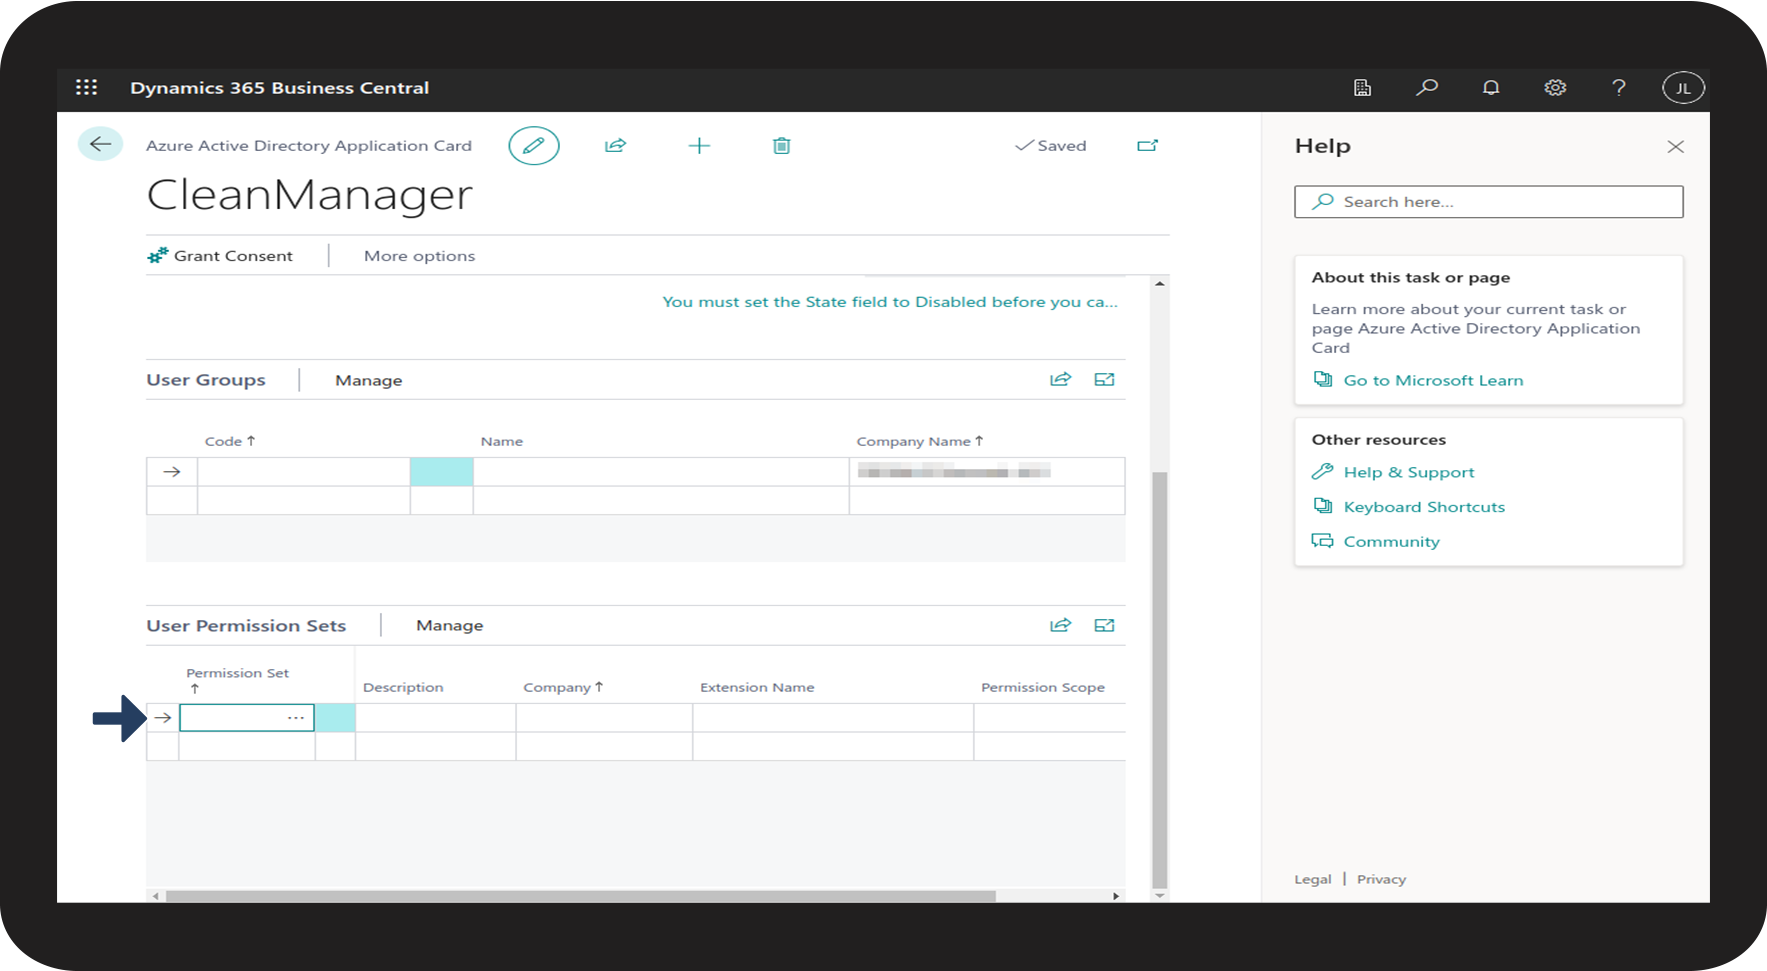
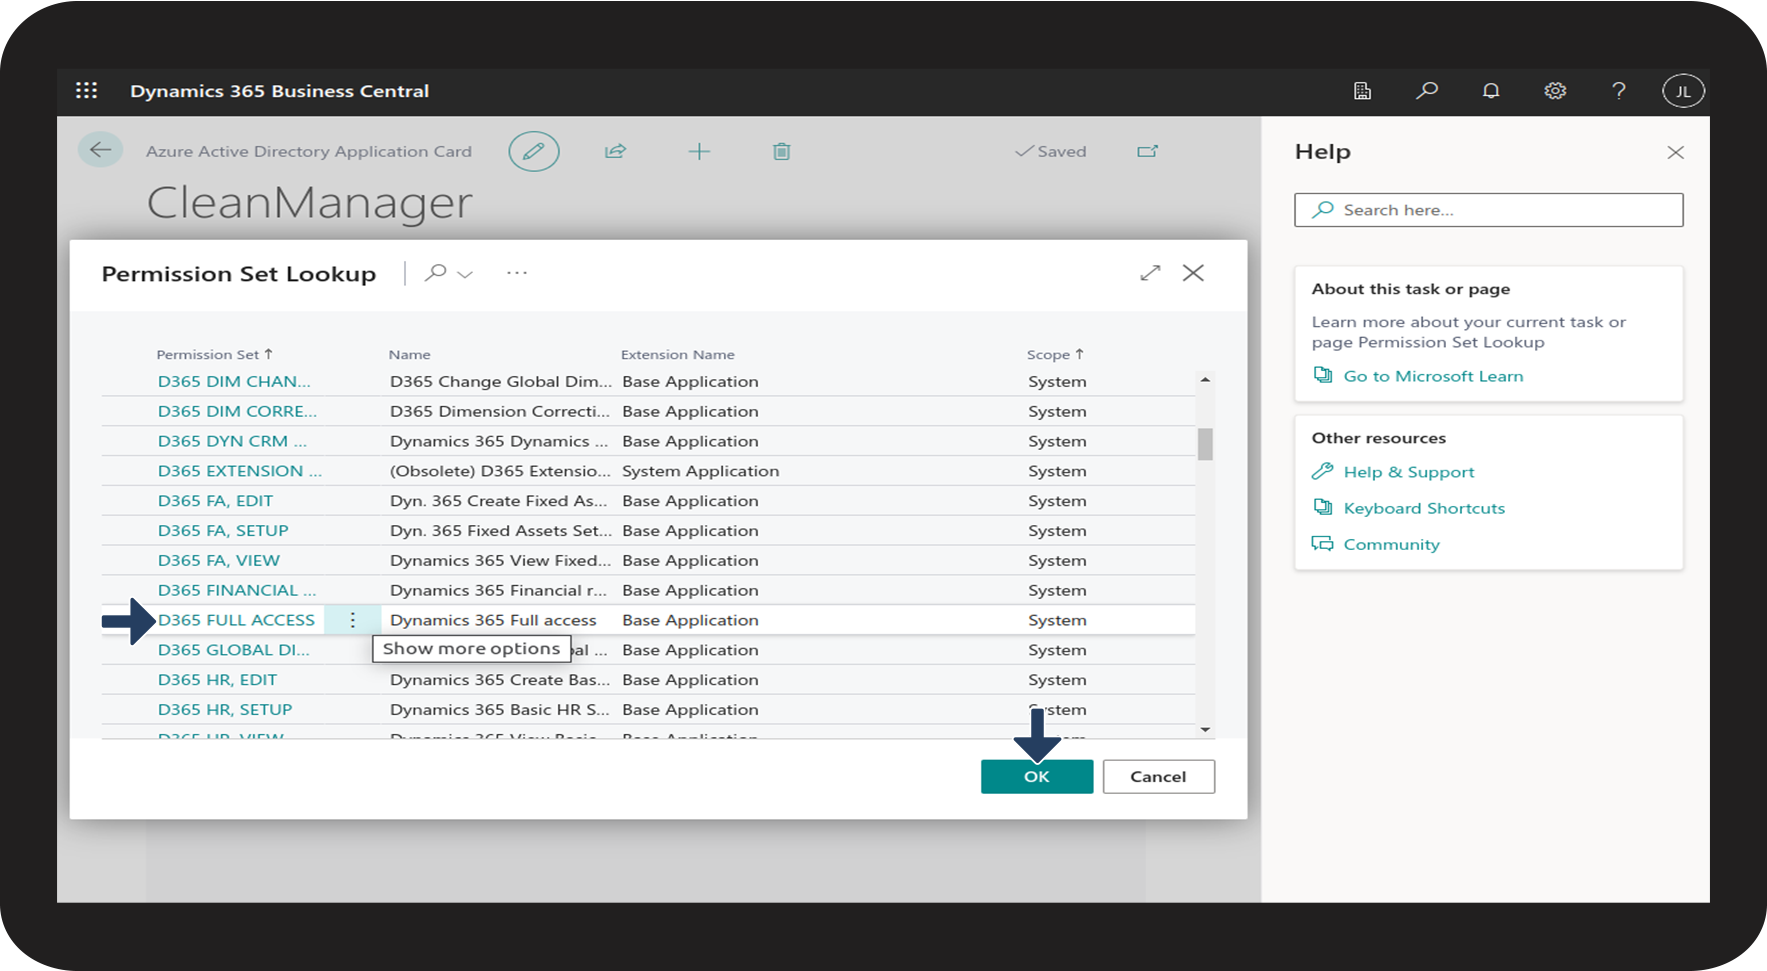
If you do not wish to grant CleanManager full access to your Dynamics 365 Business Central account, it is important that CleanManager gets access to the following:
- Customers
- workflowCustomers
- Items
- Sales invoices
- Sales invoice lines
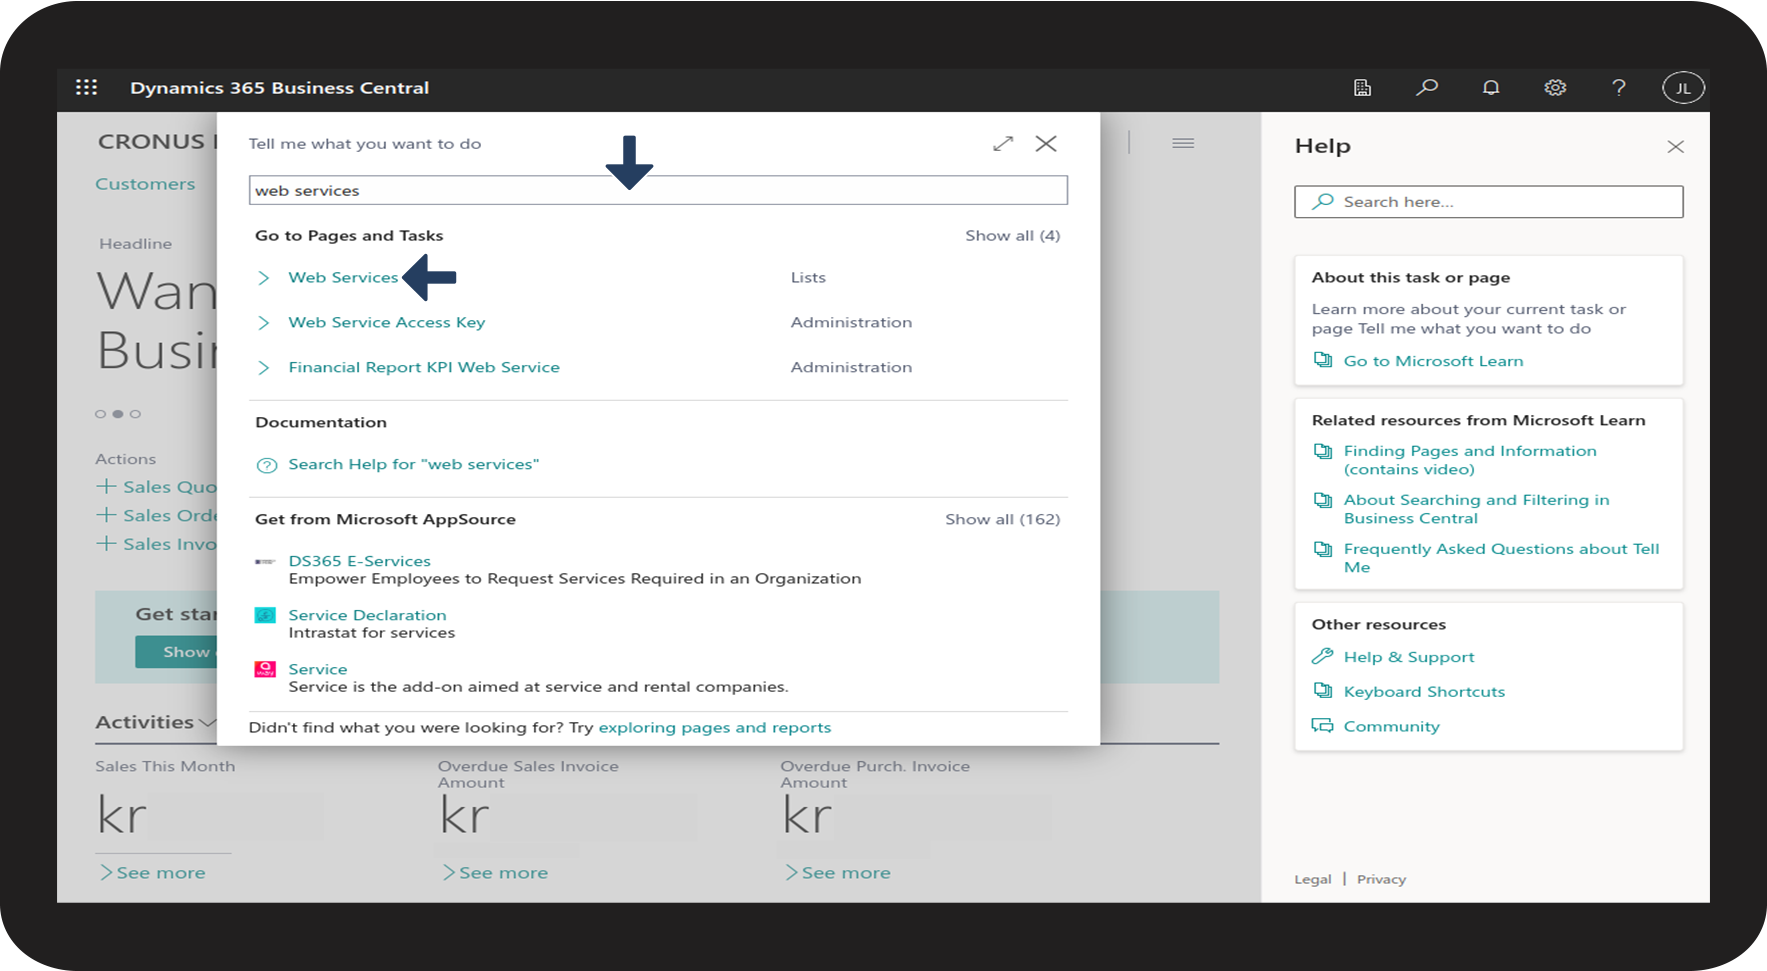
Part 2.1 This is how you set up Web Services in Business Central
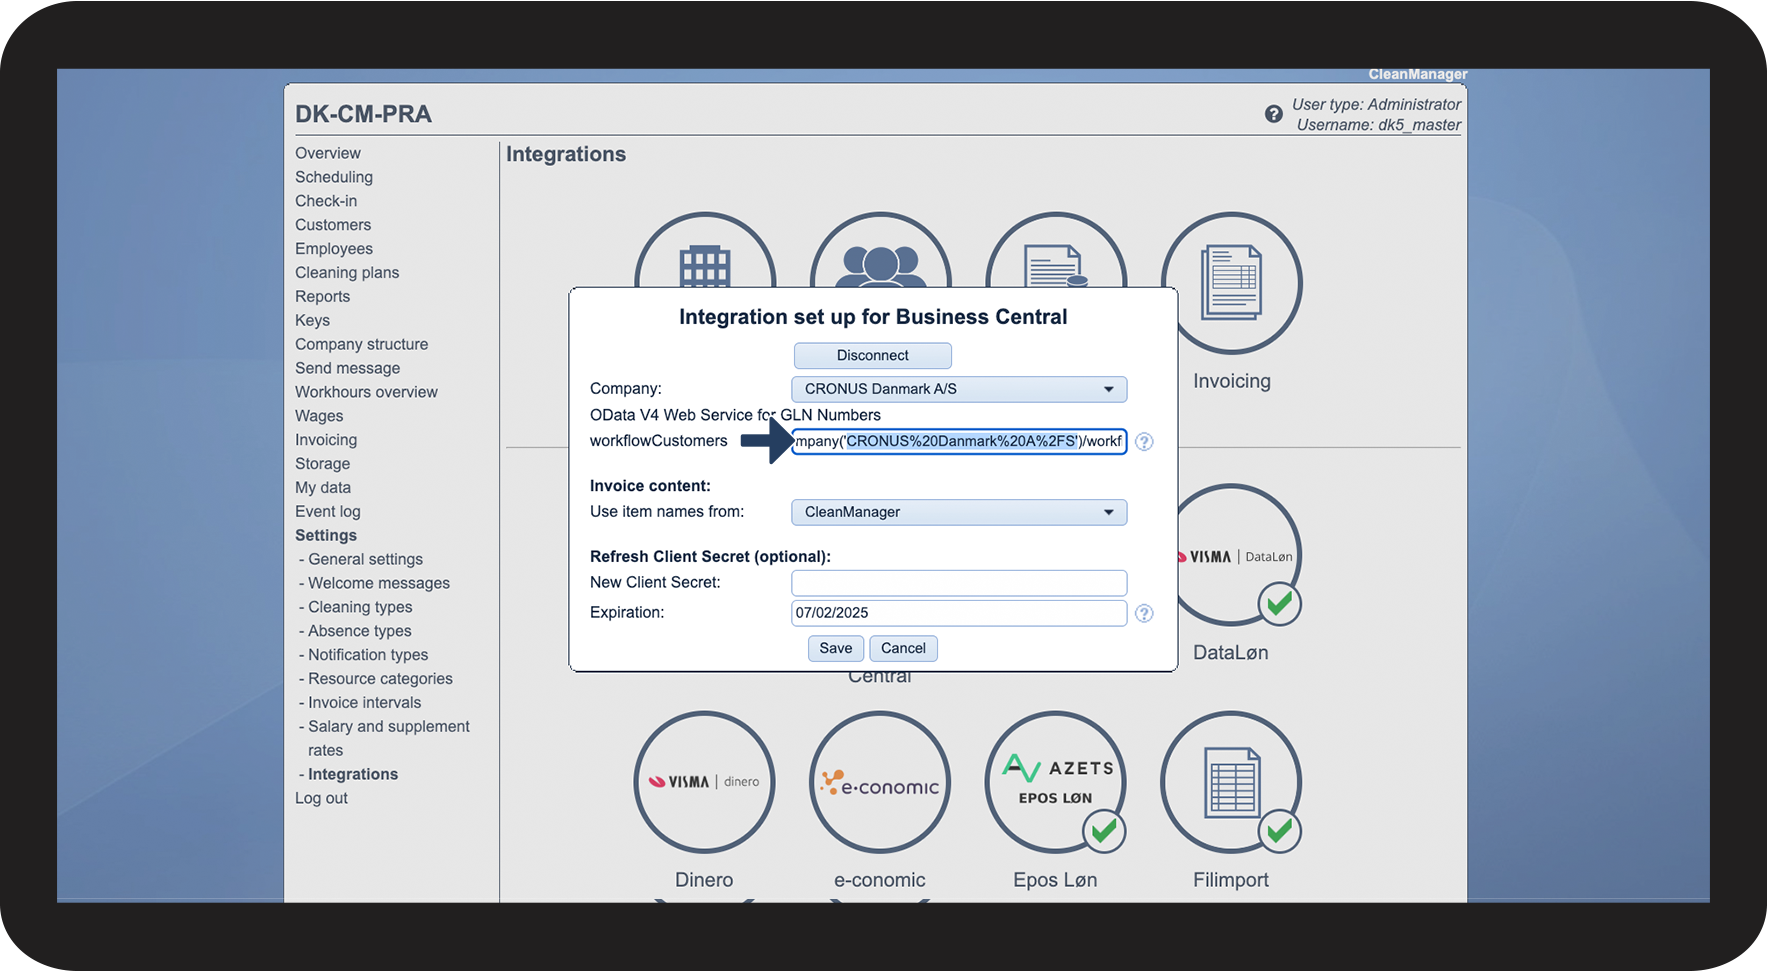
In this part, we will go through the process of how you find your workflowCustomer OData V4 URL.
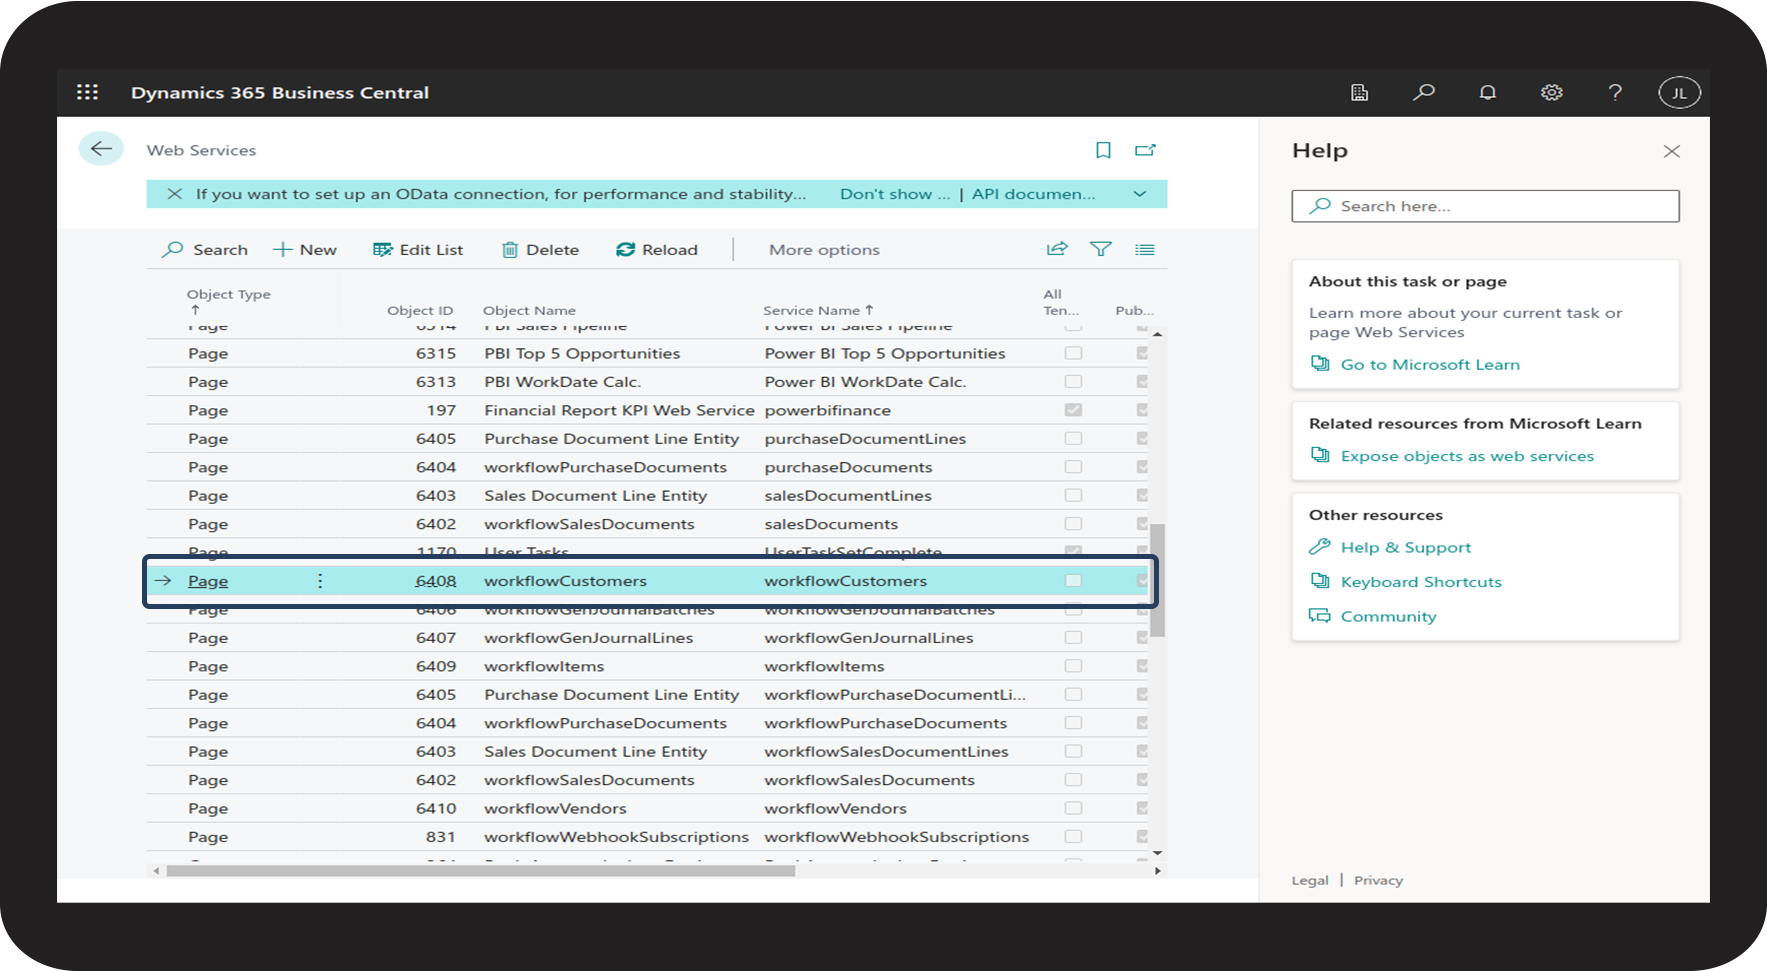
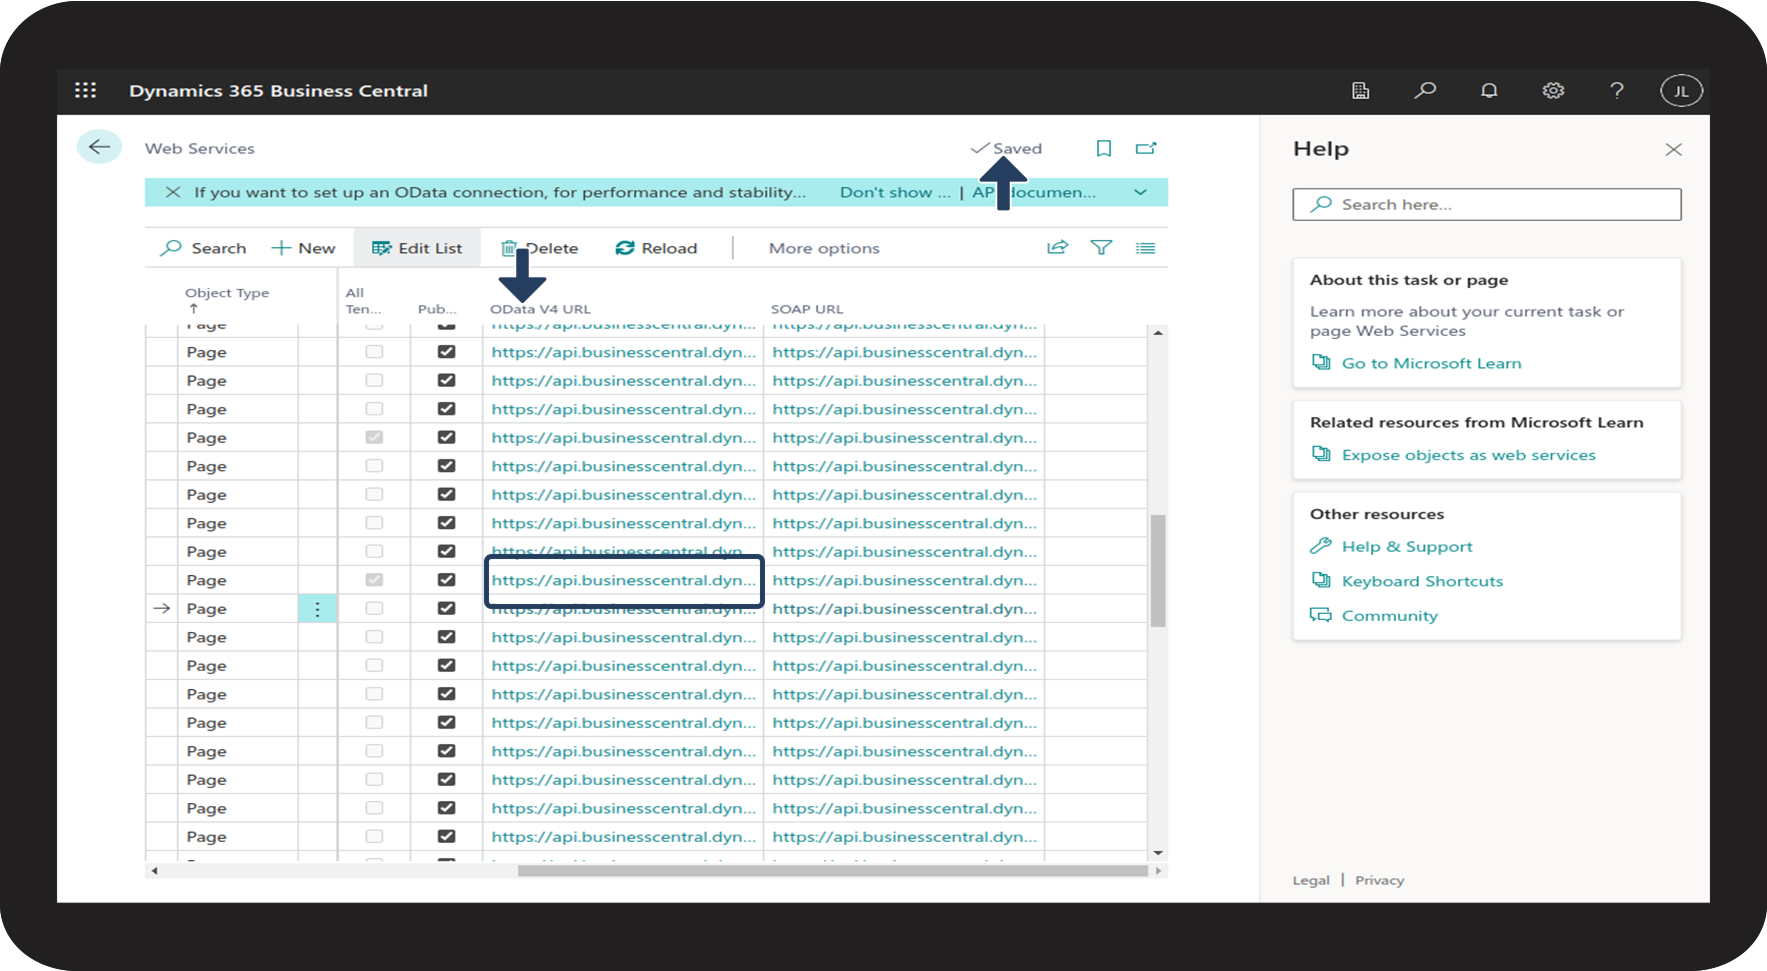

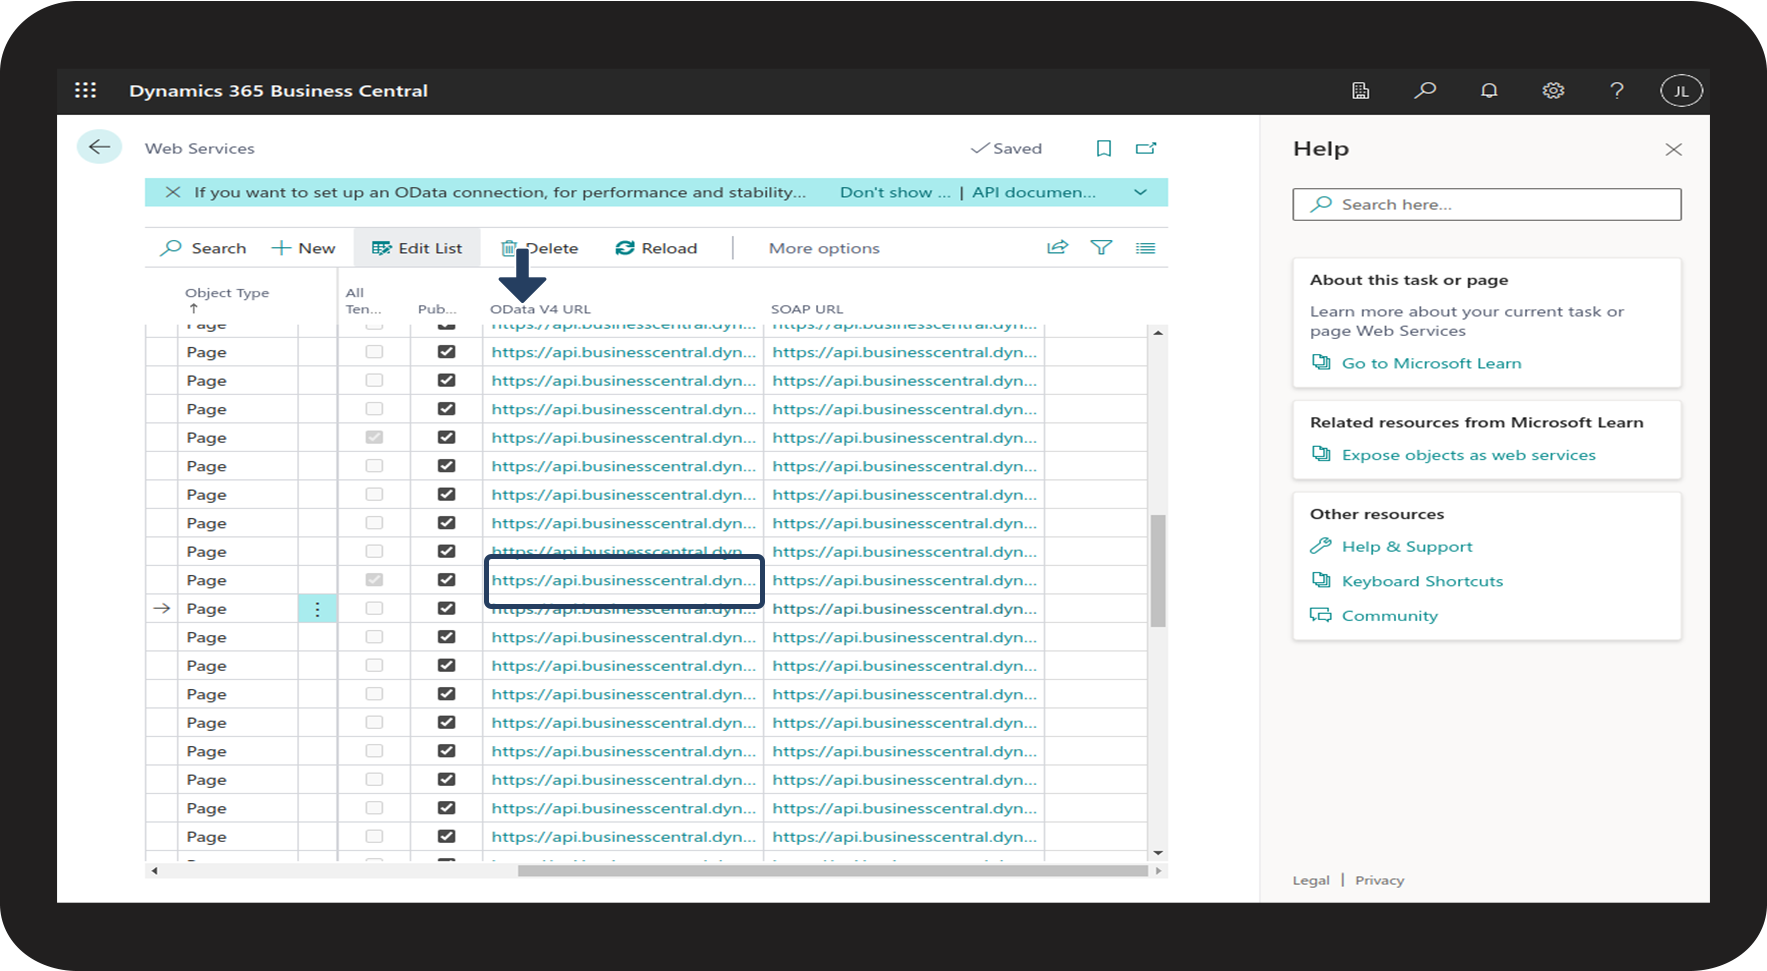
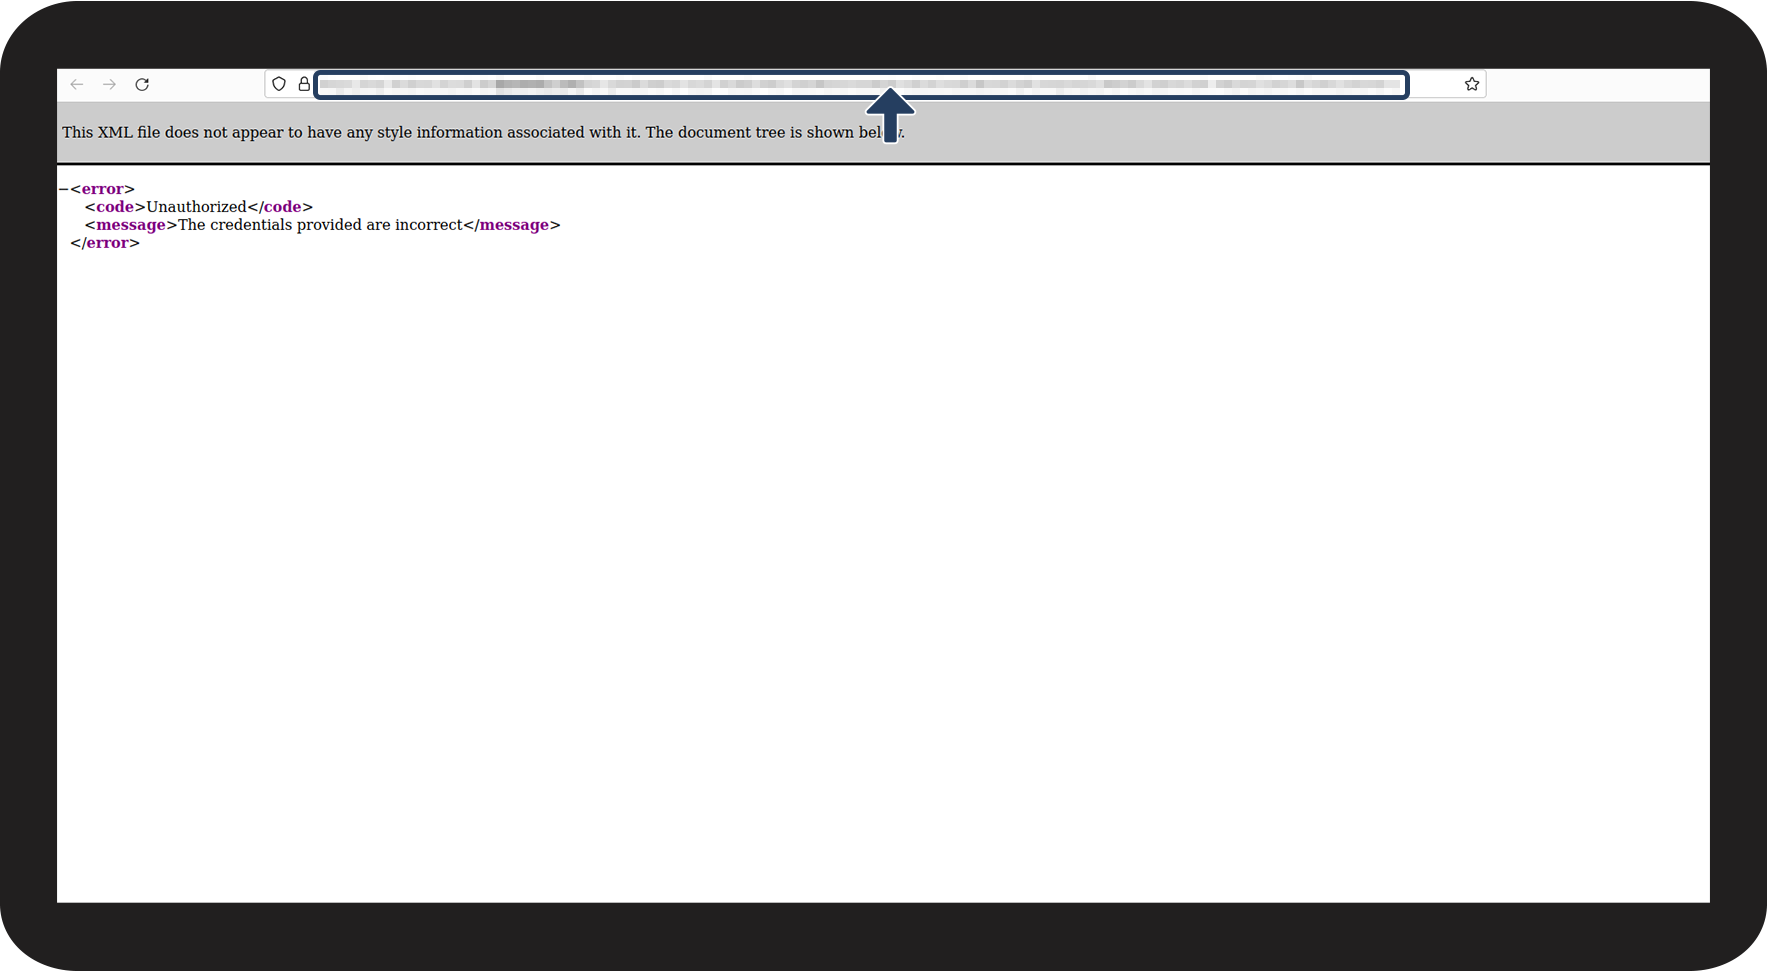
Note
From time to time, errors may occur in the link, when copying it directly from Business Central.
To avoid those errors, we recommend copying the link in the following way:
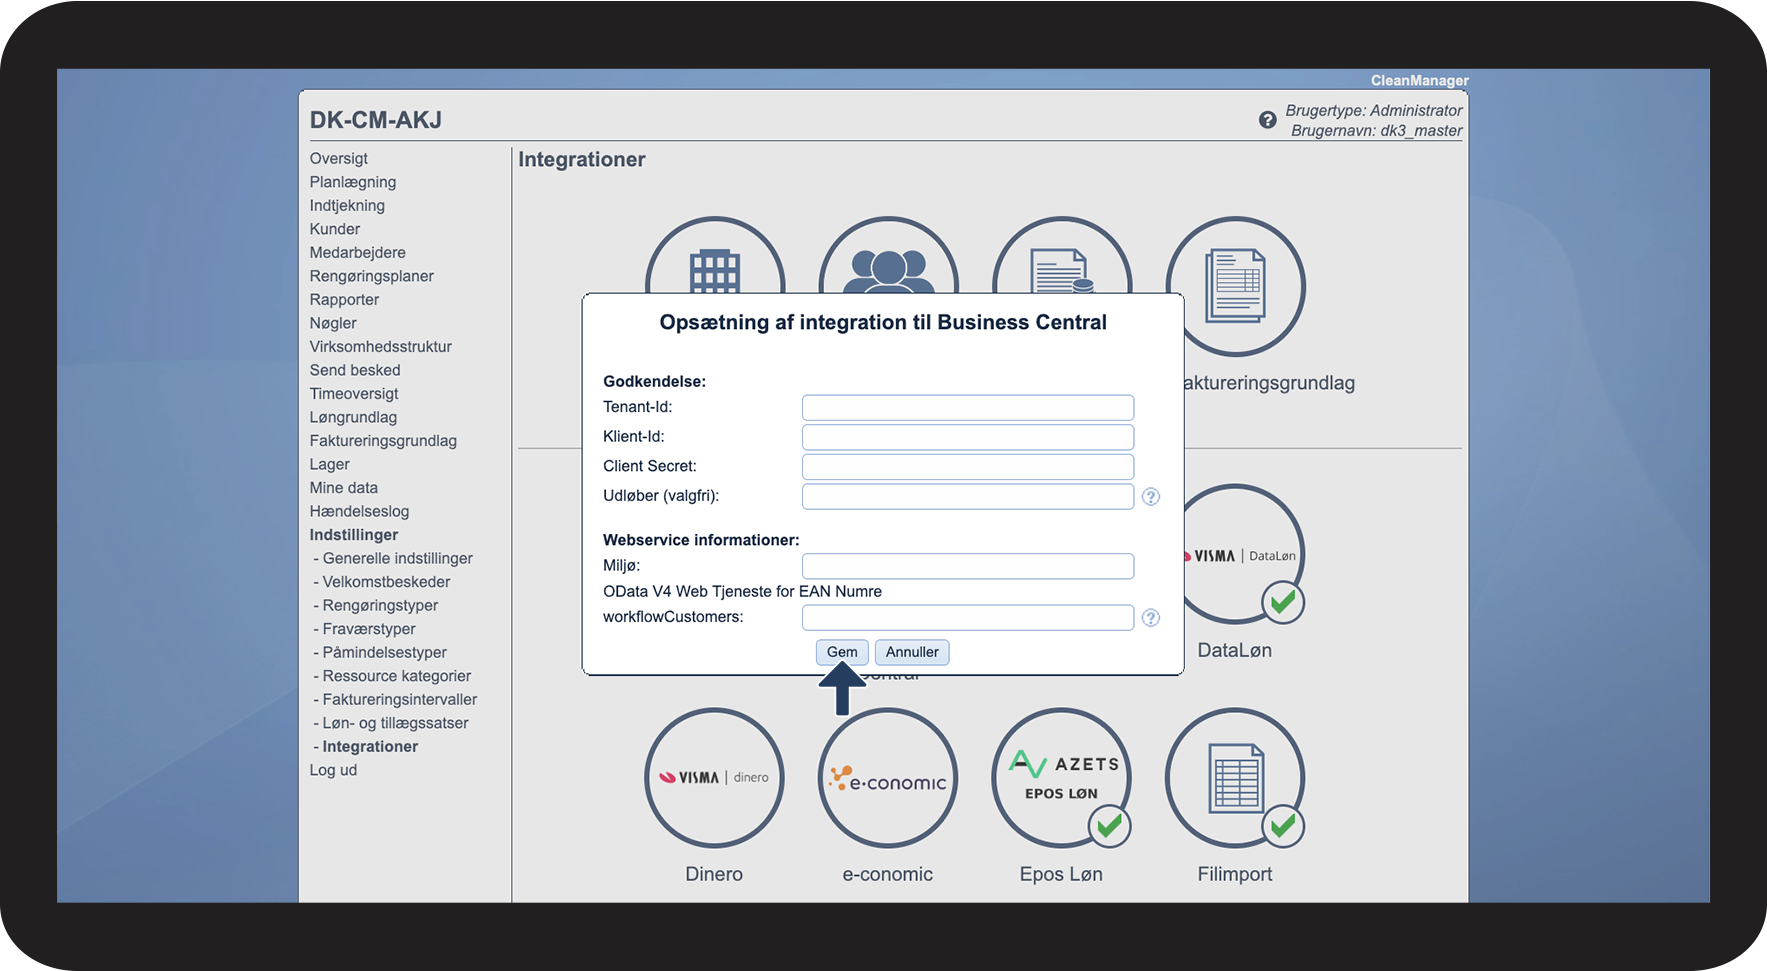
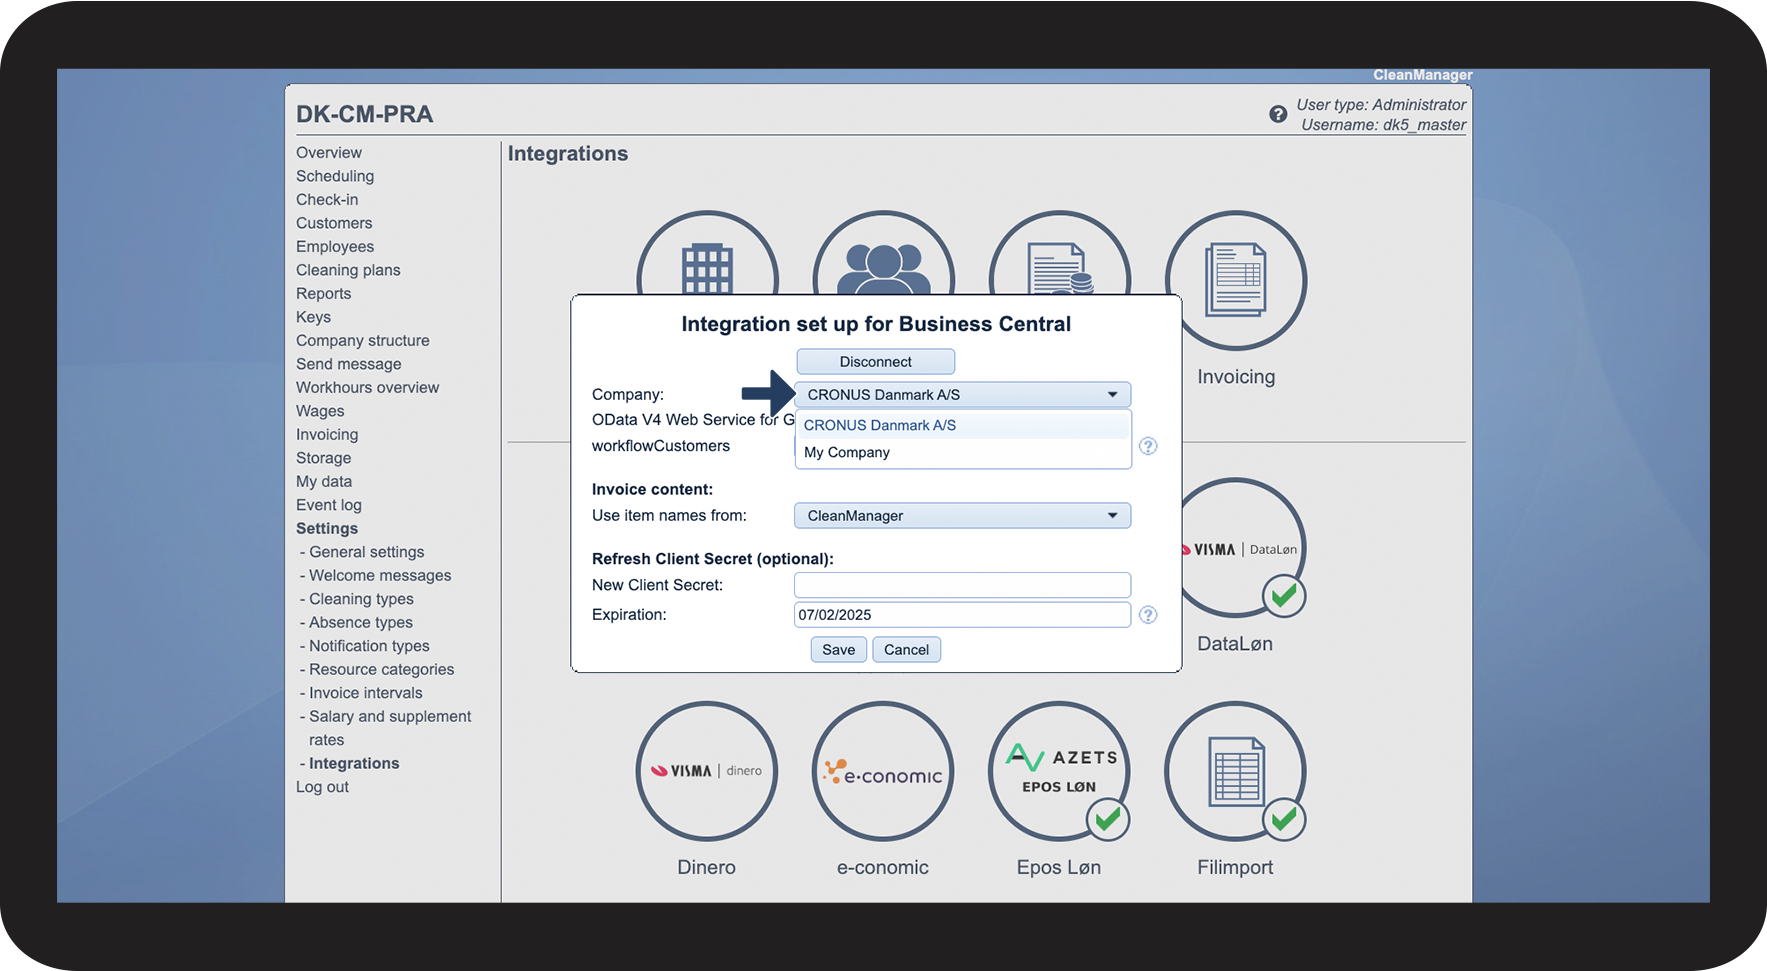
Part 3: This is how you complete your integration set up between CleanManager and Business Central
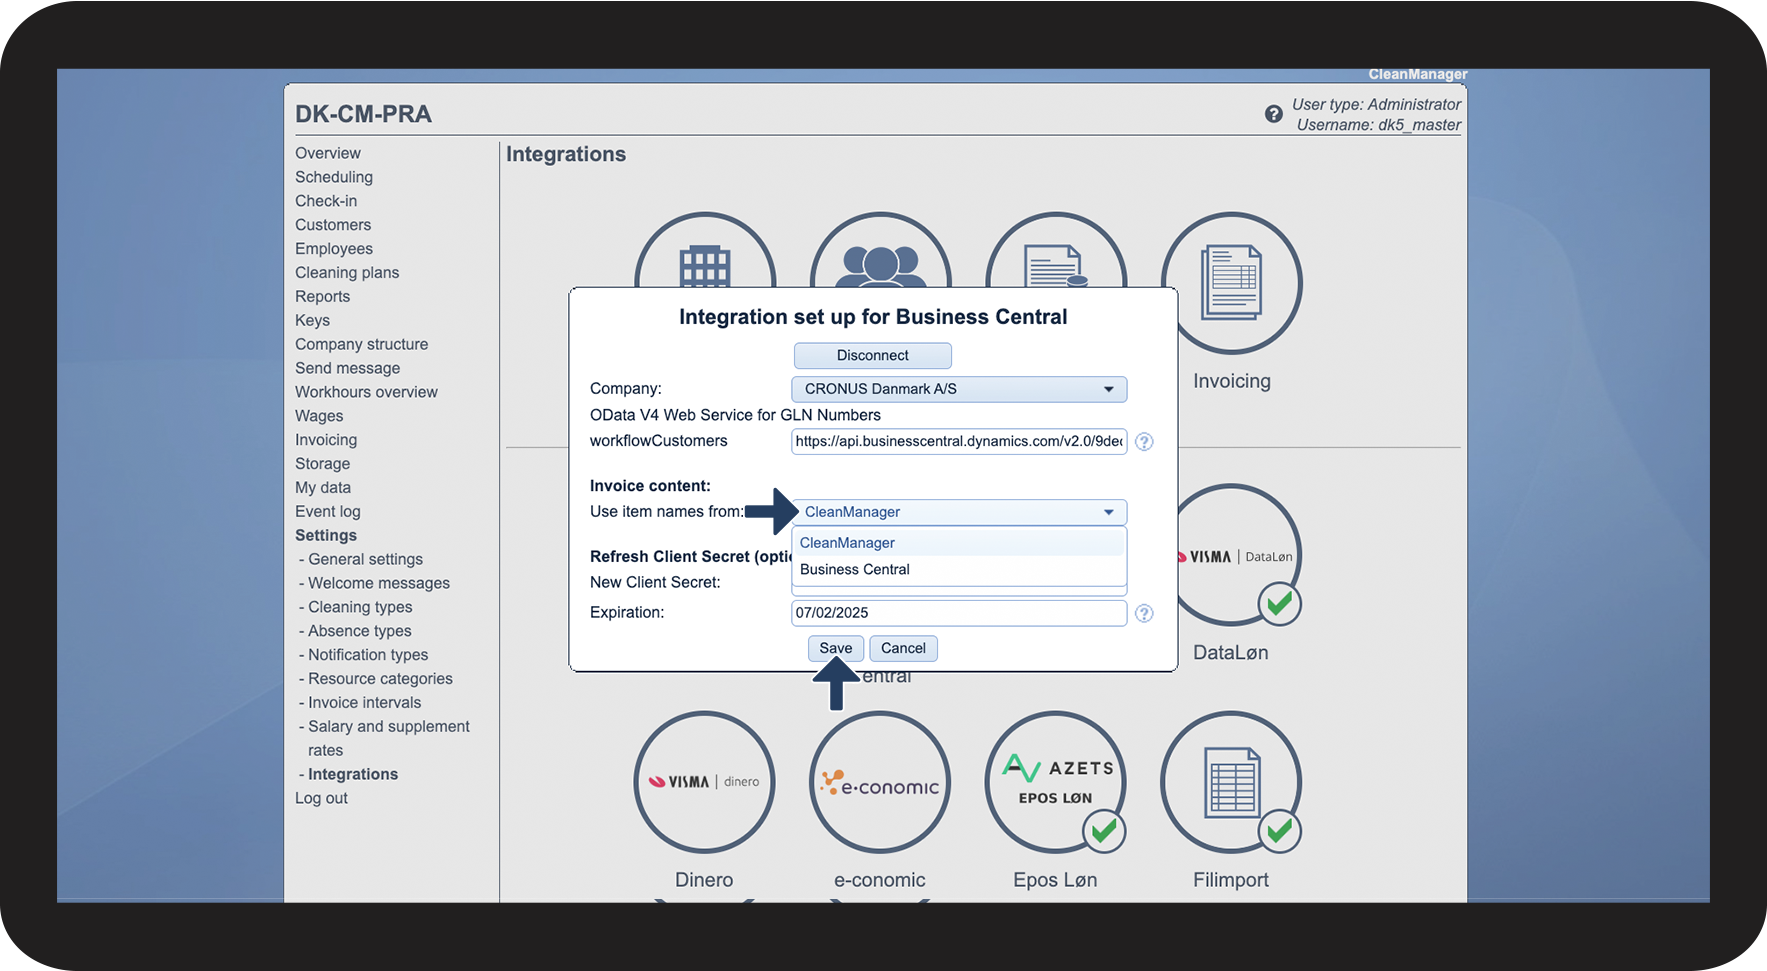
NOTE
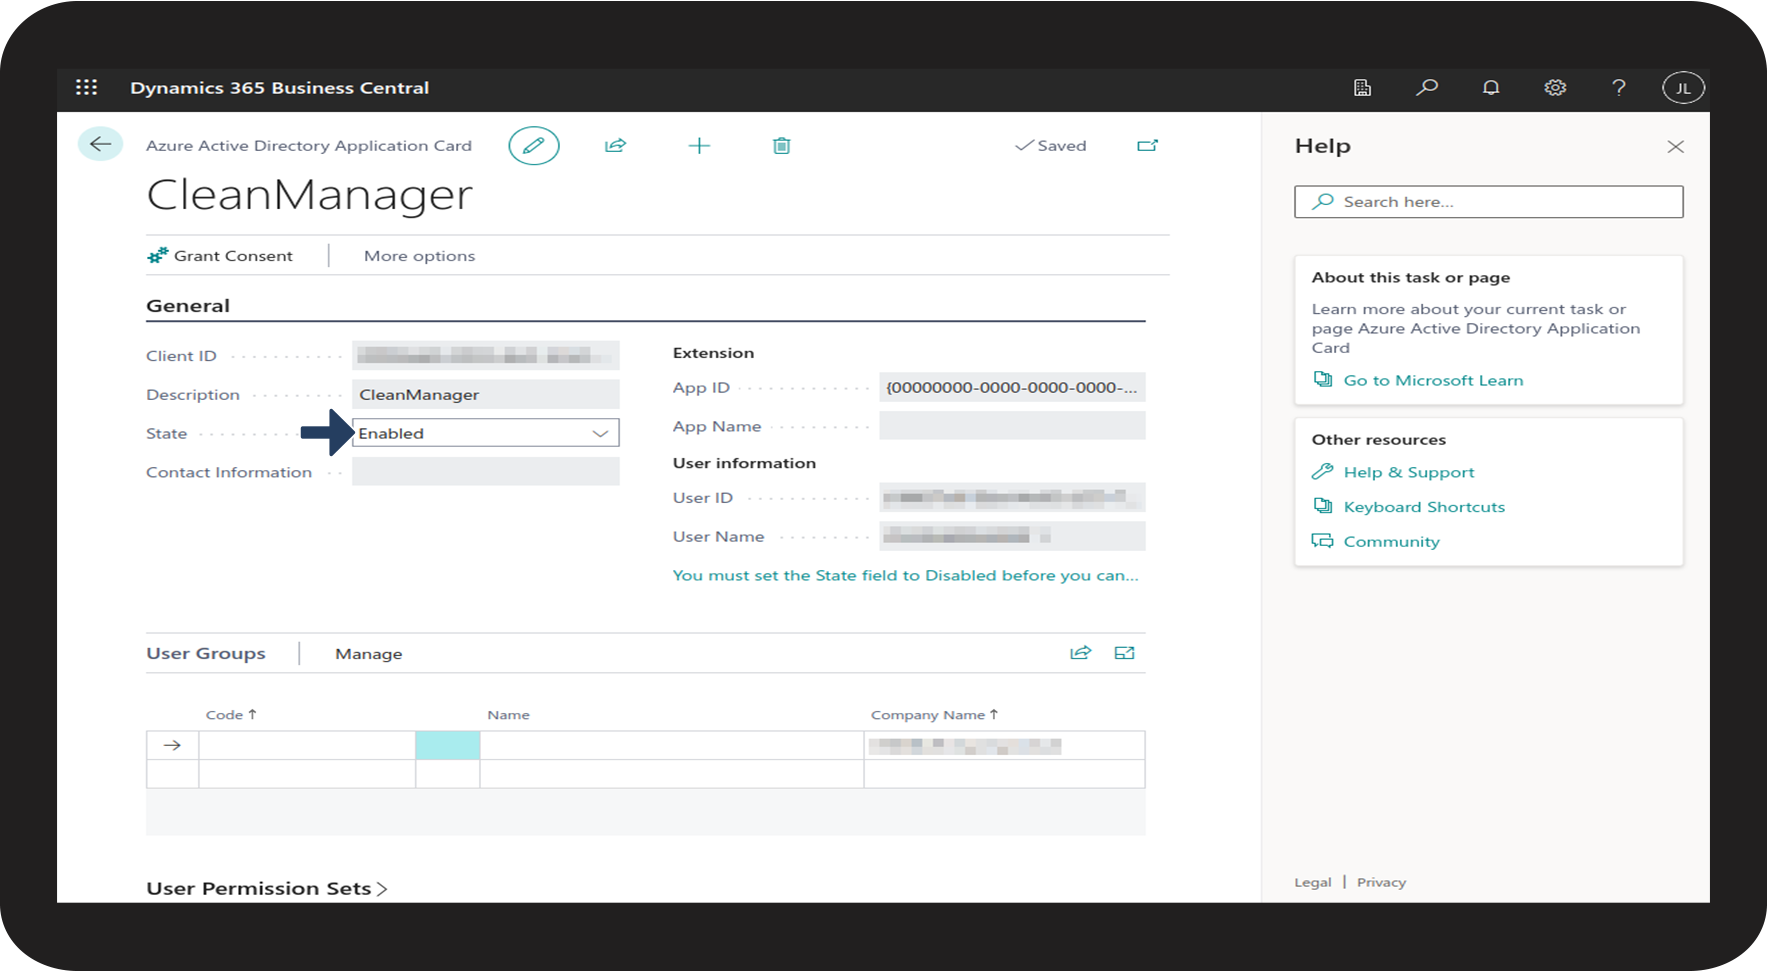
When your Client Secret expires, go back to integrations in CleanManager, click on Business Central and insert a new Client Secret.
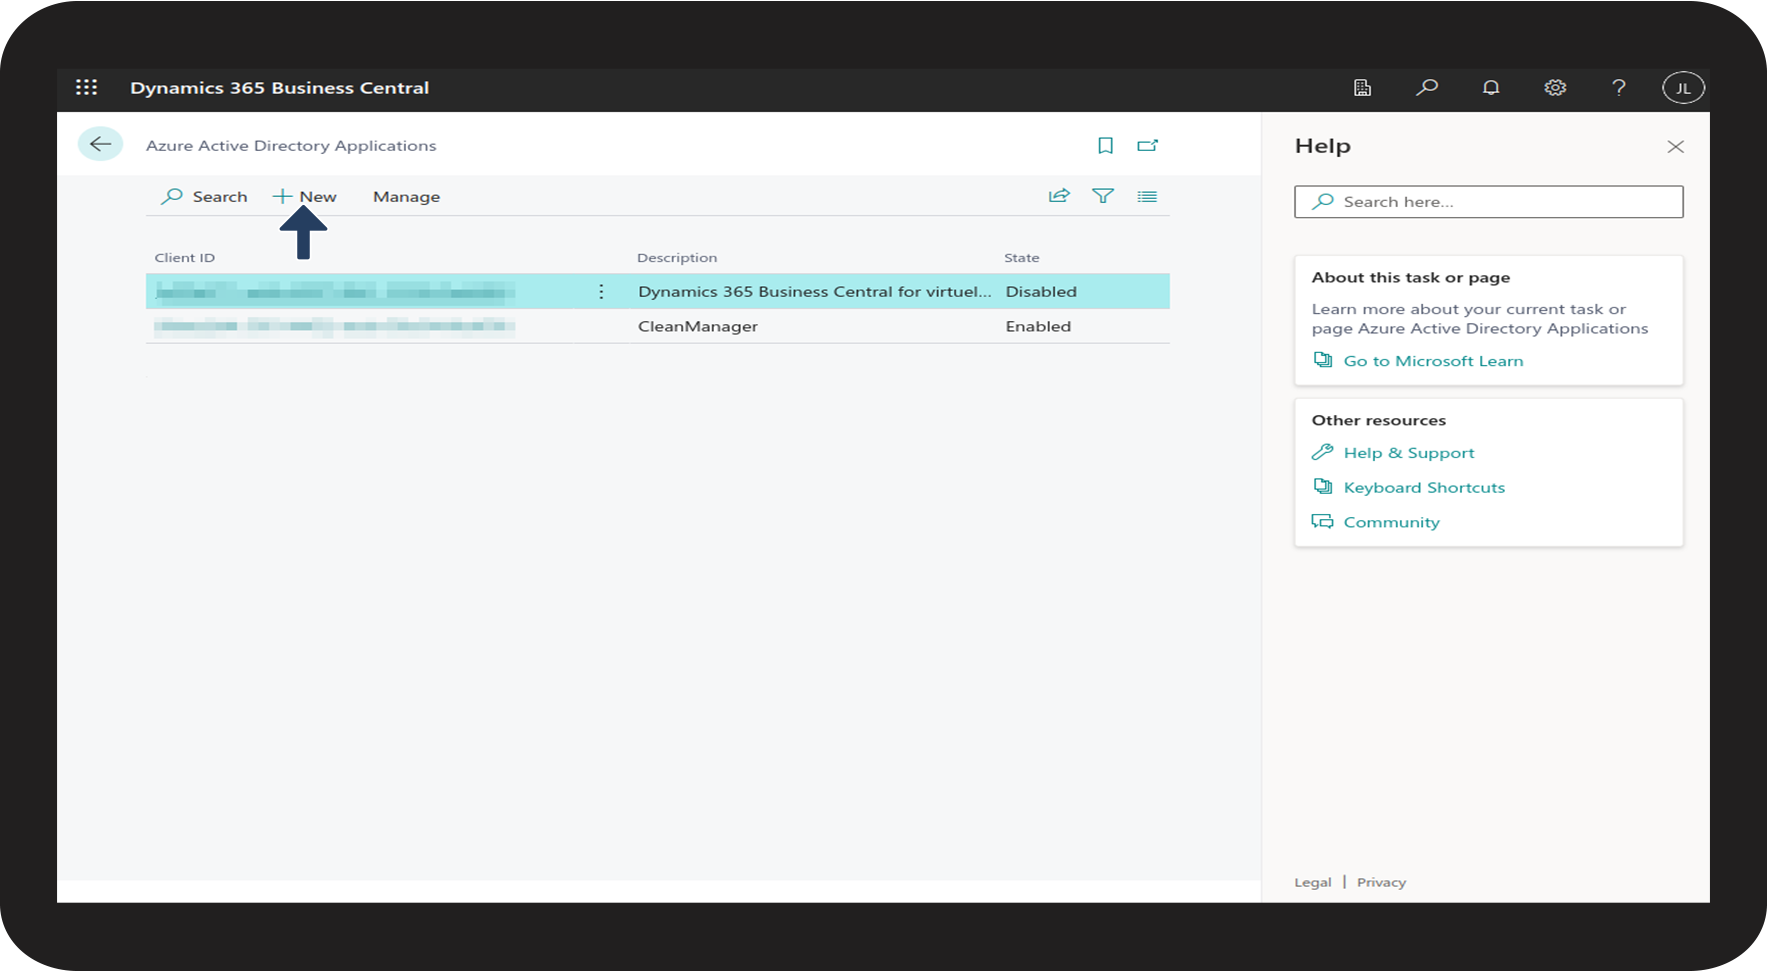
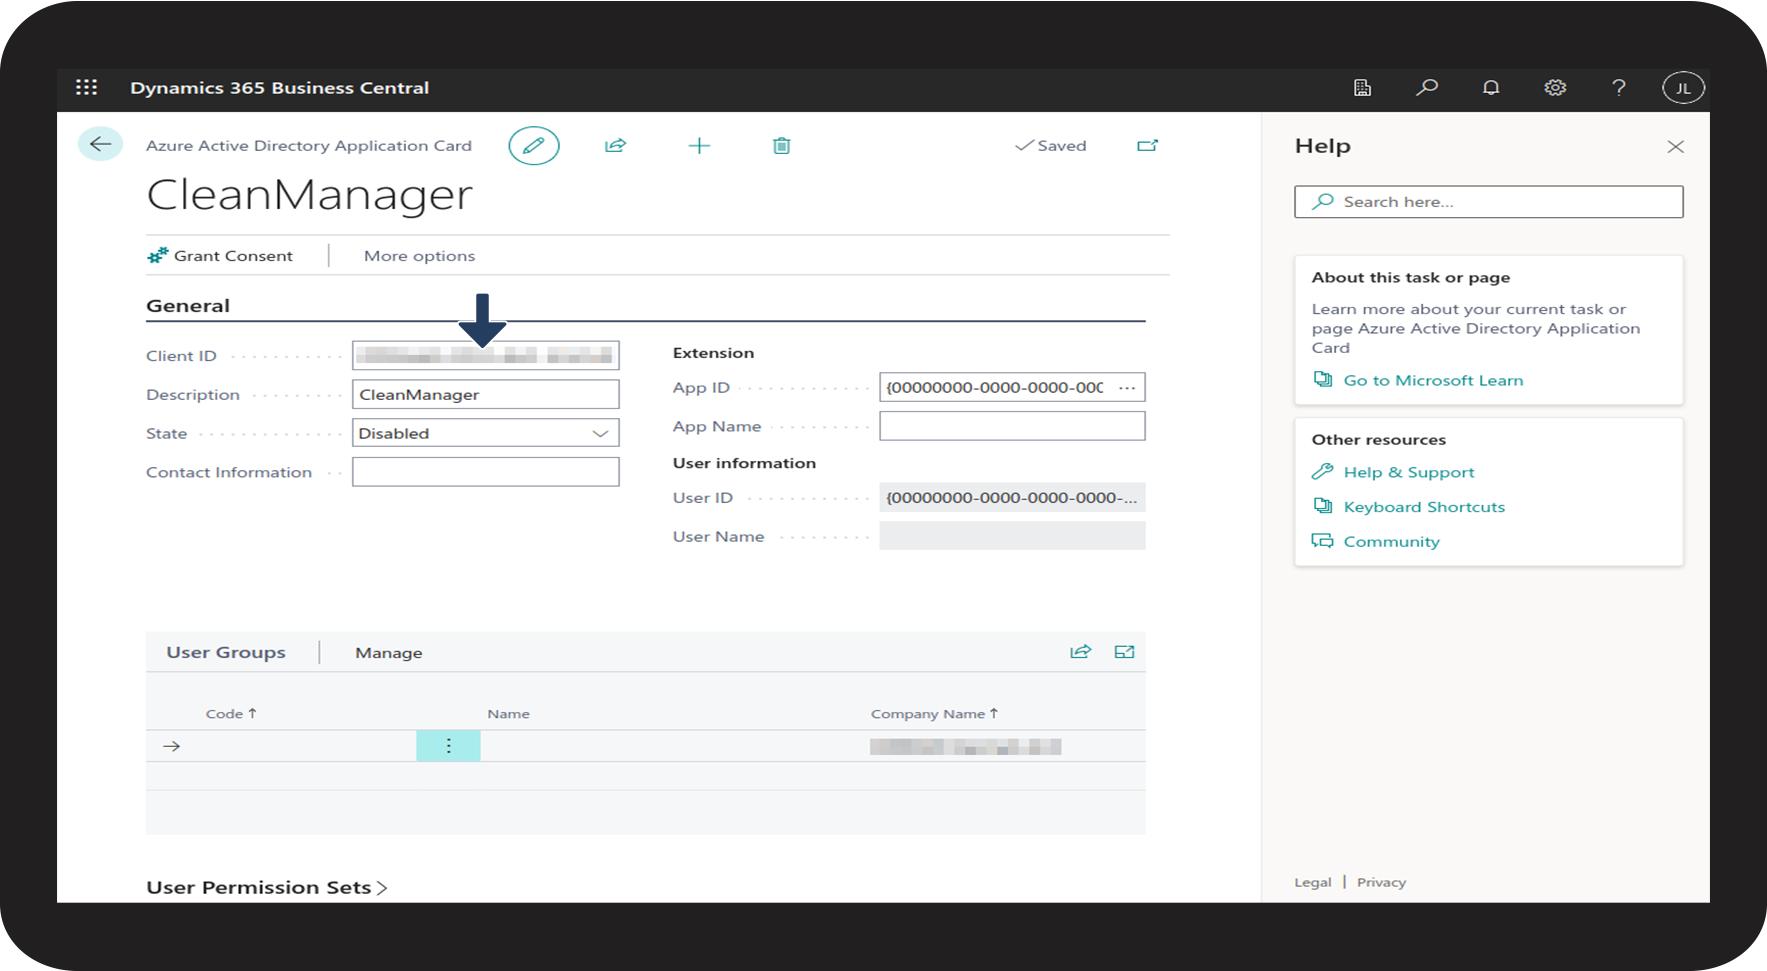
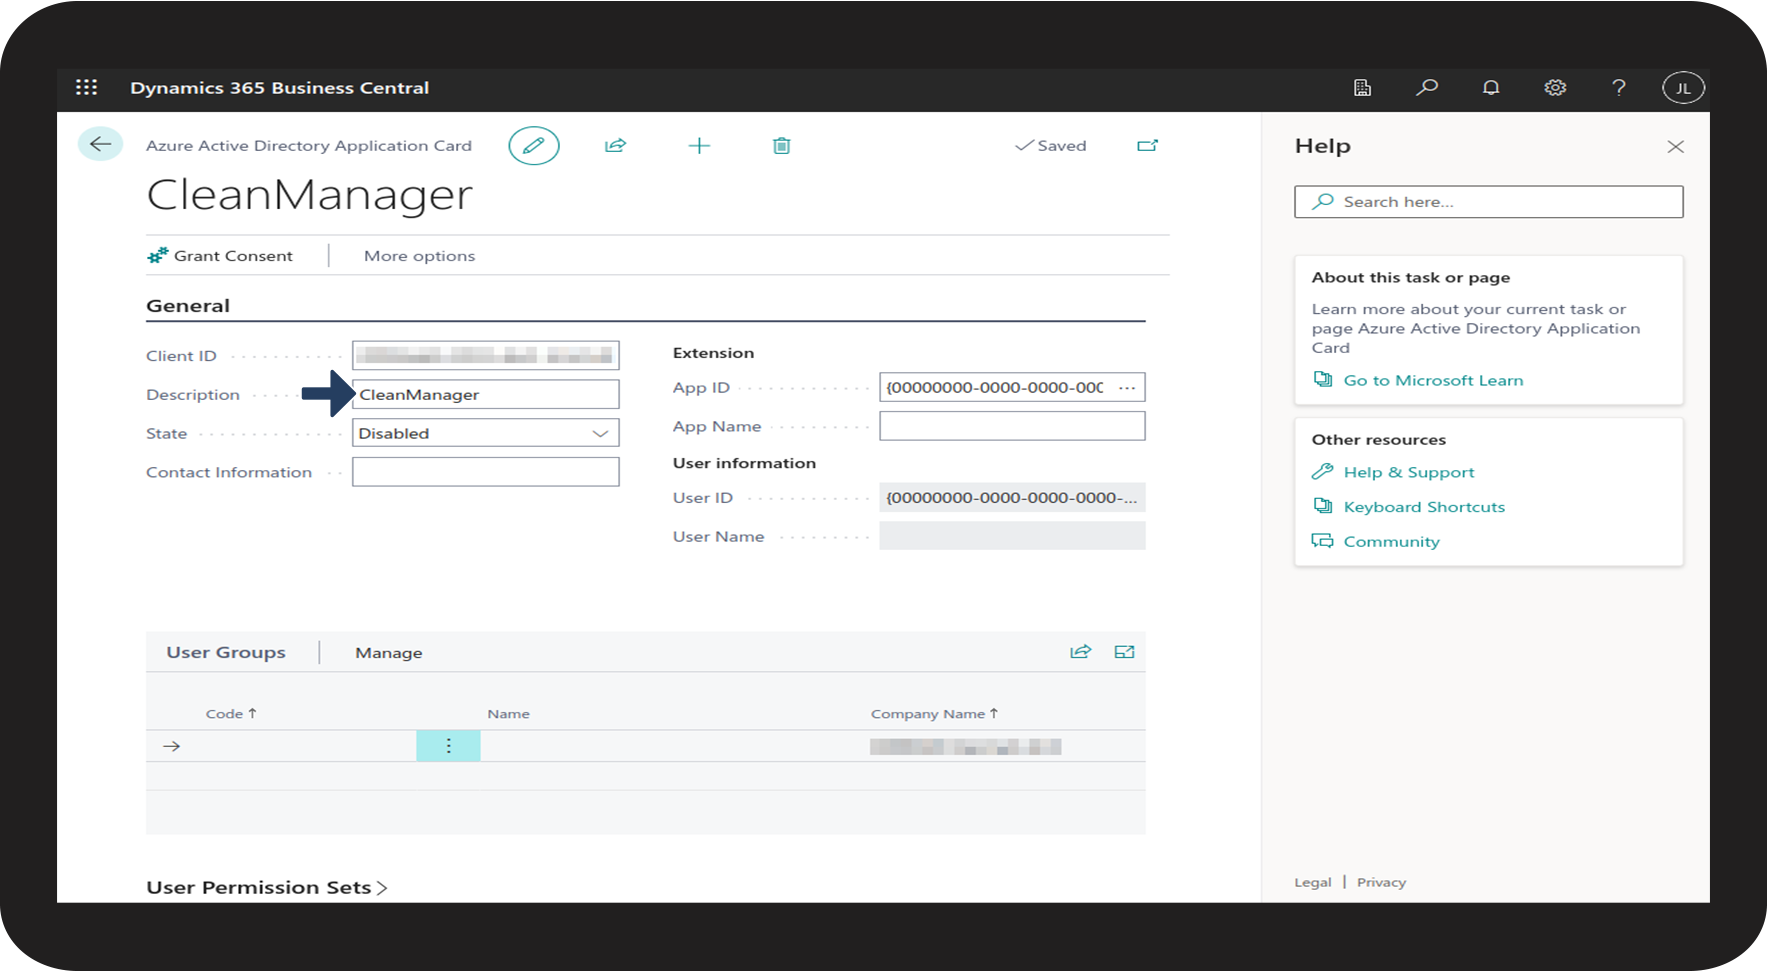
To be able to do this, you will have to log into Azure as an Admin, go to App registrations and find CleanManager.
Click on it and afterwards go to Certificates and secrets. Create a new Client Secret and insert it into CleanManager.